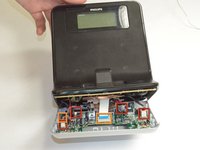
주요 콘텐츠로 건너뛰기

Philips DC320 37 Bottom Button Circuit Board Replacement

필요한 것

  1. Philips DC320 37 Bottom Button Circuit Board Replacement, Docking entertainment system: 1 단계, 이미지 1/1
    • Pry off the four white feet with the pointed end of the spudger

  2. Philips DC320 37 Bottom Button Circuit Board Replacement: 2 단계, 이미지 1/1
    • Gently unscrew the four 15.5 mm Phillips #2 screws that hold the bottom panel to the dock.

  3. Philips DC320 37 Bottom Button Circuit Board Replacement: 3 단계, 이미지 1/1
    • Use the flat end of the spudger to pry the lid off from the two connectors holding it to the body of the dock.

    • The connectors on the panel are fragile and may break.

  4. Philips DC320 37 Bottom Button Circuit Board Replacement: 4 단계, 이미지 1/3 Philips DC320 37 Bottom Button Circuit Board Replacement: 4 단계, 이미지 2/3 Philips DC320 37 Bottom Button Circuit Board Replacement: 4 단계, 이미지 3/3
    • Carefully pull up and out the four electrical connectors and two ribbon connectors that connect the bottom panel to the dock.

    • Electrical Connectors

    • Ribbon Connectors

    • The cables do not have a lot of slack in them. Be careful not to break the connectors.

    • One wire is soldered onto the bottom panel. Be careful not to break this bond.

  5. Philips DC320 37 Bottom Button Circuit Board Replacement, Bottom Button Circuit Board: 5 단계, 이미지 1/1
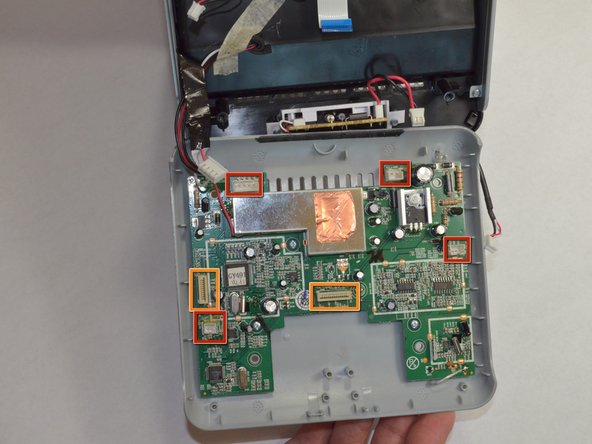
    • Unscrew the ten 6 mm Phillips #00 screws holding the board in place.

  6. Philips DC320 37 Bottom Button Circuit Board Replacement: 6 단계, 이미지 1/1
    • Pull the board out from the dock

결론

To reassemble your device, follow these instructions in reverse order.

Greg Lane

회원 가입일: 04/16/13

39 평판

안내서 4개 작성하였습니다

Cal Poly, Team 3-48, Amido Spring 2013 Cal Poly, Team 3-48, Amido Spring 2013 회원

CPSU-AMIDO-S13S3G48

4 회원들

안내서 6개 작성하였습니다

댓글 한 개

My philips dc 320 /37 A do not sown time digits and frecvency digits . Where can I find schematic diagram?

Thank you

chioreangheorghe - 답글

댓글 쓰기

조회 통계:

24 시간 전: 0

7일 전: 0

30일 전: 0

전체 시간: 873