소개
Follow the procedure outlined in this guide to remove and install a broken iPhone/iPod connector.
필요한 것
-
-
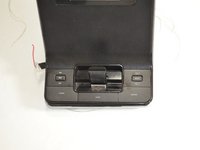
Pry off the four white feet with the pointed end of the spudger
 FixBot에 문의하기
-
-
-
Gently unscrew the four 15.5 mm Phillips #2 screws that hold the bottom panel to the dock.
-
-
-
Use the flat end of the spudger to pry the lid off from the two connectors holding it to the body of the dock.
-
-
-
-
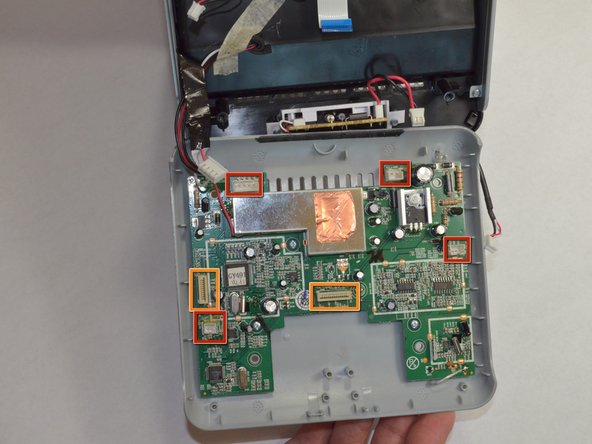
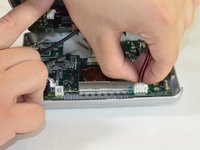
Carefully pull up and out the four electrical connectors and two ribbon connectors that connect the bottom panel to the dock.
-
Electrical Connectors
-
Ribbon Connectors
-
-
-
Pull the copper plate out of the way of the two Phillips #00 screws in the middle of the connector.
-
-
-
Unscrew the two 7 mm Phillips #00 screws holding the connector together.
-
Unscrew the four 5 mm Phillips #00 screws holding the connector to the dock
-
-
-
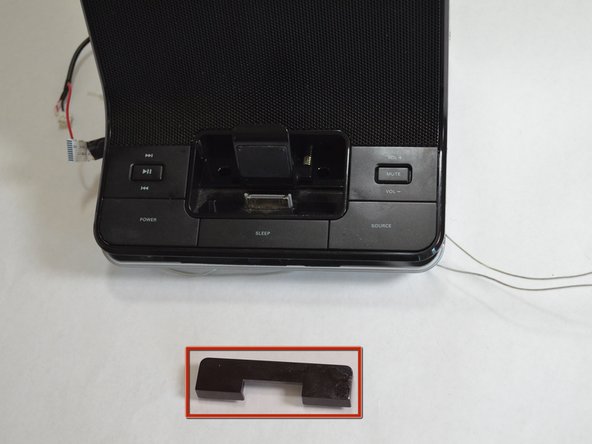
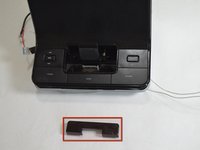
Pull out the black U-shaped piece.
-
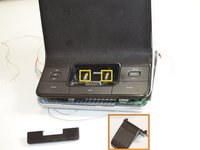
Pull out the iPhone/iPod support cradle.
-
Pull out the two springs.
-
-
-
Pop out the black connector frame and attached circuit board from the body of the dock.
-


To reassemble your device, follow these instructions in reverse order.
팀

Cal Poly, Team 3-48, Amido Spring 2013 Cal Poly, Team 3-48, Amido Spring 2013 회원
CPSU-AMIDO-S13S3G48
4 회원들
안내서 13개를 작성함