소개
This guide will help users to replace the inner battery of the Philips PD9000/37 DVD Player.
필요한 것
-
-
Lay the player flat so the bottom outside is showing. Using the Phillips #0 screwdriver, unscrew all the housing screws on the bottom of the player.
-
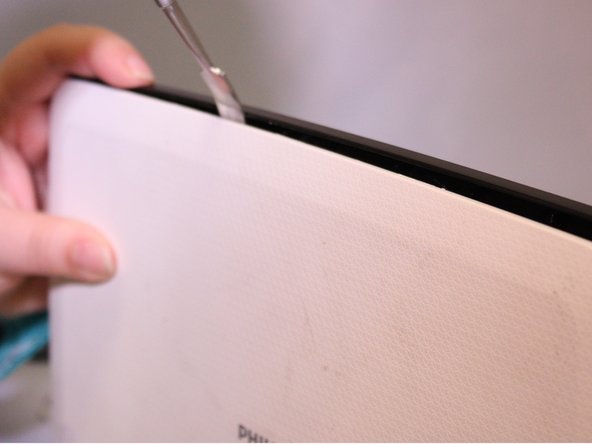
Have the player sitting upright, remove the rubber stoppers in order to get to the screw. Unscrew the inside screws by the screen using the Philips #0 screwdriver.
-
Remove the rubber stoppers for the bottom two screws as well. Unscrew the middle two screws.
 FixBot에 문의하기
-
-
-
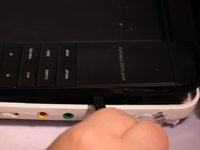
Open the disc flap and remove the screws inside with the Phillips #0 screwdriver. There will be three screws.
-
-
-
Start removing the inside black face plate of the player by using a prying method between the white outer housing and the black face plate with a metal spudger.
-
Pull the black face plate off once you have pried it from the white housing. The bottom inside layer should pop off.
-
Using the same prying method with the metal spudger, start prying off the screens white outer housing.
-
-
-
-
The light panel on the front can just pop right off.
-
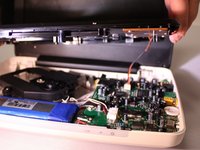
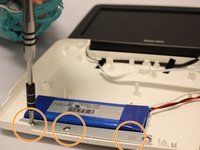
To remove the metal bar against the battery, unscrew the screws with the phillips #0 screwdriver.
-
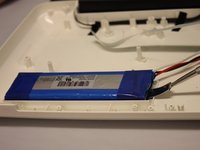
After unscrewing you can just lift the metal bar off.
-
-
-
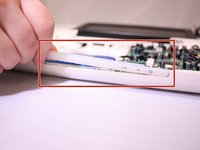
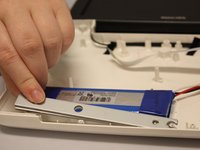
Take the metal rounded rectangle spudger and place under battery edge.
-
press down hard on held end of spudger, you will hear the battery un-stick.
-
-
-
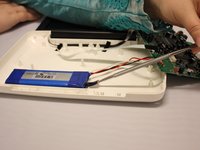
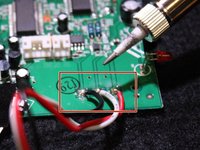
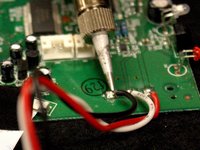
Use a soldering iron to melt the metal connecting the battery wires to the mother board.
-
Quickly remove each wire after melting the metal
-


To reassemble your device, follow these instructions in reverse order.
다른 5명이 해당 안내서를 완성하였습니다.

3가이드 댓글
Yeah. Where can I get the battery?
Bryan Allen - 답글 공유
This tutorial is completely worthless if one doesn't have a battery to replace the one removed. Now two people have asked where to get a replacement yet you have not responded. Undoubtedly countless others have come by looking for a suitable replacement and saw that there was no response and no solution. Congratulations on helping no one. It would seem you're nothing more than a blowhard, a big show off, “Oh look at me I am fixing my bad battery. Aren't you impressed?” I'm not.