소개
If the disk isn't reading you may need to replace the drive in order to continue to play disks. To do this, you will be required to remove the outside casing on the player.
필요한 것
-
-
Lay the player flat so the bottom outside is showing. Using the Phillips #0 screwdriver, unscrew all the housing screws on the bottom of the player.
-
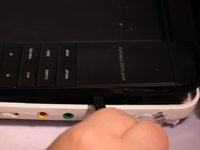
Have the player sitting upright, remove the rubber stoppers in order to get to the screw. Unscrew the inside screws by the screen using the Philips #0 screwdriver.
-
Remove the rubber stoppers for the bottom two screws as well. Unscrew the middle two screws.
 FixBot에 문의하기
-
-
-
Open the disc flap and remove the screws inside with the Phillips #0 screwdriver. There will be three screws.
-
-
-
-
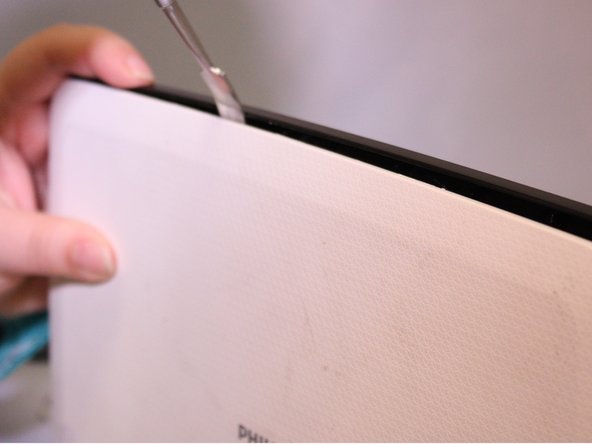
Start removing the inside black face plate of the player by using a prying method between the white outer housing and the black face plate with a metal spudger.
-
Pull the black face plate off once you have pried it from the white housing. The bottom inside layer should pop off.
-
Using the same prying method with the metal spudger, start prying off the screens white outer housing.
-
-
-
The light panel on the front can just pop right off.
-
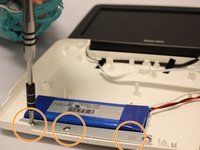
To remove the metal bar against the battery, unscrew the screws with the phillips #0 screwdriver.
-
After unscrewing you can just lift the metal bar off.
-
-
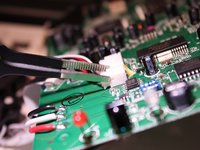
이 단계에 사용된 도구:Tweezers$4.99
-
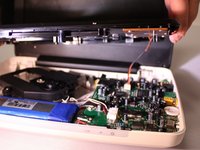
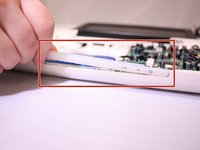
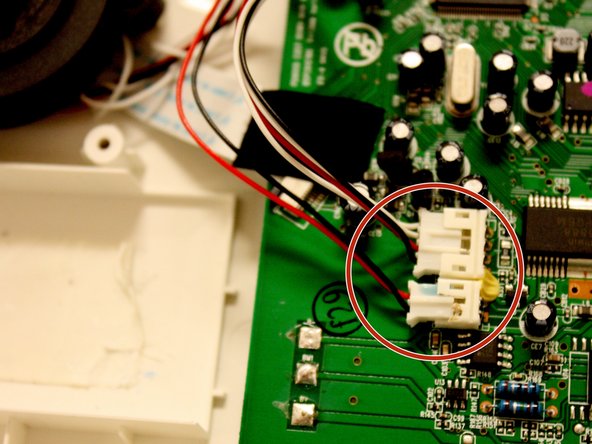
Using the Tweezers from the iFixit repair tools, pull the two white plastic connectors that connect the disk drive to the motherboard off detaching the disk drive from the motherboard.
-
-
-
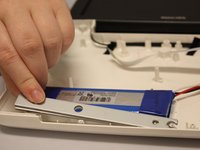
Grab the sides of the disk drive and gently pull straight up to detach the disk drive.
-
The white ribbon is not connected to the actual drive, so it can be ignored.
-


To reassemble your device, follow these instructions in reverse order.
다른 2명이 해당 안내서를 완성하였습니다.

팀

Eastern Washington University, Team 1-3, Matresse Fall 2015 Eastern Washington University, Team 1-3, Matresse Fall 2015 회원
EWU-MATRESSE-F15S1G3
3 회원들
안내서 4개를 작성함