주요 콘텐츠로 건너뛰기
수리 커뮤니티 가입 - 계정 만들기

Planet Eclipse Etha Eyes Replacement

필요한 것

    1. Planet Eclipse Etha Eyes Replacement, Regulator: 1 단계, 이미지 2개 중 1개 Planet Eclipse Etha Eyes Replacement, Regulator: 1 단계, 이미지 2개 중 2개
      • Firmly grasp hold of the ring on the bottom of the 90 degree silver fitting on the front of the gun.

      • Pull hard, but slowly, on the macroline where it comes out of silver piece until it comes out.

      • The macroline is the black hose connecting the regulator to the tank connection.

      댓글 쓰기

    2. Planet Eclipse Etha Eyes Replacement: 2 단계, 이미지 2개 중 1개 Planet Eclipse Etha Eyes Replacement: 2 단계, 이미지 2개 중 2개
      • Remove the regulator by unscrewing it in a clockwise direction.

      댓글 쓰기

    1. Planet Eclipse Etha Eyes Replacement, Battery and Grip Panels: 3 단계, 이미지 2개 중 1개 Planet Eclipse Etha Eyes Replacement, Battery and Grip Panels: 3 단계, 이미지 2개 중 2개
      • Use the 5/64" hex key to remove the screw shown.

      • Remove the grip panel by gently holding the bottom of the panel and lifting the panel off.

      • If you are only replacing the battery, skip the next step.

      • The screws in this guide are interchangeable with those shown in the Eyes replacement guide.

      댓글 쓰기

    2. Planet Eclipse Etha Eyes Replacement: 4 단계, 이미지 1개 중 1개
      • Flip the marker over and use the 5/64" hex key to remove the screw shown.

      • Remove the grip panel by gently holding the bottom of the panel and lifting the panel off.

      댓글 쓰기

    3. Planet Eclipse Etha Eyes Replacement: 5 단계, 이미지 2개 중 1개 Planet Eclipse Etha Eyes Replacement: 5 단계, 이미지 2개 중 2개
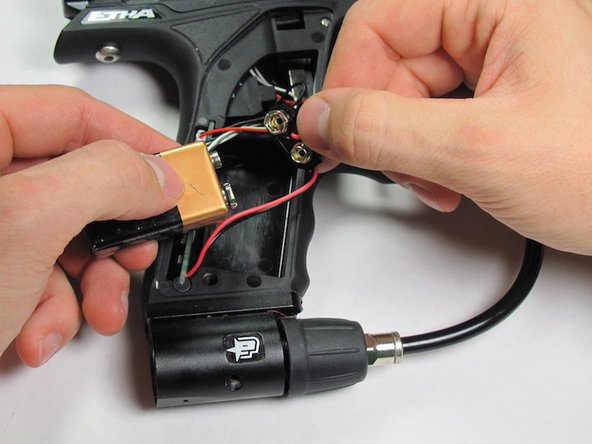
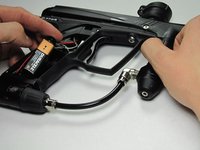
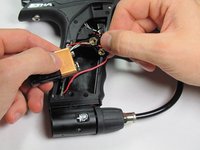
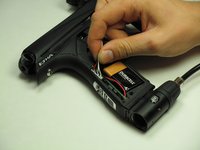
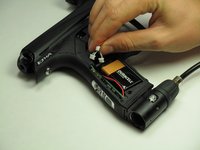
      • Carefully remove the 9V battery and connector.

      • Remove the 9V battery from the connector.

      댓글 쓰기

    1. Planet Eclipse Etha Eyes Replacement, Frame: 6 단계, 이미지 2개 중 1개 Planet Eclipse Etha Eyes Replacement, Frame: 6 단계, 이미지 2개 중 2개
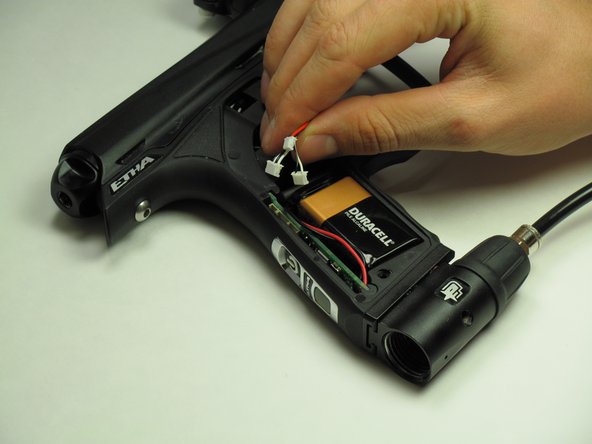
      • Carefully disconnect the three connectors from the circuit board.

      • Don't worry about remembering which direction the connectors go in, they will not fit in the board in the wrong direction.

      댓글 쓰기

    2. Planet Eclipse Etha Eyes Replacement: 7 단계, 이미지 2개 중 1개 Planet Eclipse Etha Eyes Replacement: 7 단계, 이미지 2개 중 2개
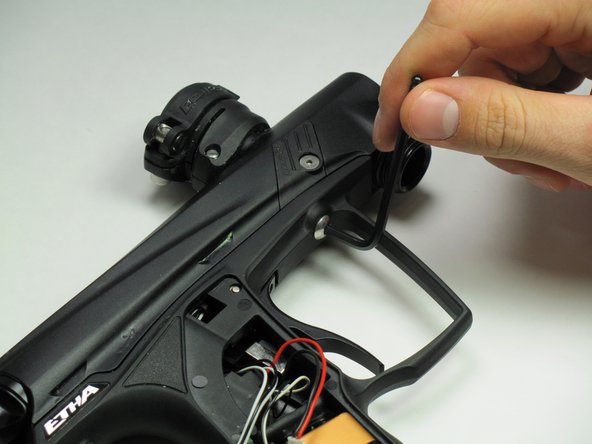
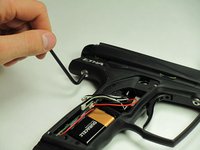
      • Use the 1/8" hex key to remove the two dome-headed screws by rotating them counter-clockwise.

      댓글 쓰기

    3. Planet Eclipse Etha Eyes Replacement: 8 단계, 이미지 1개 중 1개
      • Be very careful during the step to avoid damage to the solenoid or wiring.

      • Gently separate the top and bottom of the marker.

      댓글 쓰기

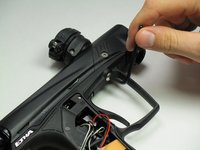
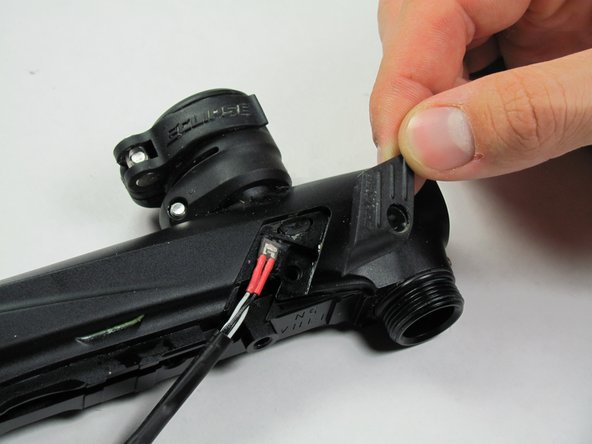
    1. Planet Eclipse Etha Eyes Replacement, Eyes: 9 단계, 이미지 2개 중 1개 Planet Eclipse Etha Eyes Replacement, Eyes: 9 단계, 이미지 2개 중 2개
      • Use the 5/64" hex key to turn the screw counterclockwise.

      • Carefully remove the screw and place it off to the side.

      • Remove the panel and place it off to the side.

      댓글 쓰기

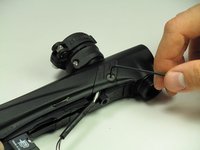
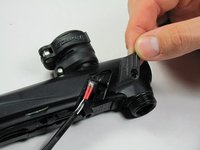
    2. Planet Eclipse Etha Eyes Replacement: 10 단계, 이미지 2개 중 1개 Planet Eclipse Etha Eyes Replacement: 10 단계, 이미지 2개 중 2개
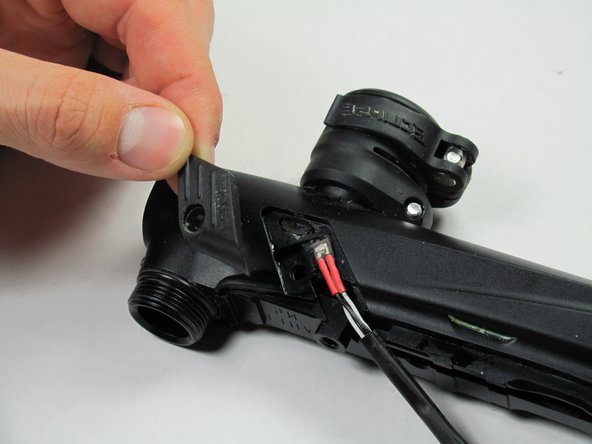
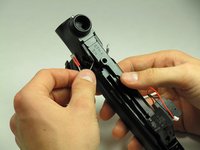
      • Carefully flip the marker over.

      • Use the 5/64" hex key to turn the screw counterclockwise.

      • Remove the screw and place it off to the side.

      • Carefully remove the panel and place it off to the side.

      댓글 쓰기

    3. Planet Eclipse Etha Eyes Replacement: 11 단계, 이미지 2개 중 1개 Planet Eclipse Etha Eyes Replacement: 11 단계, 이미지 2개 중 2개
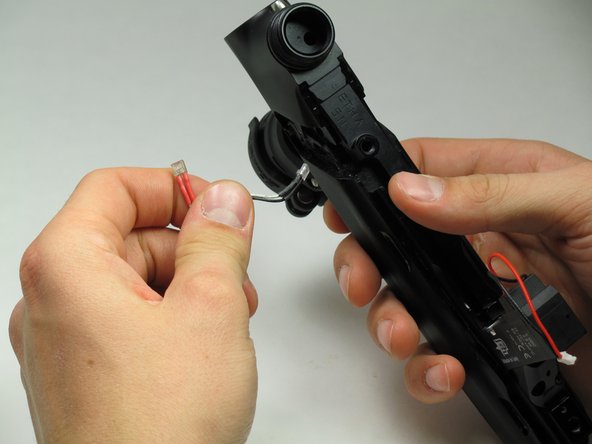
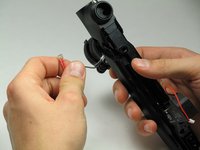
      • Grip the marker with one hand and gently pull the eyes out with your other hand.

      댓글 쓰기

결론

To reassemble your device, follow these instructions in reverse order.

취소: 해당 안내서를 완성하지 않았습니다.

다른 한 분이 해당 안내서를 완성하였습니다.

작성자

3다른 기여자 명과 함께

Hannah Lancaster

회원 가입일: 10/14/14

132 평판

안내서 1개를 작성함

Cal Poly, Team 10-42, Amido Fall 2014 Cal Poly, Team 10-42, Amido Fall 2014 회원

CPSU-AMIDO-F14S10G42

5 회원들

안내서 7개를 작성함

0가이드 댓글

댓글 쓰기

조회 통계:

지난 24시간: 1

지난 7일: 6

지난 30일: 24

전체 시간: 1,565