소개
This guide will go through the steps necessary to remove the power supply unit from the PlayStation 4 Pro. Some disassembly is required for this removal, but it is one of the first things that can be removed from the PS4 Pro.
필요한 것
-
-
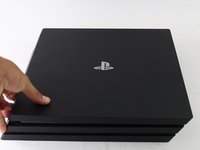
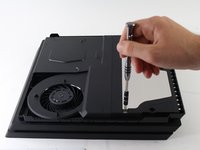
Begin by flipping the console upside down.
-
Use your finger to pull and snap off the plastic cover over the hard drive.
 FixBot에 문의하기
-
-
-
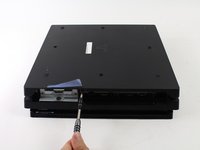
Use a screwdriver to remove the single Phillips #0 screw securing the hard drive caddy.
-
Pull the hard drive caddy straight out.
-
-
-
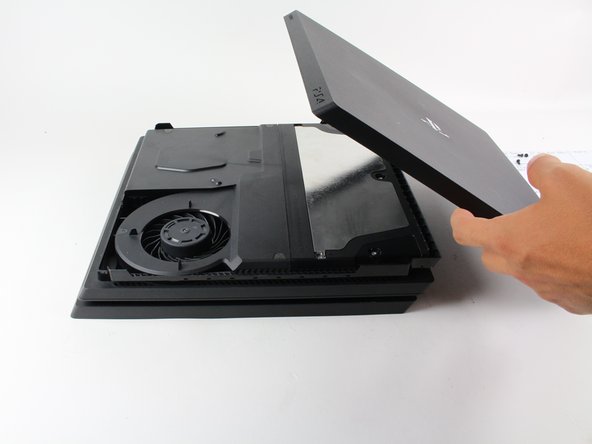
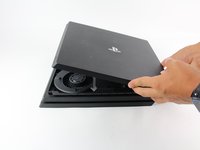
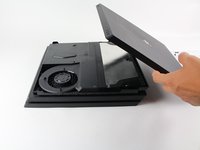
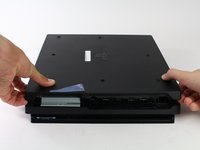
Flip the console right side up.
-
Grip the two corners located at the front of the device.
-
Pull upwards until a loud click is heard.
-
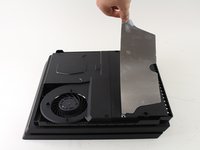
After both corners detach, slide the cover backwards and lift off.
-
-
-
-
Use a T8 Torx Security screwdriver to remove the five screws.
-
Two 31mm screws.
-
Three 10mm screws.
-
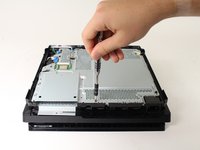
Remove the metal plate.
-
-
-
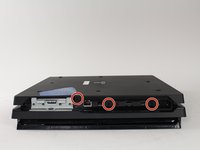
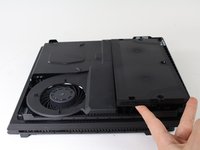
Flip the console to its back once again.
-
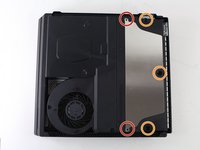
Use a T8 Torx Security screwdriver to remove the three black 7mm screws in the back panel.
-
Remove the bottom cover in the same way as the top cover. Grip on both sides, pull up until a click is heard and slide off.
-
-
-
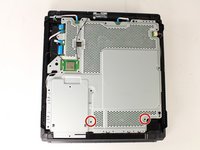
Use a T8 Torx security screwdriver to remove the two 10mm silver screws from the metal plate.
-
-
-
Flip the console over to continue working on the top side.
-
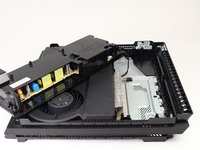
Place fingers underneath edge of power supply unit on both sides and pull straight up.
-
Grip the connector behind the power supply and pull straight out.
-


To reassemble your device, follow these instructions in reverse order.
다른 46명이 해당 안내서를 완성하였습니다.
팀

Cal Poly, Team S21-G5, Livingston Spring 2017 Cal Poly, Team S21-G5, Livingston Spring 2017 회원
CPSU-LIVINGSTON-S17S21G5
4 회원들
안내서 49개를 작성함
10가이드 댓글
I bought a PS4 power supply CR 300 and my PS4 has an FR 300 power supply will they interchange
joseph fish - 답글 공유
My PlayStation Pro has a power supply FR 300 and the power supply I bought was a CR 300 power supply will they interchange
joseph fish - 답글 공유
Hola como saber que tipo de fuente vida mi ps4 pro modelo 7215b
Tomás Javier - 답글 공유