소개
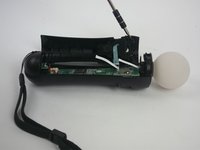
Use this guide to replace the LED light on the Playstation Move
필요한 것
-
-
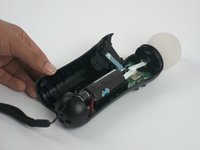
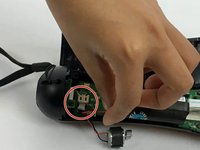
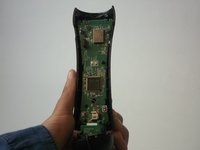
Using a Phillips #0 screwdriver, remove the four 10mm screws located on the back of the device.
 FixBot에 문의하기
-
-
-
Insert the plastic opening tool at the indent.
-
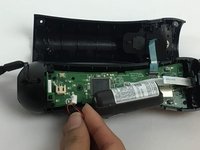
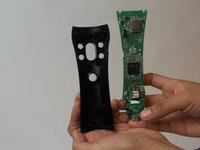
Gently use a forward and backward motion to safely pop open the cover.
-
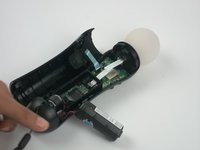
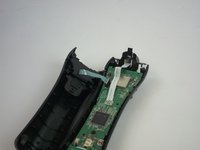
Using your hands to further pull it apart.
-
-
-
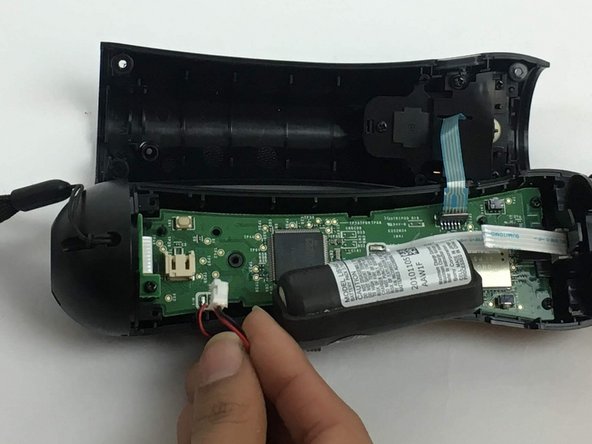
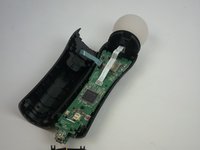
Using a Phillips head screwdriver, remove the 9mm screw located to the right of the battery, which is connected to the inner plastic frame.
-
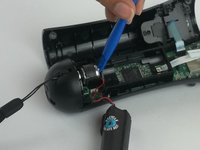
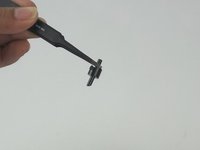
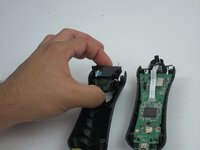
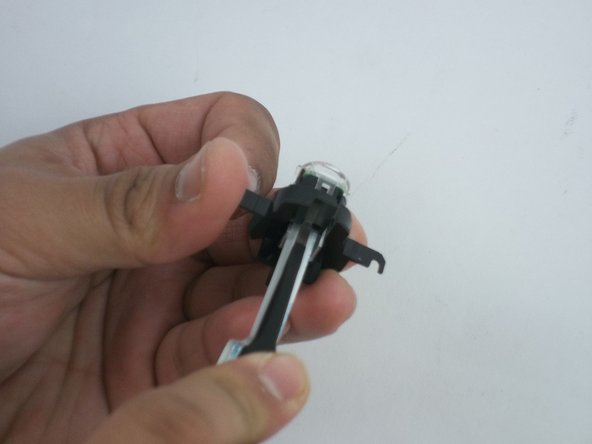
Using the plastic opening tool carefully take out the grey cylindrical piece (vibrator) that is also attached to a wire.
-
-
이 단계에 사용된 도구:Tweezers$4.99
-
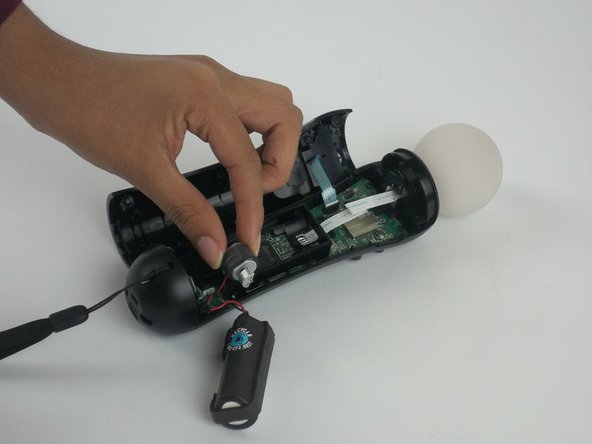
Using tweezers, remove the small piece with a cylindrical top that is located to the left of the inner plastic frame.
-
-
-
-
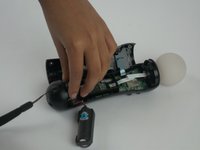
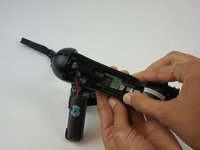
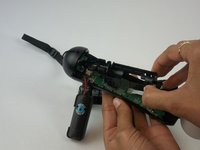
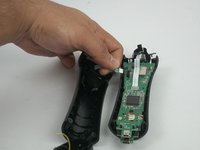
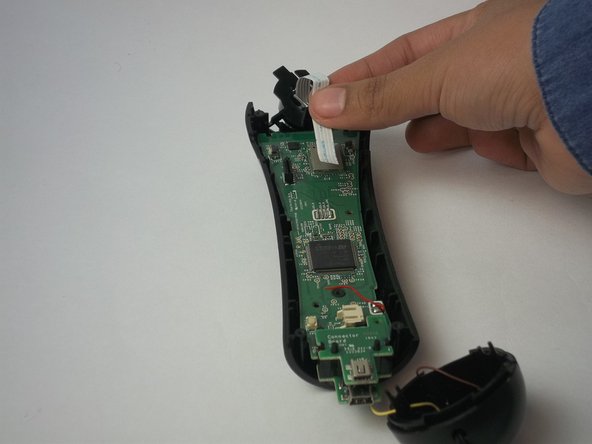
Using one hand to hold the device, and the other hand to squeeze the inner plastic frame.
-
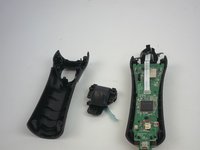
Remove by squeezing the inner plastic frame, lift and pull it towards you.
-
-
-
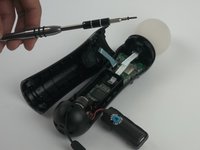
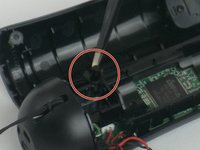
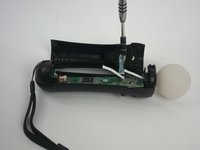
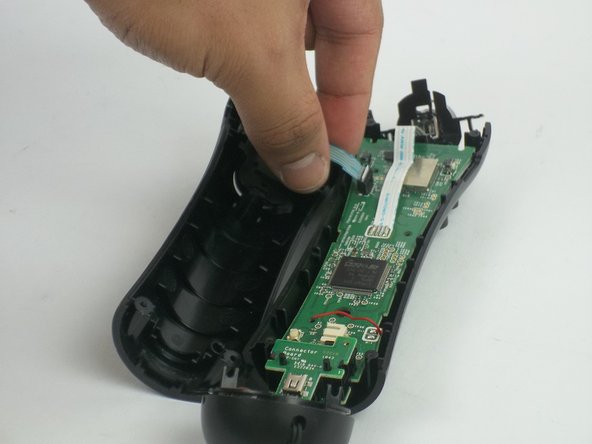
Remove the five 1.2 mm screws from upper portion of the controller.
-
-
-
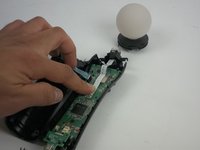
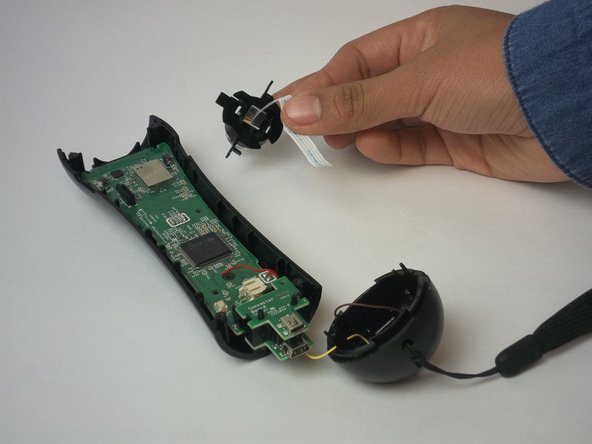
Cautiously remove the circular white piece at the top without removing the LED inside.
-
-
-
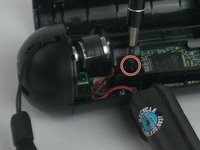
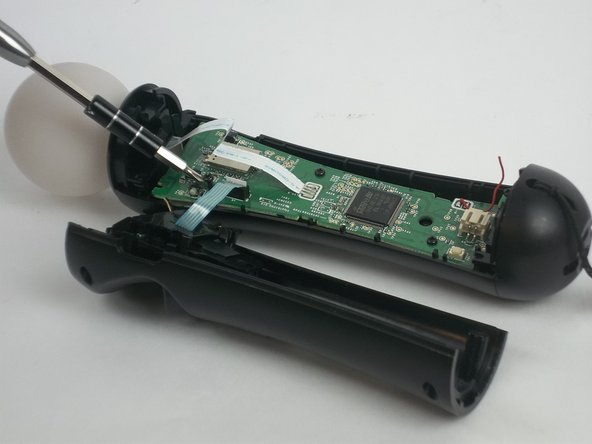
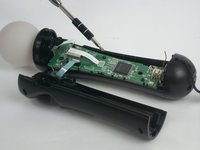
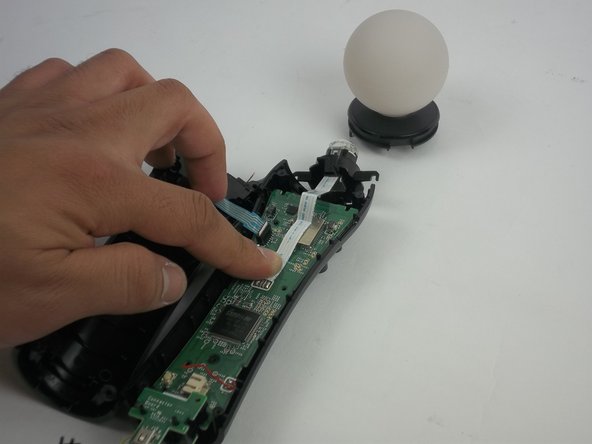
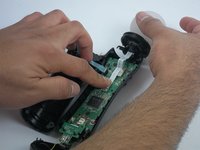
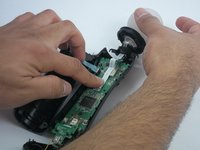
Remove the blue strip that is connected to the trigger button from the motherboard.
-
-
이 단계에 사용된 도구:Tweezers$4.99
-
Insert tweezers between the LED case and the LED clear plastic cover.
-
Lift the edge of the LED clear cover clip to be able to remove the cover.
-
Repeat the previous step to the other side.
-
Remove the LED cover.
-
-
-
Remove the LED board using a blue opening tool to lift the board.
-
After the board is loose, remove the LED board.
-


To reassemble your device, follow these instructions in reverse order.
다른 2명이 해당 안내서를 완성하였습니다.
팀

USF Tampa, Team 3-3, Passmore Fall 2016 USF Tampa, Team 3-3, Passmore Fall 2016 회원
USFT-PASSMORE-F16S3G3
4 회원들
안내서 10개를 작성함
5가이드 댓글
This is BEYOND useless without the information as to where to get the LED unit itself. It's not a standard LED board I can find anywhere.
Also, on the PS3 Move controller the cable from the main board to the LED is soldered both ends and doesn't simply lift away from the circuit.
As to the "beyond useless" comment, this isn't meant to be directed towards the kind people who have spent their time to help others with their knowledge and, their LED cable may have simply lifted away from the board if the Move controller was the later PS4 model, I don't know, I haven't pulled a PS4 Move controller apart (yet).
The guide however would be so much better with that one tiny bit of information, where can I find the LED module and the 1039 number on the LED board itself is of no help in my search.
I stripped my controller down before I found the link to this article (qualifications in electronics), my main need is identifying the faulty LED module so I can replace it.
Sorry, how do I reconnect the white cable I've just cut away from the circuit board solder joints as you've done?
Butchers!
SERIOUSLY??
No, I'm NOT stupid enough to cut cables and magically think they reconnect using the reverse disassembly instructions as suggested (just poke them in like a magician and they magically connect themselves, if only). Someone needs to rethink their idea of an article to "HELP" people.