주요 콘텐츠로 건너뛰기
수리 커뮤니티 가입 - 계정 만들기

Poin2 Chromebook 11 Touchpad Replacement

필요한 것

    1. Poin2 Chromebook 11 Touchpad Replacement, Battery: 1 단계, 이미지 2개 중 1개 Poin2 Chromebook 11 Touchpad Replacement, Battery: 1 단계, 이미지 2개 중 2개
      • Power down the Poin2 Chromebook 11 and disconnect the power adapter.

      • Close the Chromebook and position it with the base facing up.

      • Use a #0 Phillips screwdriver to unscrew the ten 7mm screws that hold the base to the rest of the frame

      • Poin2 Chromebook 11 does not have screws under its rubber feet at the base.

      댓글 쓰기

    2. Poin2 Chromebook 11 Touchpad Replacement: 2 단계, 이미지 3개 중 1개 Poin2 Chromebook 11 Touchpad Replacement: 2 단계, 이미지 3개 중 2개 Poin2 Chromebook 11 Touchpad Replacement: 2 단계, 이미지 3개 중 3개
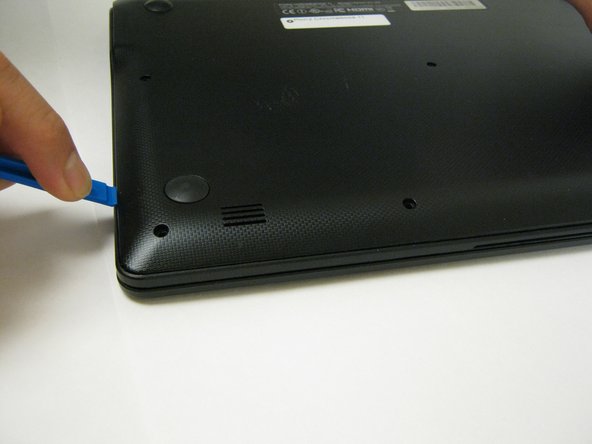
      • Insert a 1cm-wide plastic opening tool between the base and top frame.

      • Applying pressure up and down with the tool may be necessary. When you hear a "click," this indicates the separation of the frame.

      • Pry (up and down) around the entire border of the Chromebook to separate.

      • Use your hands to gently lift the base away from the frame.

      댓글 쓰기

    3. Poin2 Chromebook 11 Touchpad Replacement: 3 단계, 이미지 3개 중 1개 Poin2 Chromebook 11 Touchpad Replacement: 3 단계, 이미지 3개 중 2개 Poin2 Chromebook 11 Touchpad Replacement: 3 단계, 이미지 3개 중 3개
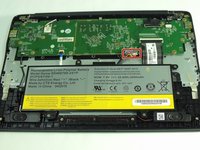
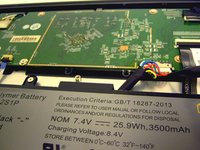
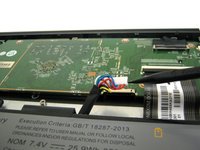
      • Disconnect the white 8-wire battery connector from the motherboard using a spudger to push the two L-shaped clips out of the port.

      • The connector is a tight fit and requires careful pressure for release.

      댓글 쓰기

    4. Poin2 Chromebook 11 Touchpad Replacement: 4 단계, 이미지 2개 중 1개 Poin2 Chromebook 11 Touchpad Replacement: 4 단계, 이미지 2개 중 2개
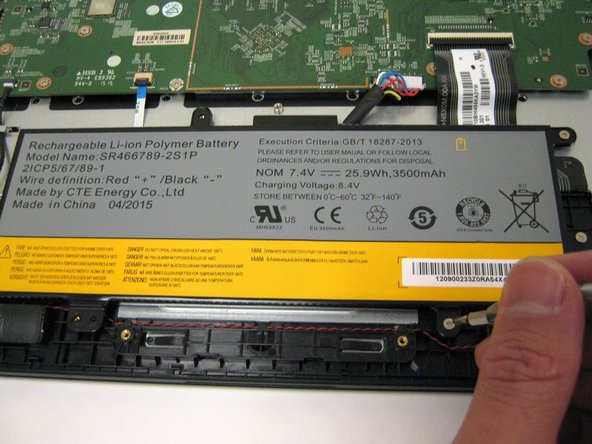
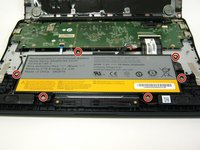
      • Remove the six 4mm screws using a Phillips #0 screwdriver.

      댓글 쓰기

    5. Poin2 Chromebook 11 Touchpad Replacement: 5 단계, 이미지 1개 중 1개
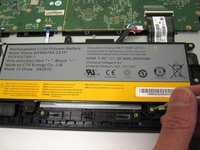
      • Lift the battery from the frame.

      댓글 쓰기

    1. Poin2 Chromebook 11 Touchpad Replacement, Touchpad: 6 단계, 이미지 3개 중 1개 Poin2 Chromebook 11 Touchpad Replacement, Touchpad: 6 단계, 이미지 3개 중 2개 Poin2 Chromebook 11 Touchpad Replacement, Touchpad: 6 단계, 이미지 3개 중 3개
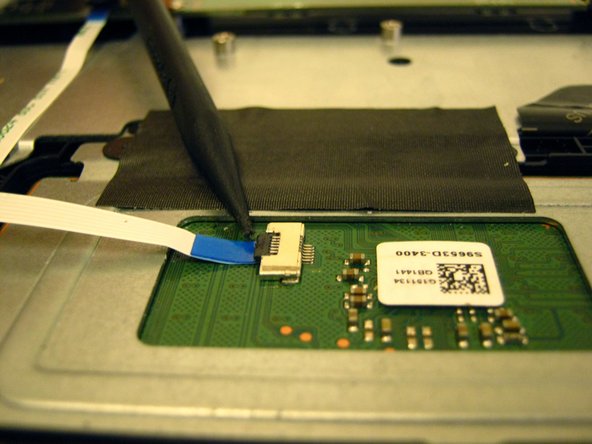
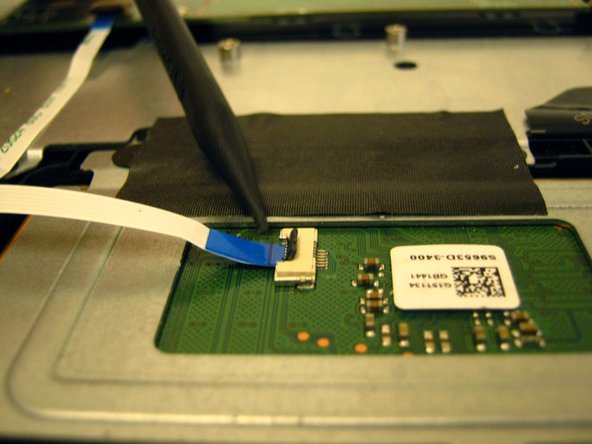
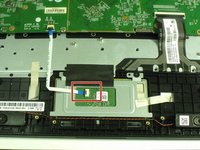
      • Locate the ZIF connector on the touchpad's circuit board.

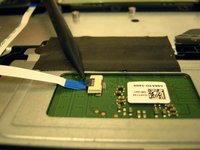
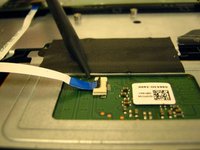
      • Use the tip of the spudger to flip the locking flap to the perpendicular position and pull the cable out.

      • See also the Connectors Guide for detailed instructions, as well as iFixit's cable connectors guide.

      댓글 쓰기

    2. Poin2 Chromebook 11 Touchpad Replacement: 7 단계, 이미지 3개 중 1개 Poin2 Chromebook 11 Touchpad Replacement: 7 단계, 이미지 3개 중 2개 Poin2 Chromebook 11 Touchpad Replacement: 7 단계, 이미지 3개 중 3개
      이 단계에 사용된 도구:
      Tweezers
      $4.99
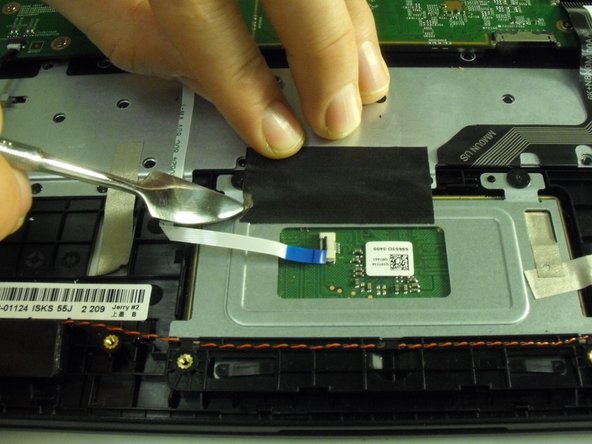
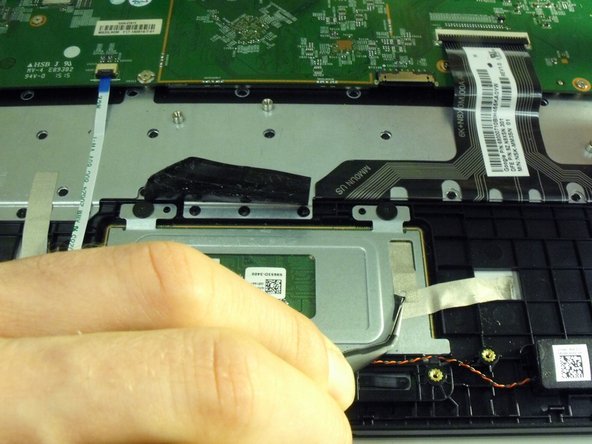
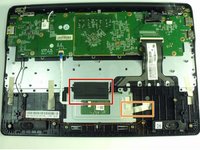
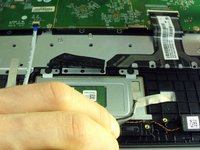
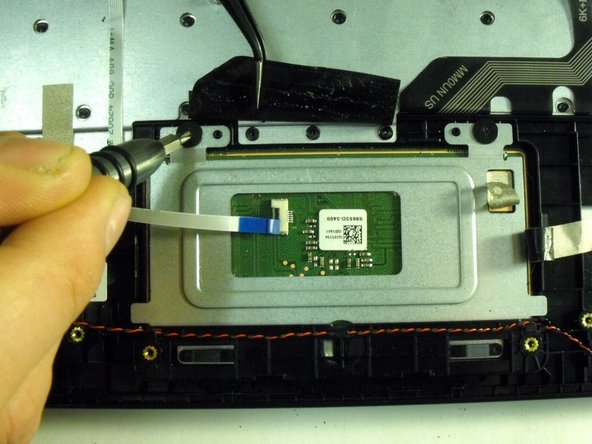
      • Remove the black tape holding down the touchpad.

      • Remove the strips of gold electrostatic tape also holding down the touchpad.

      • Use a metal spudger or tweezers to help pry up the corners of the tape, but be careful not to use to much force or risk damaging the heat sink.

      • Applying new tape is suggested, but the tape can be re-used.

      댓글 쓰기

    3. Poin2 Chromebook 11 Touchpad Replacement: 8 단계, 이미지 2개 중 1개 Poin2 Chromebook 11 Touchpad Replacement: 8 단계, 이미지 2개 중 2개
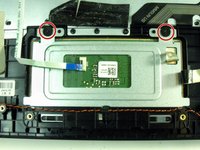
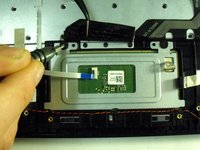
      • Use a Phillips #00 screwdriver to remove the two 2 mm screws securing the metal plate that holds the touchpad in place

      댓글 쓰기

    4. Poin2 Chromebook 11 Touchpad Replacement: 9 단계, 이미지 1개 중 1개
      • Slide the touchpad plate in the direction of the screw holes to free the plates bottom edge from under the plastic frame.

      댓글 쓰기

    5. Poin2 Chromebook 11 Touchpad Replacement: 10 단계, 이미지 1개 중 1개
      • Remove touchpad from the opposite side of the metal plate.

      댓글 쓰기

결론

To reassemble your device, follow these instructions in reverse order.

취소: 해당 안내서를 완성하지 않았습니다.

작성자

3다른 기여자 명과 함께

Henry Covey

회원 가입일: 09/28/17

237 평판

안내서 2개를 작성함

0가이드 댓글

댓글 쓰기

조회 통계:

지난 24시간: 1

지난 7일: 10

지난 30일: 32

전체 시간: 570