주요 콘텐츠로 건너뛰기

PowerA Spectra Infinity Enhanced D-pad Replacement

필요한 것

  1. PowerA Spectra Infinity Enhanced D-pad Replacement, Motherboard: 1 단계, 이미지 1/2 PowerA Spectra Infinity Enhanced D-pad Replacement, Motherboard: 1 단계, 이미지 2/2
    • Flip the controller so the back is facing up.

  2. PowerA Spectra Infinity Enhanced D-pad Replacement: 2 단계, 이미지 1/1
    • Remove the eight 10 mm screws from the back of the controller using a Phillips #0 screwdriver.

  3. PowerA Spectra Infinity Enhanced D-pad Replacement: 3 단계, 이미지 1/2 PowerA Spectra Infinity Enhanced D-pad Replacement: 3 단계, 이미지 2/2
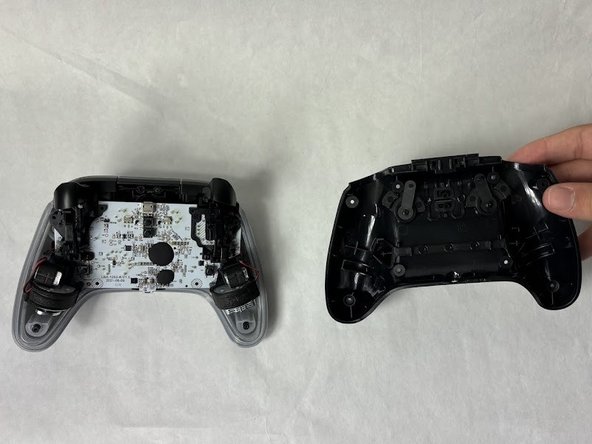
    • Unlock the trigger locks before removing the backplate.

    • This will make taking the plate off easier.

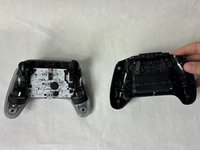
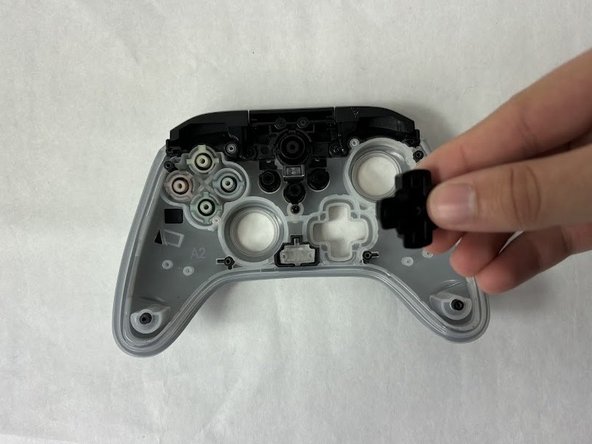
    • Use your fingers and carefully remove the backplate.

  4. PowerA Spectra Infinity Enhanced D-pad Replacement: 4 단계, 이미지 1/1
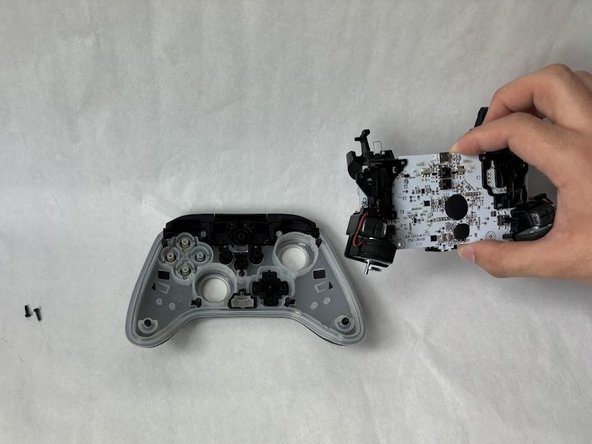
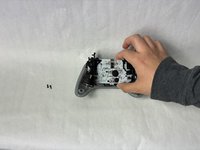
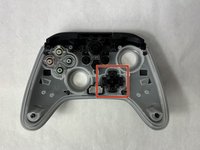
    • Remove the two 10 mm screws connecting the motherboard to the faceplate using a Phillips #0 screwdriver.

  5. PowerA Spectra Infinity Enhanced D-pad Replacement: 5 단계, 이미지 1/2 PowerA Spectra Infinity Enhanced D-pad Replacement: 5 단계, 이미지 2/2
    • Use your hand to separate the motherboard from the face plate.

  6. PowerA Spectra Infinity Enhanced D-pad Replacement, D-pad: 6 단계, 이미지 1/2 PowerA Spectra Infinity Enhanced D-pad Replacement, D-pad: 6 단계, 이미지 2/2
    • Remove the D-pad.

    • The buttons will fall out easily if you flip the faceplate over. You can raise the faceplate off the surface and push the D-Pad out from underneath.

결론

To reassemble your device, follow these instructions in reverse order.

다른 한 분이 해당 안내서를 완성하였습니다.

Kevyn Jorge

회원 가입일: 03/22/24

955 평판

안내서 6개 작성하였습니다

UMass Dartmouth, Team 6-5, Botvin Spring 2024 UMass Dartmouth, Team 6-5, Botvin Spring 2024 회원

UMASSD-BOTVIN-S24S6G5

3 회원들

안내서 6개 작성하였습니다

댓글 0개

댓글 쓰기

조회 통계:

24 시간 전: 0

7일 전: 3

30일 전: 13

전체 시간: 50