주요 콘텐츠로 건너뛰기
수리 커뮤니티 가입 - 계정 만들기

PowerBook 3400 M3553 Display Replacement

필요한 것

    1. PowerBook 3400 M3553 Display Replacement, Battery: 1 단계, 이미지 1개 중 1개
      • Close the screen and turn the PowerBook over, orienting the computer upside down, using the label to guide you.

      댓글 쓰기

    2. PowerBook 3400 M3553 Display Replacement: 2 단계, 이미지 2개 중 1개 PowerBook 3400 M3553 Display Replacement: 2 단계, 이미지 2개 중 2개
      • Hold the button on the front left side and slide the battery out.

      댓글 쓰기

    1. PowerBook 3400 M3553 Display Replacement, Keyboard: 3 단계, 이미지 1개 중 1개
      • With a Torx T8 screwdriver, remove the three Torx 24mm screws along the center of the back panel.

      댓글 쓰기

    2. PowerBook 3400 M3553 Display Replacement: 4 단계, 이미지 3개 중 1개 PowerBook 3400 M3553 Display Replacement: 4 단계, 이미지 3개 중 2개 PowerBook 3400 M3553 Display Replacement: 4 단계, 이미지 3개 중 3개
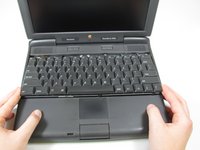
      • Turn the computer over and open the display. You should see that the keyboard is loose.

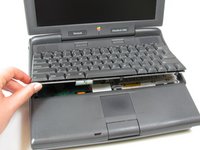
      • Before attempting to remove the keyboard, note that a ribbon cable connects the keyboard to the logic board. Improper removal may damage your keyboard.

      • Slightly lift the front of the keyboard up, and slide the keyboard towards yourself.

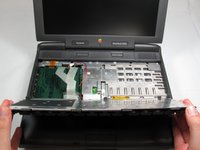
      • Carefully lift the top half of the keyboard and pull it towards yourself.

      댓글 쓰기

    3. PowerBook 3400 M3553 Display Replacement: 5 단계, 이미지 2개 중 1개 PowerBook 3400 M3553 Display Replacement: 5 단계, 이미지 2개 중 2개
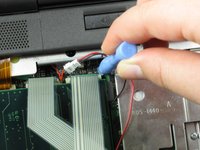
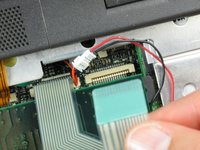
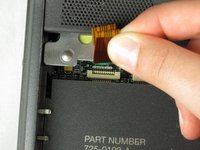
      • Loosen the ribbon cables connecting the keyboard to the computer by using a plastic opening tool to lift the tabs on either side of the cable port.

      • Gently remove the ribbons from its tabs.

      댓글 쓰기

    1. PowerBook 3400 M3553 Display Replacement, RAM: 6 단계, 이미지 2개 중 1개 PowerBook 3400 M3553 Display Replacement, RAM: 6 단계, 이미지 2개 중 2개
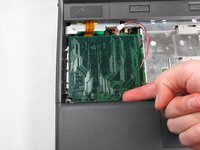
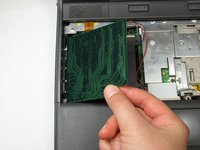
      • Gently wiggle the RAM card to loosen the connection until it pulls free.

      댓글 쓰기

    1. PowerBook 3400 M3553 Display Replacement, Speaker Panel: 7 단계, 이미지 2개 중 1개 PowerBook 3400 M3553 Display Replacement, Speaker Panel: 7 단계, 이미지 2개 중 2개
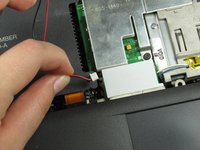
      • Disconnect the wires from the port.

      댓글 쓰기

    2. PowerBook 3400 M3553 Display Replacement: 8 단계, 이미지 1개 중 1개
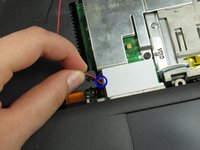
      • Remove the 7mm screw connecting the speaker panel to the computer.

      댓글 쓰기

    3. PowerBook 3400 M3553 Display Replacement: 9 단계, 이미지 2개 중 1개 PowerBook 3400 M3553 Display Replacement: 9 단계, 이미지 2개 중 2개
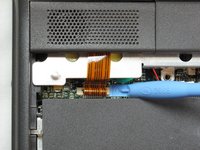
      • To detach the speaker panel's ribbon cable, use a plastic opening tool to lift the tabs on both sides of the cable port.

      • Once loose, pull the ribbon cable free.

      댓글 쓰기

    4. PowerBook 3400 M3553 Display Replacement: 10 단계, 이미지 2개 중 1개 PowerBook 3400 M3553 Display Replacement: 10 단계, 이미지 2개 중 2개
      • Lift the lighting/audio panel from it's bottom corners and pull the panel towards yourself.

      댓글 쓰기

    1. PowerBook 3400 M3553 Display Replacement, Display: 11 단계, 이미지 1개 중 1개
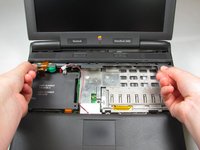
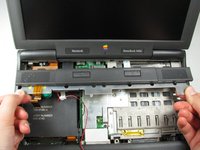
      • Remove the panels on either side by gently but firmly pulling up on them with both hands.

      댓글 쓰기

    2. PowerBook 3400 M3553 Display Replacement: 12 단계, 이미지 2개 중 1개 PowerBook 3400 M3553 Display Replacement: 12 단계, 이미지 2개 중 2개
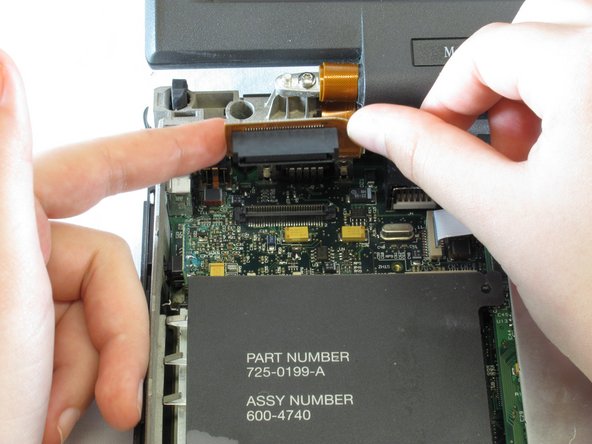
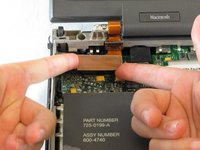
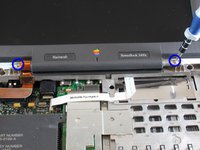
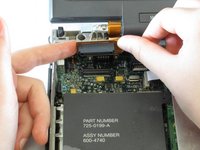
      • Gently pull up on the ribbon cable connection that connects the screen to the logic board.

      댓글 쓰기

    3. PowerBook 3400 M3553 Display Replacement: 13 단계, 이미지 2개 중 1개 PowerBook 3400 M3553 Display Replacement: 13 단계, 이미지 2개 중 2개
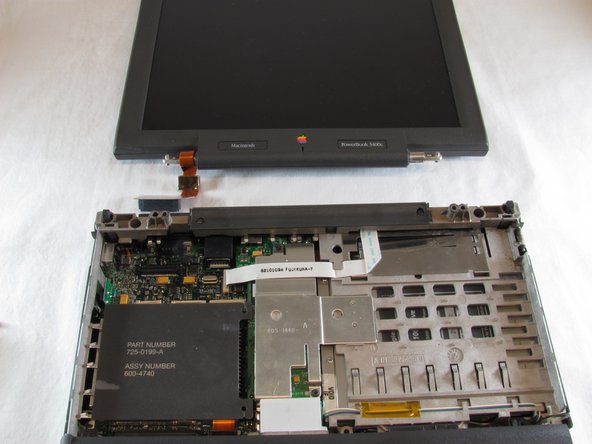
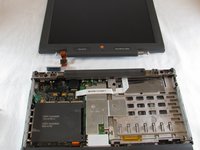
      • The two T8 13 mm torx screws hold the display screen in place. Be sure to remove the screws while supporting the screen or else it will fall.

      • Remove the two T8 13 mm long torx screws on either side of the display, located under the side panels.

      • Gently pull the display free of the computer.

      댓글 쓰기

결론

To replace the display, follow these instructions in reverse order.

취소: 해당 안내서를 완성하지 않았습니다.

다른 2명이 해당 안내서를 완성하였습니다.

작성자

3다른 기여자 명과 함께

Michael Mondragon

회원 가입일: 04/12/11

397 평판

안내서 9개를 작성함

Cal Poly, Team 24-59, Amido Spring 2011 Cal Poly, Team 24-59, Amido Spring 2011 회원

CPSU-AMIDO-S11S24G59

4 회원들

안내서 63개를 작성함

2가이드 댓글

Note that the side panels should be placed back BEFORE the audio panel.

Stanislav Ambartsumov - 답글 공유
right, also I often had problems with placing the audio panel back into its place, it's three little plastic noses just didnt want to fit back into its notches of the back.

Jamba - 답글 공유

댓글 쓰기

조회 통계:

지난 24시간: 1

지난 7일: 7

지난 30일: 41

전체 시간: 3,717