소개
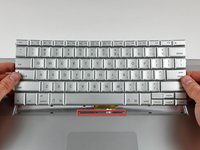
This guide shows the hidden screws you must remove when replacing the keyboard.
필요한 것
-
-
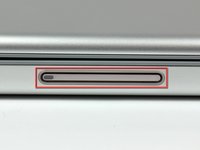
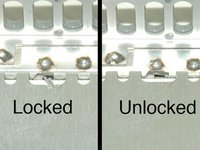
Use your thumbs to push the two battery retaining tabs away from the battery.
-
The battery should pop up enough to rotate it toward yourself and lift it out of the lower case.
-
-
-
Remove the three 2.3 mm Phillips screws securing the memory cover to the lower case.
-
-
-
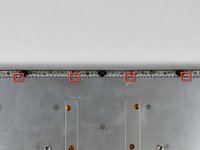
Remove the following ten screws:
-
Two 14.7 mm shouldered Phillips.
-
Three 12.3 mm Phillips.
-
One 3.8 mm T8 Torx.
-
One 6.8 mm T8 Torx.
-
Three 1.3 mm Phillips.
-
-
-
-
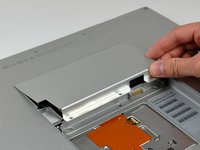
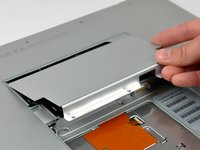
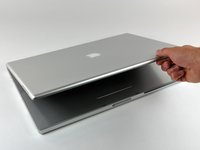
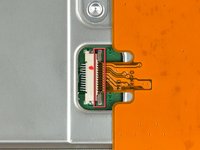
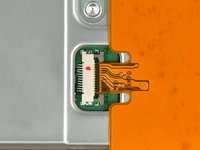
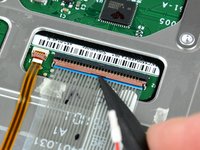
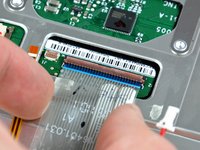
Remove the two Phillips screws securing the electronic track pad button to the lower case.
-


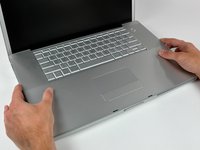


To reassemble your device, follow these instructions in reverse order.
To reassemble your device, follow these instructions in reverse order.
다른 3명이 해당 안내서를 완성하였습니다.
첨부 문서

댓글 2개
Excellent detailed instructions and cautions. Even the magnified pictures are very good. A bit more complicated than a Dell or Toshiba. Mahalo.
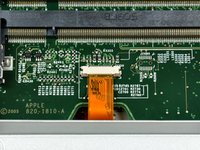
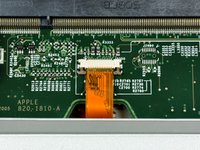
there’s a connector for the power button on the orange ribbon that doesn’t slip through slit - WTF?