소개
If a purse has too much weight, a strap can break. It's more expensive to buy a new purse than it is to repair the strap. This guide will teach you how to repair your strap to have your purse back to working order.
필요한 것
-
-
Find a replacement strap or a long, thin piece of fabric you want to use for your purse strap.
-
-
-
Put the strap through the handle attachments.
-
Fold the end over.
-
There should be about 1/2 inch to 1 inch room for sewing.
-
Note: once the strap's end is folded over, make sure there is enough strap between each handle attachment for you to carry the bag.
-
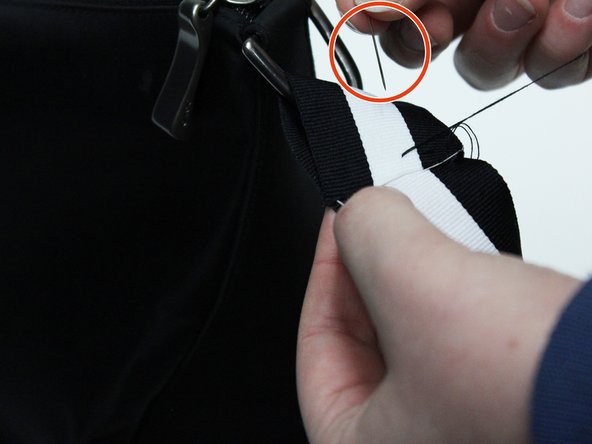
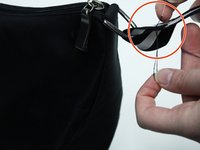
Get your needle out and thread it with your preference of colored thread. We have used black.
-
-
-
-
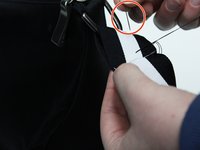
Fold the strap so there is a half-inch between the stitching line and the handle attachment.
-
Sewing
-
Start on one edge and push the needle through both piece of strap.
-
Once the bit of thread is pulled through, go through the strap again, this time a pinch to the side of where you came up.
-
Repeat this until you have sewed a stitch across the entire width of the strap.
-
After reaching the opposite end, pull the needle through, bringing up as much excess thread as it allows. Note: do not pull too hard or the thread will rip.
-
Tie a knot at the end, keeping the knot close to the base of the thread. Repeat until you believe the knot is strong enough to hold.
-


Make sure the stitches are secure by gently tugging on the strap. If it does not come un-stitched, then you are finished with your repair.
다른 한 분이 해당 안내서를 완성하였습니다.
팀

Missouri Western, Team S1-G6, Adkins Fall 2017 Missouri Western, Team S1-G6, Adkins Fall 2017 회원
MWSU-ADKINS-F17S1G6
3 회원들
안내서 2개를 작성함