소개
If the trigger in your Worm Drive Saw won’t respond when pressed or appears to be broken, use this guide to remove and replace your trigger switch and trigger. All you need are the standard Phillips 2 Screwdriver and Torque 20 Screwdriver, in order to remove the two types of screws involved with this replacement.
필요한 것
-
-
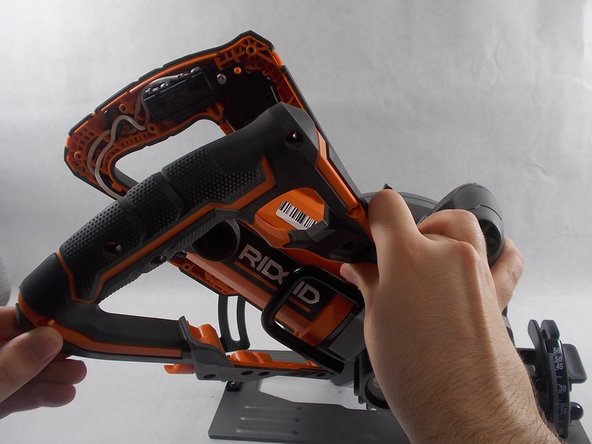
Place the Worm Drive Saw down and adjust the base plate, so that way the main housing assembly and handle set is easily accessible.
 FixBot에 문의하기
-
-
-
Using the Torque 20 screwdriver, remove the twelve 3/10 cm screws holding the handle set together.
-
-
-
-
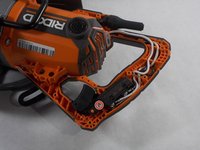
Place the Worm Drive Saw on its side to help remove the trigger.
-
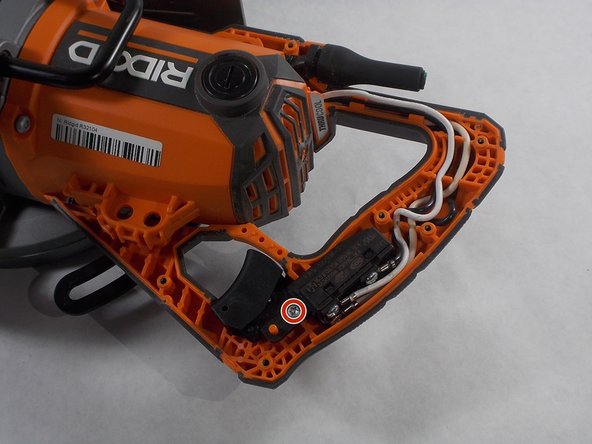
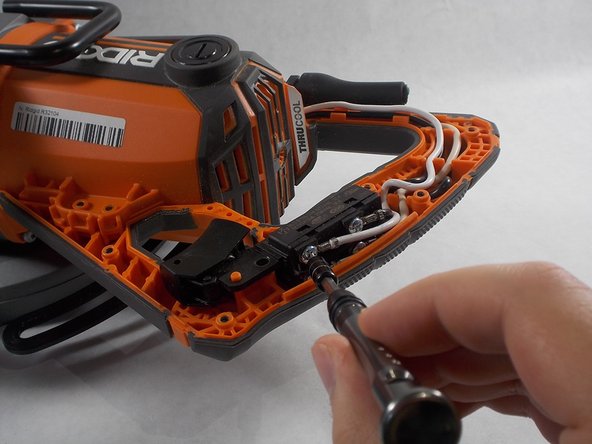
Use the Torque 20 screwdriver to remove the single 3/10 cm screw that attaches the trigger switch to the handle set.
-
-
-
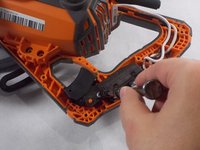
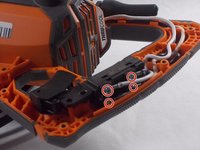
Use the Phillips 2 screwdriver to remove the four 3/10 cm screws holding the trigger and four wires, from the main housing assembly, in place.
-


To reassemble your device, follow these instructions in reverse order.
다른 2명이 해당 안내서를 완성하였습니다.
팀

UMass Dartmouth, Team S5-G1, Julie Spring 2019 UMass Dartmouth, Team S5-G1, Julie Spring 2019 회원
UMASSD-JULIE-S19S5G1
4 회원들
안내서 8개를 작성함