주요 콘텐츠로 건너뛰기
수리 커뮤니티 가입 - 계정 만들기

RYDIS H68 Pro Wheel Replacement

필요한 것

  1. RYDIS H68 Pro Wheel  Replacement, Battery: 1 단계, 이미지 2개 중 1개 RYDIS H68 Pro Wheel  Replacement, Battery: 1 단계, 이미지 2개 중 2개
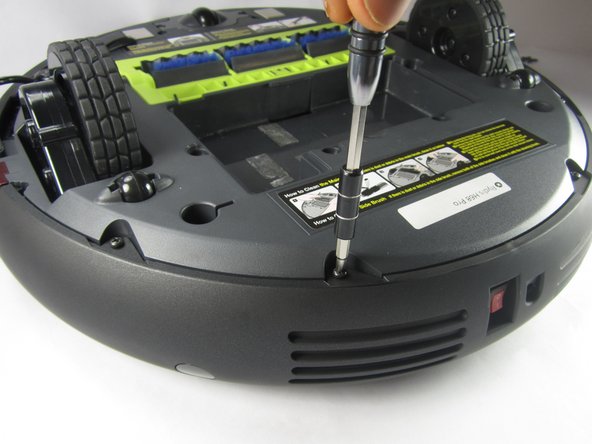
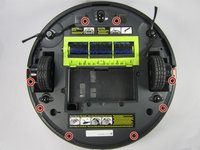
    • Flip the vacuum over so that the wheels are facing you.

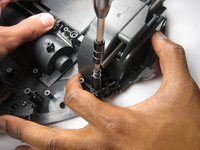
    • Use a Phillips #1 screwdriver to remove the four 10 mm screws that surround the battery cover.

    댓글 쓰기

  2. RYDIS H68 Pro Wheel  Replacement: 2 단계, 이미지 1개 중 1개
    • Lift the battery cover up to reveal the battery.

    • Remove the battery.

    댓글 쓰기

  3. RYDIS H68 Pro Wheel  Replacement, Bumper: 3 단계, 이미지 3개 중 1개 RYDIS H68 Pro Wheel  Replacement, Bumper: 3 단계, 이미지 3개 중 2개 RYDIS H68 Pro Wheel  Replacement, Bumper: 3 단계, 이미지 3개 중 3개
    • Remove the eight 10 mm Phillips #1 screws.

    댓글 쓰기

  4. RYDIS H68 Pro Wheel  Replacement: 4 단계, 이미지 3개 중 1개 RYDIS H68 Pro Wheel  Replacement: 4 단계, 이미지 3개 중 2개 RYDIS H68 Pro Wheel  Replacement: 4 단계, 이미지 3개 중 3개
    • Hold the front bumper and pull it off.

    • It requires a lot of force to pull the bumper off.

    댓글 쓰기

  5. RYDIS H68 Pro Wheel  Replacement: 5 단계, 이미지 3개 중 1개 RYDIS H68 Pro Wheel  Replacement: 5 단계, 이미지 3개 중 2개 RYDIS H68 Pro Wheel  Replacement: 5 단계, 이미지 3개 중 3개
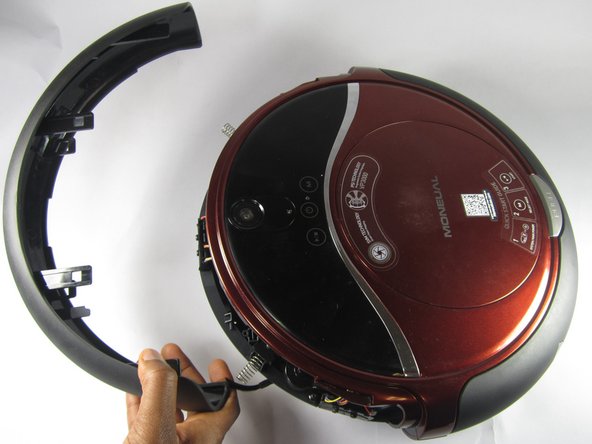
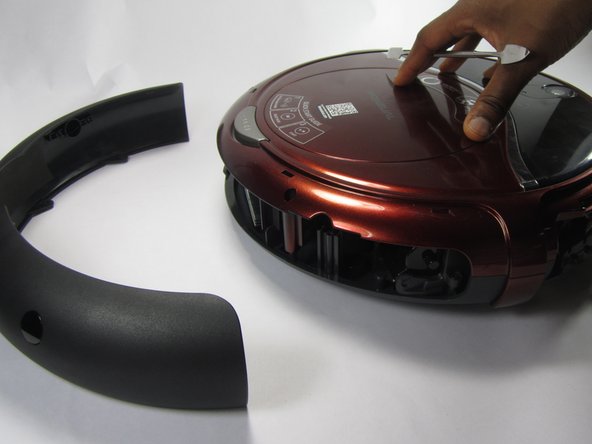
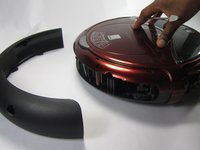
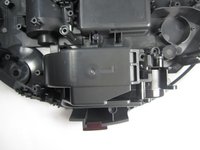
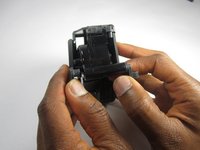
    • Pry off the back bumper by going around the entire top of the bumper with the metal spudger.

    댓글 쓰기

  6. RYDIS H68 Pro Wheel  Replacement, Wheel assembly: 6 단계, 이미지 1개 중 1개
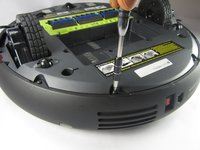
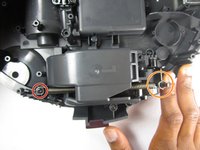
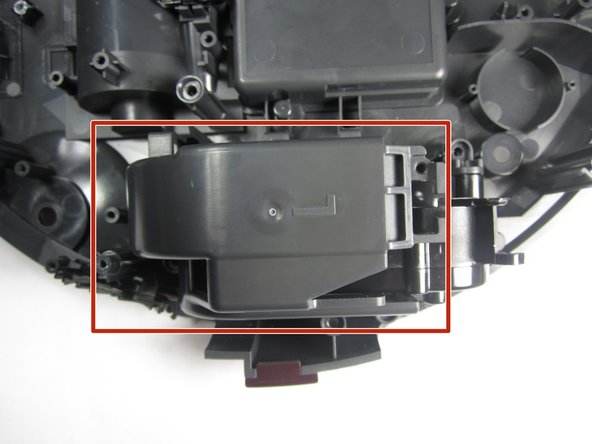
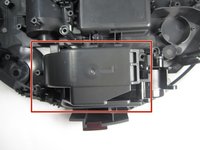
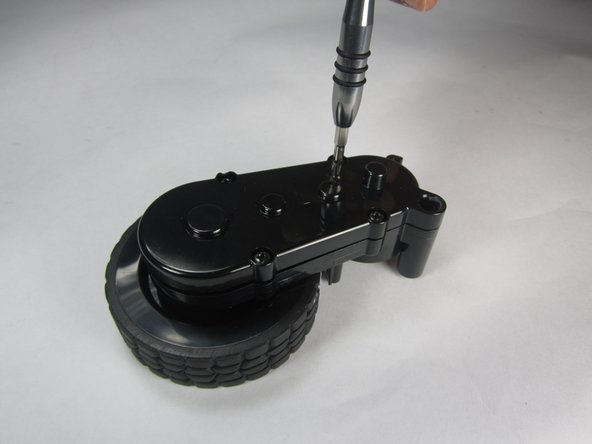
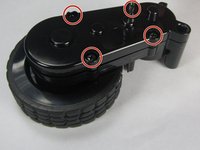
    • Remove three 10mm Philips #1 screws that are securing the wheel assembly.

    댓글 쓰기

  7. RYDIS H68 Pro Wheel  Replacement: 7 단계, 이미지 2개 중 1개 RYDIS H68 Pro Wheel  Replacement: 7 단계, 이미지 2개 중 2개
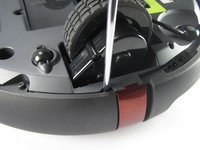
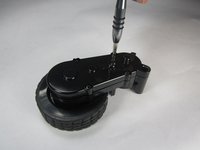
    • Remove the 10mm Phillips #1 screw securing the spring.

    • Then undo the spring from the plastic hook to completely remove it from the wheel assembly.

    댓글 쓰기

  8. RYDIS H68 Pro Wheel  Replacement: 8 단계, 이미지 3개 중 1개 RYDIS H68 Pro Wheel  Replacement: 8 단계, 이미지 3개 중 2개 RYDIS H68 Pro Wheel  Replacement: 8 단계, 이미지 3개 중 3개
    • Lift up on the plastic piece to remove the entire wheel assembly.

    댓글 쓰기

  9. RYDIS H68 Pro Wheel  Replacement: 9 단계, 이미지 3개 중 1개 RYDIS H68 Pro Wheel  Replacement: 9 단계, 이미지 3개 중 2개 RYDIS H68 Pro Wheel  Replacement: 9 단계, 이미지 3개 중 3개
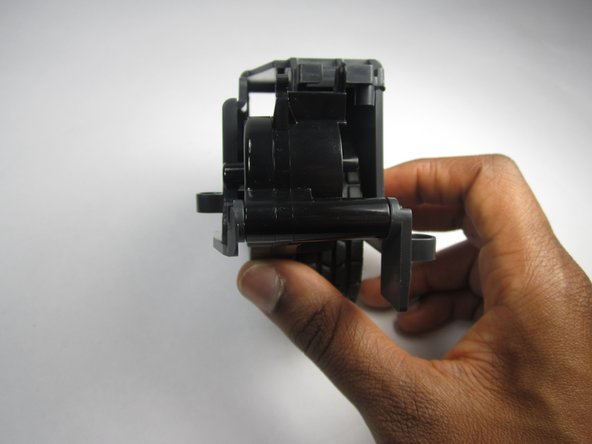
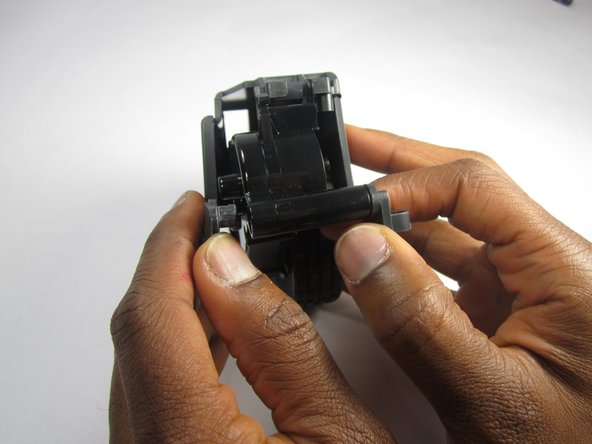
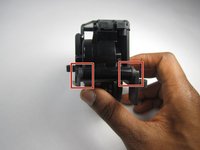
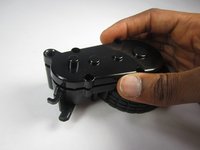
    • Remove the plastic frame by pulling outward on the two spots where it is fastened.

    댓글 쓰기

  10. RYDIS H68 Pro Wheel  Replacement: 10 단계, 이미지 2개 중 1개 RYDIS H68 Pro Wheel  Replacement: 10 단계, 이미지 2개 중 2개
    • Remove the four 10mm Phillips #1 screws around the edges of the cover.

    댓글 쓰기

  11. RYDIS H68 Pro Wheel  Replacement: 11 단계, 이미지 3개 중 1개 RYDIS H68 Pro Wheel  Replacement: 11 단계, 이미지 3개 중 2개 RYDIS H68 Pro Wheel  Replacement: 11 단계, 이미지 3개 중 3개
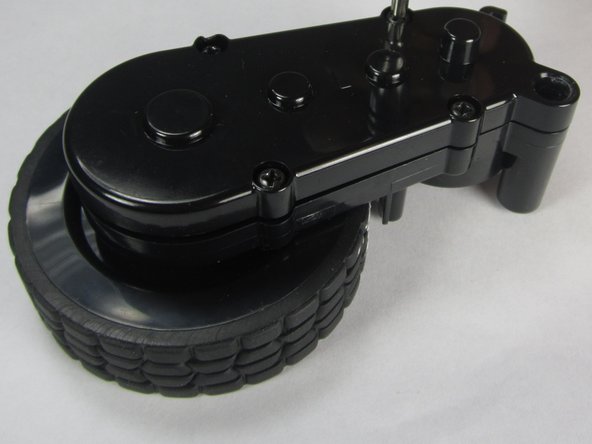
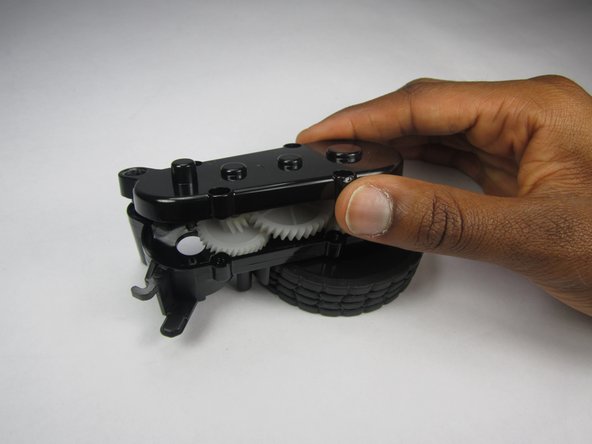
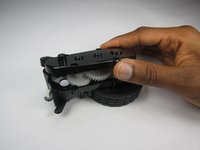
    • Lift up on the top cover to remove it.

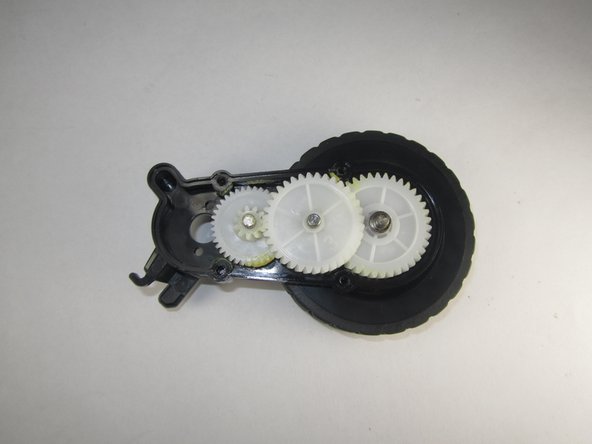
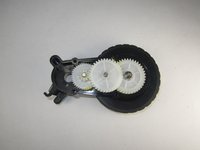
    • Removing the top cover reveals the gear system consisting of three gears.

    댓글 쓰기

결론

To reassemble your device, follow these instructions in reverse order.

취소: 해당 안내서를 완성하지 않았습니다.

작성자

3다른 기여자 명과 함께

Shawn O'Meara

회원 가입일: 02/27/17

101 평판

안내서 1개를 작성함

USFT-Lacy-S17S005G2 USFT-Lacy-S17S005G2 회원

Local Repair Groups

4 회원들

안내서 10개를 작성함

0가이드 댓글

댓글 쓰기

조회 통계:

지난 24시간: 2

지난 7일: 5

지난 30일: 39

전체 시간: 630