주요 콘텐츠로 건너뛰기
수리 커뮤니티 가입 - 계정 만들기

Roku 4 Motherboard Replacement

필요한 것

  1. Roku 4 Motherboard Replacement, Motherboard: 1 단계, 이미지 1개 중 1개
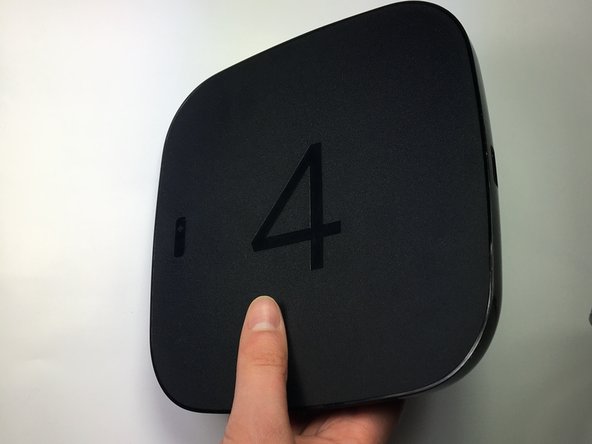
    • Place the Roku 4 face-down on a table. The rubber sticker should be facing you.

    댓글 쓰기

  2. Roku 4 Motherboard Replacement: 2 단계, 이미지 1개 중 1개
    • Starting at one corner of the device, pull the rubber sticker back toward the opposite corner of the device carefully to reveal the underlying screws.

    • Completely remove the rubber sticker to reveal the underlying screws on the device.

    • Place the rubber sticker facing up on the table to preserve its adhesiveness. It will be needed to reassemble the device.

    댓글 쓰기

  3. Roku 4 Motherboard Replacement: 3 단계, 이미지 1개 중 1개
    • Turn the Phillips PH1 screwdriver counterclockwise to unscrew all 4 of the 12.0 mm screws.

    • Store the screws in a safe place, such as on a magnetic project mat, so they do not get lost before reassembly.

    댓글 쓰기

  4. Roku 4 Motherboard Replacement: 4 단계, 이미지 2개 중 1개 Roku 4 Motherboard Replacement: 4 단계, 이미지 2개 중 2개
    • Turn the device over so you can see the "4" on the top cover.

    댓글 쓰기

  5. Roku 4 Motherboard Replacement: 5 단계, 이미지 2개 중 1개 Roku 4 Motherboard Replacement: 5 단계, 이미지 2개 중 2개
    • Wedge a plastic opening tool into the seam between the top cover and bottom casing of the device and create a gap.

    • Prying open the device is quite difficult and requires a large amount of force. Use caution to avoid breaking the device or hurting yourself.

    댓글 쓰기

  6. Roku 4 Motherboard Replacement: 6 단계, 이미지 1개 중 1개
    • After you have created a gap large enough to fit your fingers between, gently lift up the top cover to open the device and reveal the motherboard.

    • The motherboard should still be attached to the underside of the top cover by a red wire, a blue wire, and a black wire.

    댓글 쓰기

  7. Roku 4 Motherboard Replacement: 7 단계, 이미지 3개 중 1개 Roku 4 Motherboard Replacement: 7 단계, 이미지 3개 중 2개 Roku 4 Motherboard Replacement: 7 단계, 이미지 3개 중 3개
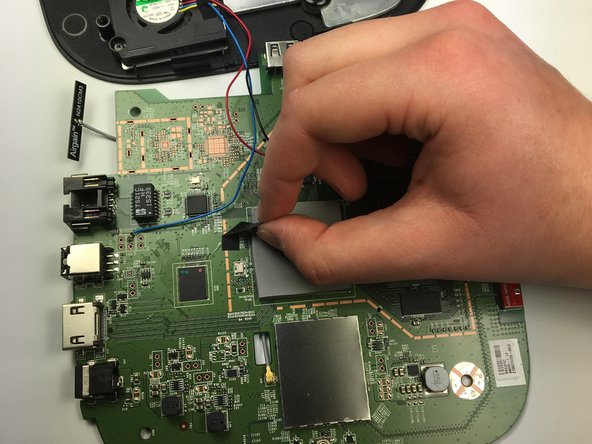
    • To begin removing the motherboard from the plastic casing, pinch the black plastic clip and gently pull upward.

    • Once you feel the motherboard begin to loosen from the plastic casing, pull it upward to remove it completely.

    • The motherboard should still be attached to the underside of the top cover by a red wire, a blue wire, and a black wire.

    댓글 쓰기

  8. Roku 4 Motherboard Replacement: 8 단계, 이미지 3개 중 1개 Roku 4 Motherboard Replacement: 8 단계, 이미지 3개 중 2개 Roku 4 Motherboard Replacement: 8 단계, 이미지 3개 중 3개
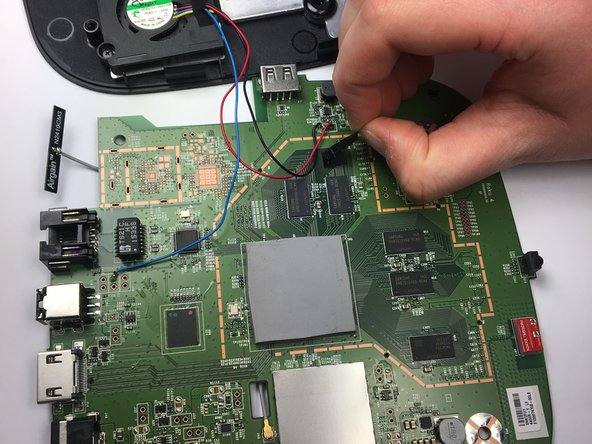
    • Peel back the black adhesive strip that attaches the blue wire to the motherboard.

    • Repeat this step for the strip that attaches the black and red wires to the motherboard.

    댓글 쓰기

  9. Roku 4 Motherboard Replacement: 9 단계, 이미지 3개 중 1개 Roku 4 Motherboard Replacement: 9 단계, 이미지 3개 중 2개 Roku 4 Motherboard Replacement: 9 단계, 이미지 3개 중 3개
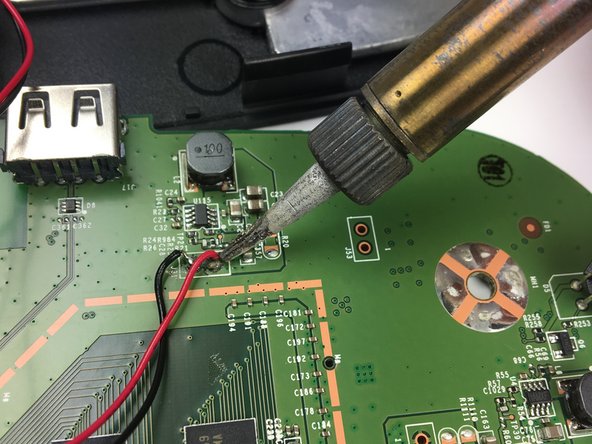
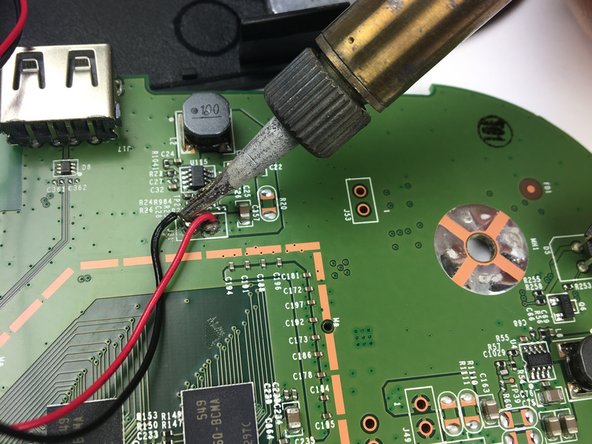
    • Using a soldering iron, desolder the blue, red, and black wires from the motherboard.

    • Consult iFixit's Soldering Skills guide to safely use the soldering iron.

    • The motherboard should now be completely disconnected from the top cover of the device.

    댓글 쓰기

결론

Follow these steps in the reverse order to reassemble your device.

취소: 해당 안내서를 완성하지 않았습니다.

다른 7명이 해당 안내서를 완성하였습니다.

작성자

5다른 기여자 명과 함께

Bradley Rains

회원 가입일: 03/26/17

166 평판

안내서 1개를 작성함

Baylor, Team S5-G4, Williams Spring 2017 Baylor, Team S5-G4, Williams Spring 2017 회원

BU-WILLIAMS-S17S5G4

3 회원들

안내서 4개를 작성함

4가이드 댓글

Thank you, have you upgraded to a new 2019 Ultra model yet?

Allan Landwer - 답글 공유

Soldering the fan to the mobo is a suck move. However, they used a good quality bearing-less fan.

smbrannon - 답글 공유

Can you gve me areson? will it suck out the perfomance?

Kind-hearted, spirited Man - 답글 공유

Because it makes replacing the motherboard more difficult. For a few cents more, they could have placed a small connector inline between the fan and motherboard, making disconnecting the fan and top case really easy.

Bob Reed - 답글 공유

댓글 쓰기

조회 통계:

지난 24시간: 2

지난 7일: 14

지난 30일: 47

전체 시간: 6,321