주요 콘텐츠로 건너뛰기

SSD Replacement

필요한 것

  1. SSD Replacement, removal of bottom case: 1 단계, 이미지 1/2 SSD Replacement, removal of bottom case: 1 단계, 이미지 2/2
    • remove the feet with a spudger

  2. SSD Replacement: 2 단계, 이미지 1/2 SSD Replacement: 2 단계, 이미지 2/2
    • Remove the 11 screw with a PH0 screwdriver.

    • The screws are identical

  3. SSD Replacement: 3 단계, 이미지 1/2 SSD Replacement: 3 단계, 이미지 2/2
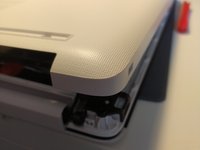
    • Insert a spudger between the bottom cover and the keyboard module, then go around the whole cover to uncip everything.

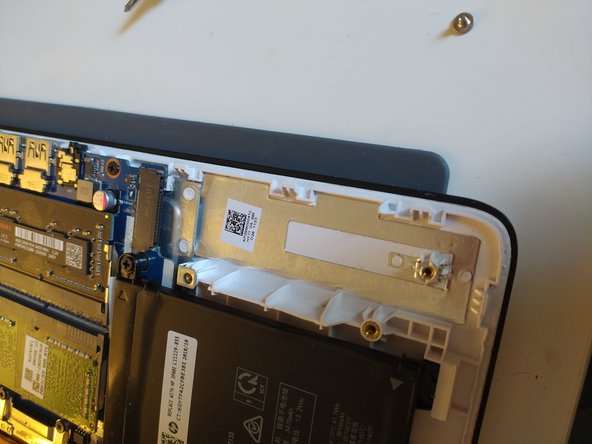
    • Remove the bottom cover from the computer.

  4. SSD Replacement: 4 단계, 이미지 1/1
    • You now have acces to the inside of the machine.

  5. SSD Replacement, SSD: 5 단계, 이미지 1/1
    • remove the screw with your PH0 screwdriver

  6. SSD Replacement: 6 단계, 이미지 1/2 SSD Replacement: 6 단계, 이미지 2/2
    • slide the SSD out of the m.2 slot

    • It may be necessary to slightly lift up the back of the SSD

    • The SSD is now removed

결론

Install your SSD

To reassemble your machine, follow the instructions in reverse order.

다음 번역가들에게 특별히 감사 드립니다:

fr en

100%

S Devaud님은 저희가 세상을 수리하는데 동참하신 분입니다! 기여하시겠습니까?
번역 시작하기 ›

Léo FRAYSSE

회원 가입일: 09/03/18

1,212 평판

안내서 6개 작성하였습니다

댓글 0개

댓글 쓰기

조회 통계:

24 시간 전: 0

7일 전: 2

30일 전: 9

전체 시간: 386