주요 콘텐츠로 건너뛰기

Samsung Captivate Glide Camera Replacement

필요한 것

  1. Samsung Captivate Glide Camera Replacement, Motherboard: 1 단계, 이미지 1/3 Samsung Captivate Glide Camera Replacement, Motherboard: 1 단계, 이미지 2/3 Samsung Captivate Glide Camera Replacement, Motherboard: 1 단계, 이미지 3/3
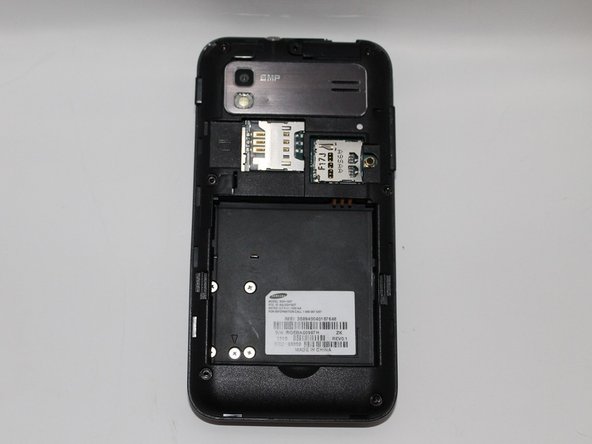
    • Remove back cover using fingernail or plastic opening tool. The cover pulls up and off.

  2. Samsung Captivate Glide Camera Replacement: 2 단계, 이미지 1/2 Samsung Captivate Glide Camera Replacement: 2 단계, 이미지 2/2
    • Remove battery with plastic opening tool or finger.

  3. Samsung Captivate Glide Camera Replacement: 3 단계, 이미지 1/2 Samsung Captivate Glide Camera Replacement: 3 단계, 이미지 2/2
    • Remove the seven screws from backplate using the #00 screwdriver.

  4. Samsung Captivate Glide Camera Replacement: 4 단계, 이미지 1/3 Samsung Captivate Glide Camera Replacement: 4 단계, 이미지 2/3 Samsung Captivate Glide Camera Replacement: 4 단계, 이미지 3/3
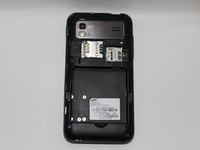
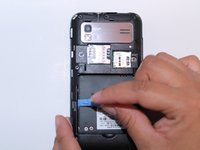
    • Remove the back plate using the plastic opening tool.

    • There is a lip on each side, and both must be pried up.

    • You can work your way around the edges after prying the two sides.

  5. Samsung Captivate Glide Camera Replacement: 5 단계, 이미지 1/2 Samsung Captivate Glide Camera Replacement: 5 단계, 이미지 2/2
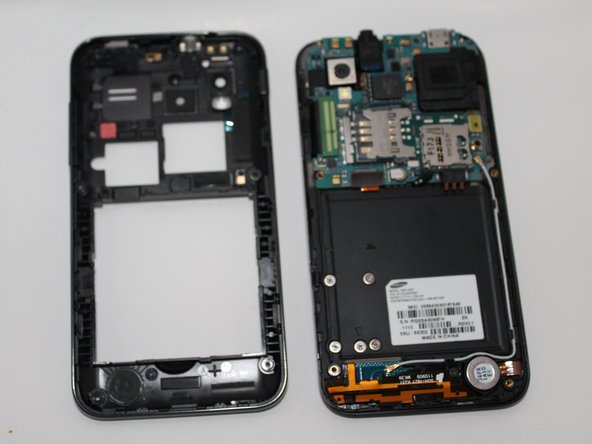
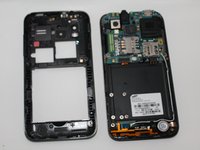
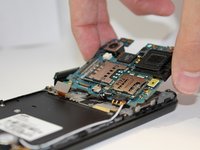
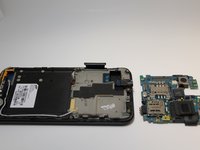
    • Use the plastic opening tool to detach the two tabs connecting the motherboard to the base of the phone.

  6. Samsung Captivate Glide Camera Replacement: 6 단계, 이미지 1/1
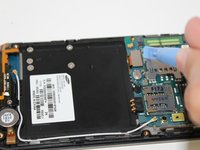
    • Disconnect the antenna cable from the motherboard using tweezers.

  7. Samsung Captivate Glide Camera Replacement: 7 단계, 이미지 1/1
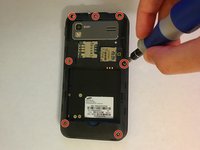
    • Remove the single screw connecting the motherboard to the base of the phone by using the #00 Phillips screwdriver.

  8. Samsung Captivate Glide Camera Replacement: 8 단계, 이미지 1/2 Samsung Captivate Glide Camera Replacement: 8 단계, 이미지 2/2
    • Lift the motherboard out of the base of the phone.

  9. Samsung Captivate Glide Camera Replacement, Camera: 9 단계, 이미지 1/3 Samsung Captivate Glide Camera Replacement, Camera: 9 단계, 이미지 2/3 Samsung Captivate Glide Camera Replacement, Camera: 9 단계, 이미지 3/3
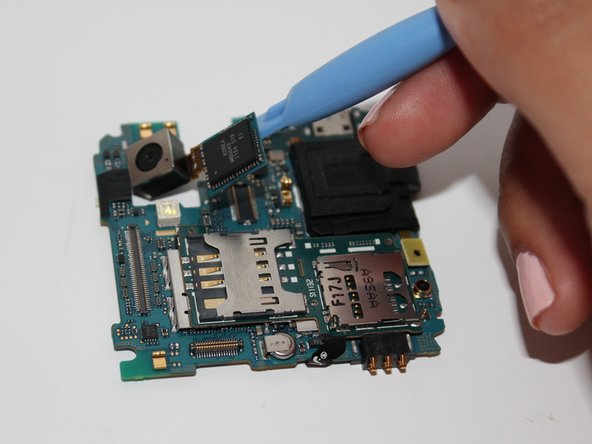
    • Using the opening tool, pry up the camera attachment from the motherboard.

결론

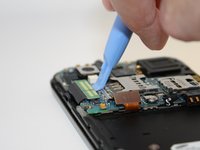
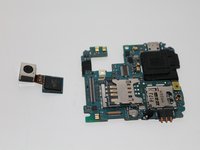
To reassemble your device, follow these instructions in reverse order.

다른 한 분이 해당 안내서를 완성하였습니다.

Jessica Martinez

회원 가입일: 09/25/14

260 평판

안내서 2개 작성하였습니다

USF Tampa, Team 5-3, Mcgee Fall 2014 USF Tampa, Team 5-3, Mcgee Fall 2014 회원

USFT-MCGEE-F14S5G3

4 회원들

안내서 5개 작성하였습니다

댓글 0개

댓글 쓰기

조회 통계:

24 시간 전: 0

7일 전: 1

30일 전: 9

전체 시간: 621