소개
Use the guide below to help you replace the hinge for the Samsung Chromebook Pro.
필요한 것
-
-
Remove the eight 30 mm screws from the edges of the case with the JIS J000 screw bit.
 FixBot에 문의하기
-
-
-
Slide the plastic opening tool in a corner at a steep angle, and lift up to remove the outer case.
-
-
이 단계에 사용된 도구:Tweezers$4.99
-
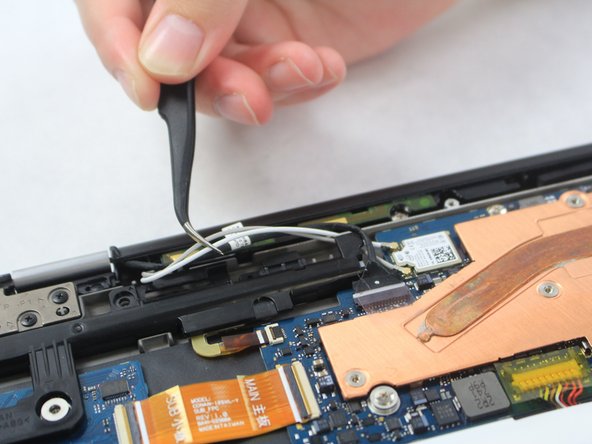
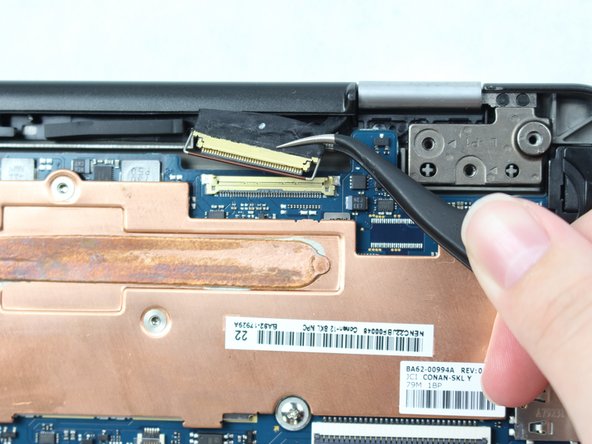
Locate the two white wires and one black wire. With the flat precision tweezers, untangle the white wires from the CONAN >PC+ABS< # 1-1.
-
Completely disconnect the black wire.
-
-
-
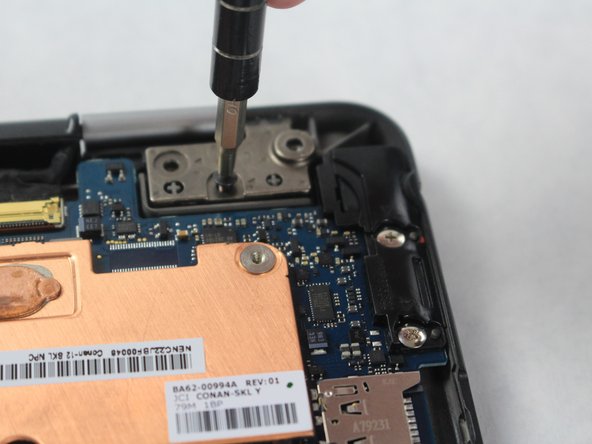
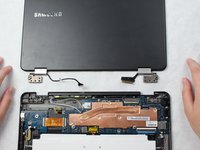
Remove the three 30 mm screws using the JIS J000 screw bit from the black CONAN >PC+ABS< # 1-1 plate.
-
Once all the screws are removed from the CONAN >PC+ABS< # 1-1 plate, remove the wire attached to underside and lift the plate to remove.
-
-
-
-
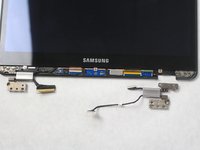
Locate hinge plates LP1 and RP1 on the top left and right corners of the Chromebook.
-
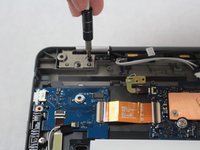
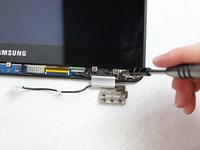
Remove the two 30 mm screws from hinge plates LP1 and RP1 using the JIS J000 screw bit.
-
-
-
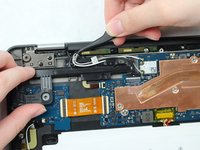
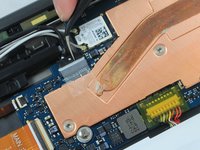
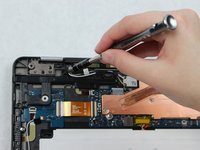
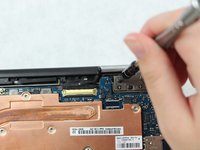
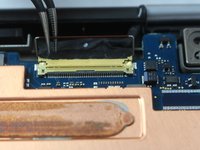
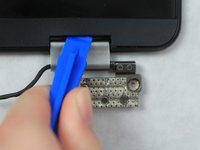
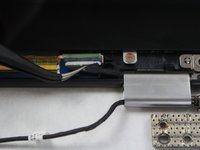
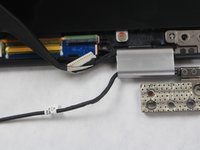
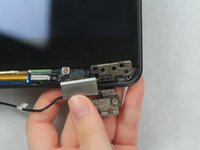
On the right top corner, locate the black and gold wire.
-
Lift the bar that is locking the wire in using the precision tweezers.
-
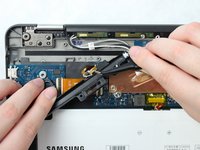
Disconnect the wire by grasping the black portion with the precision tweezers, and then pulling away from the Chromebook Pro.
-
-
-
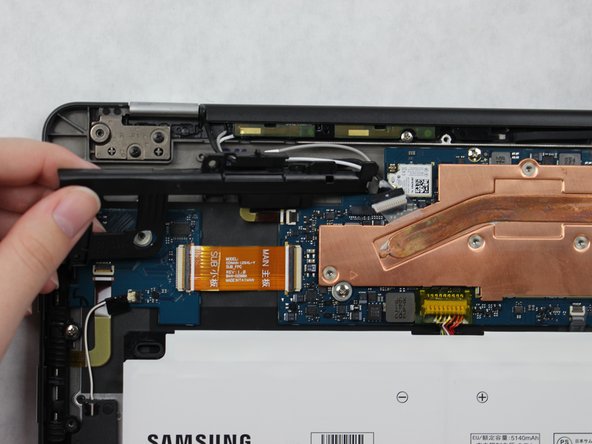
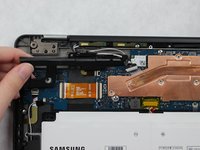
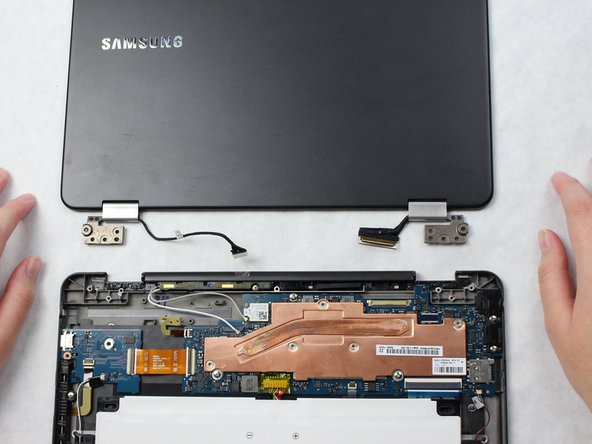
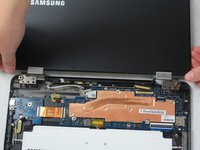
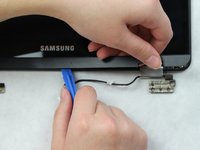
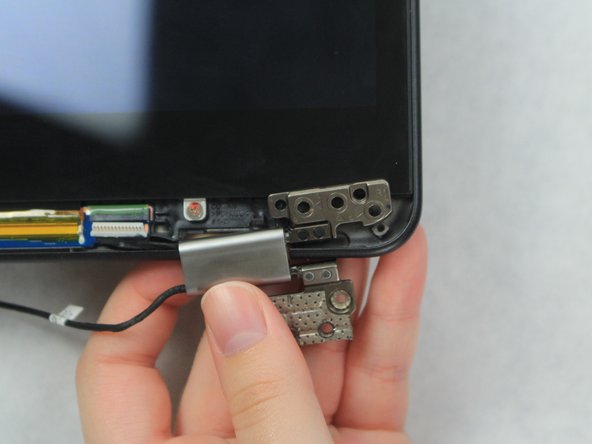
Place the plastic opening tool at an angle in the gap between the hinge and Chromebook screen and lift up.
-
Completely remove the plastic screen lining using the plastic opening tool.
-
-
-
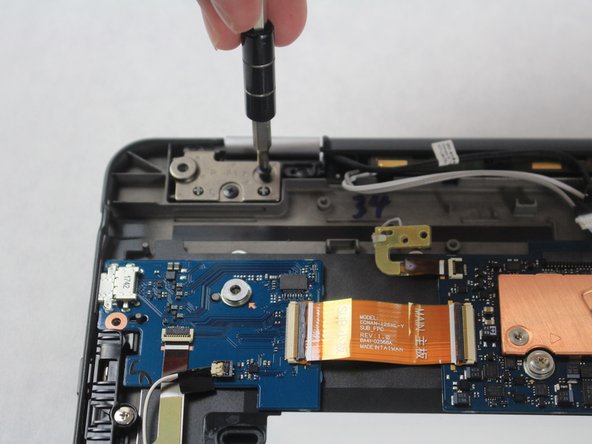
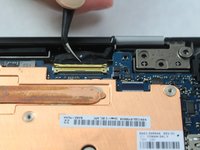
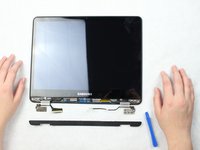
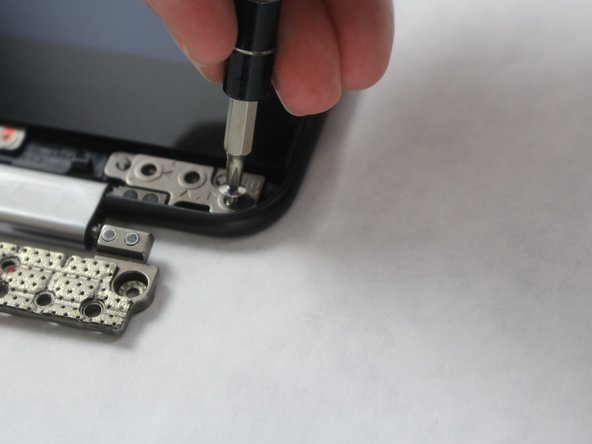
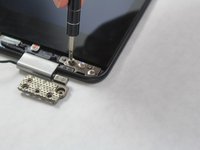
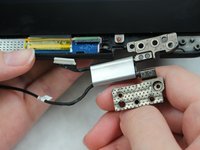
Remove the three 30 mm screws from hinge plate R1 and L1 using the JIS J000 screw bit.
-
-
-
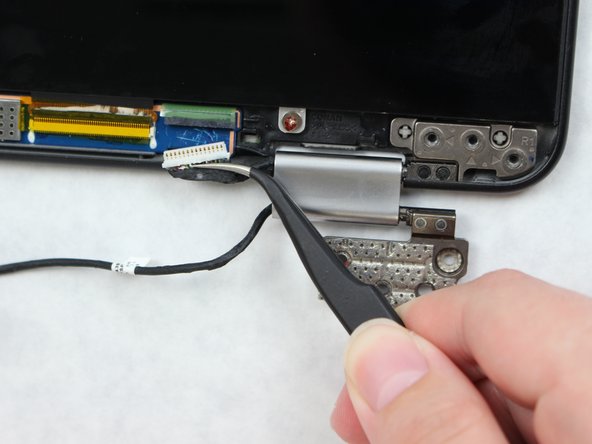
Disconnect the black wire on the R1 plate connected to the screen using the precision tweezers.
-


To reassemble your device, follow these instructions in reverse order.
다른 5명이 해당 안내서를 완성하였습니다.
팀

Sam Houston State, Team S15-G1, Blackburne Fall 2018 Sam Houston State, Team S15-G1, Blackburne Fall 2018 회원
SHSU-BLACKBURNE-F18S15G1
4 회원들
안내서 10개를 작성함
6가이드 댓글
I was able to find the hinges for mine on the Global Direct Parts web site. The item name is: OEM Samsung Chromebook Plus XE513C24, Pro XE510C24 Metal Hinge Set
Rob Riggle - 답글 공유
The cables are just pushed into the side of the hinge. One side had a stopper holding the cable in place that I had to pull out, but the other had nothing holding the cable (that was the broken hinge on my chromebook, so maybe it had a stopper that had fallen out at one point). Once the stopper was removed from the one hinge, I could pull the cables out, and push them into new hinges.
Just replaced these hinges on my computer … was only a bit confused with the stopper in the hinge but otherwise this guide was extremely helpful. Took about 30 min to do …