소개
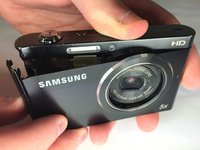
This guide describes how to replace the Samsung DV300F front LCD screen. There are many small screws involved with this process.
If your Samsung DV300F is displaying black spots, discolored areas, or blurred sections , it is time to replace the LCD screen.
필요한 것
-
-
Remove the two black 4.2 mm screws on the right side of the camera using a Phillips #0 screwdriver.
-
Remove the two black 4.2 mm screws on the left side of the camera using a Phillips #0 screwdriver.
-
Remove the two black 4.2 mm screws on the bottom of the camera using a Phillips #0 screwdriver.
 FixBot에 문의하기
-
-
-
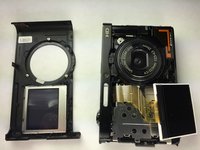
Remove the front case of the camera.
-
Remove the front LCD screen from the front case next to the lens.
-
-
-
-
Remove the blue button control from its position next to the LCD screen.
-
Pull the ribbon cable to disconnect the blue button control from the camera.
-
-
-
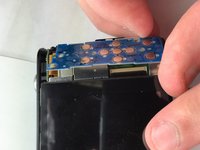
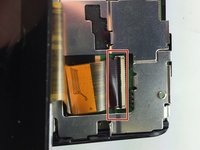
Flip the black tab where the back LCD screen connects to the circuit board.
-
Pull the tape connection to disconnect the back LCD screen from the circuit board.
-
-
-
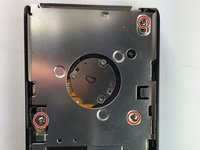
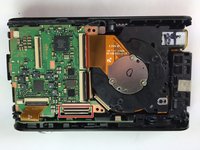
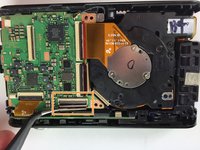
Unscrew the 3 silver 4.5 mm screws from the circuit board using a Phillips #0 screwdriver.
-
Remove the circuit board cover.
-
-
-
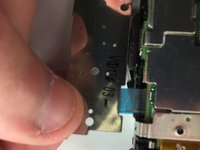
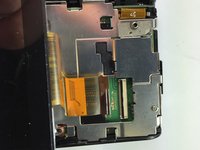
Flip the black tab where the front LCD screen connects to the circuit board.
-
Pull the tape connection to disconnect the front LCD screen from the circuit board.
-
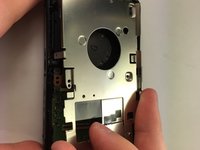
Remove the front LCD screen from the front of the camera.
-


To reassemble your device, follow these instructions in reverse order.
다른 한 분이 해당 안내서를 완성하였습니다.
팀

Baylor, Team 5-10, Williams Spring 2015 Baylor, Team 5-10, Williams Spring 2015 회원
BU-WILLIAMS-S15S5G10
3 회원들
안내서 10개를 작성함