소개
Use this guide to remove the back cover and the fingerprint sensor on your Samsung Galaxy M31.
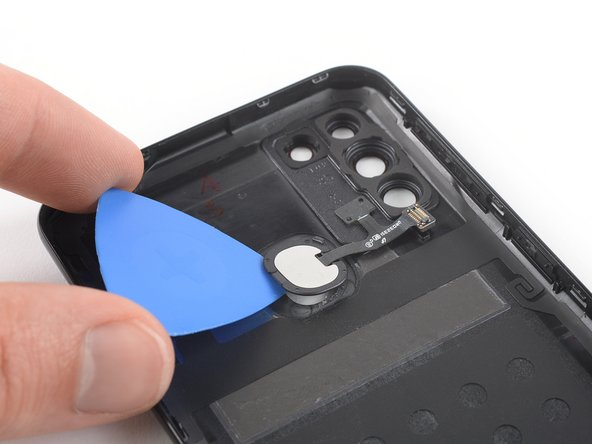
You’ll need replacement adhesive to reattach the fingerprint sensor when reassembling the device.
필요한 것
-
-
Insert a SIM card eject tool, a SIM eject bit or a straightened paper clip into the hole on the SIM tray located at the left side of the phone.
-
Press firmly to eject the tray.
-
-
-
-
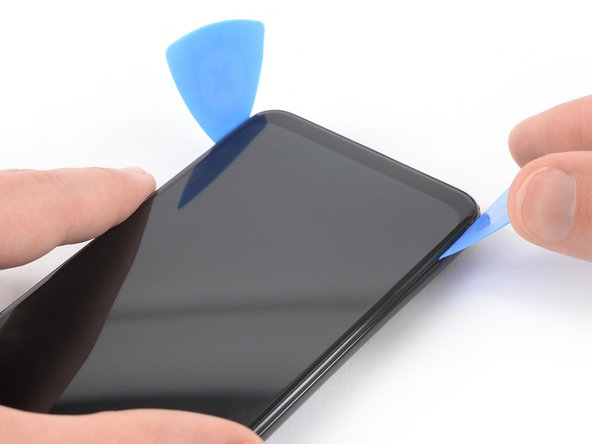
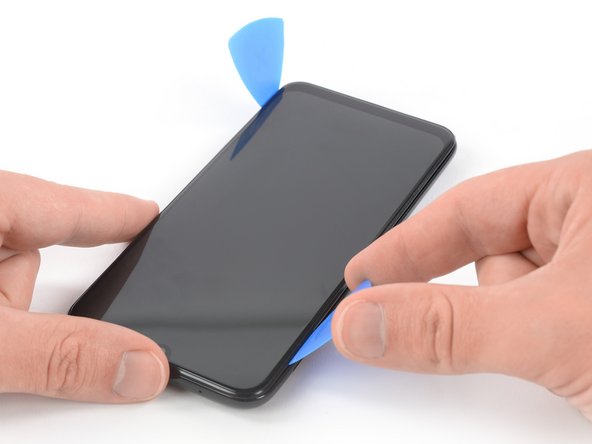
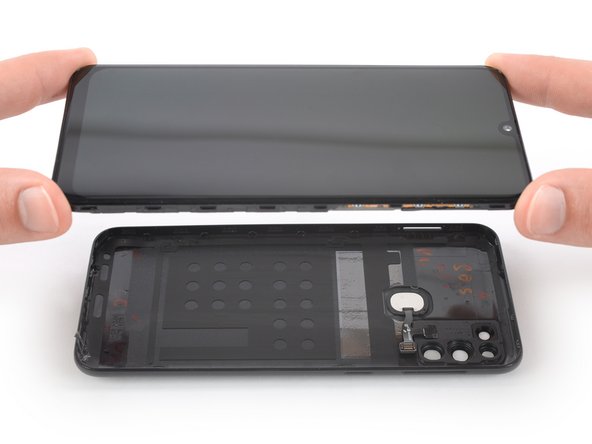
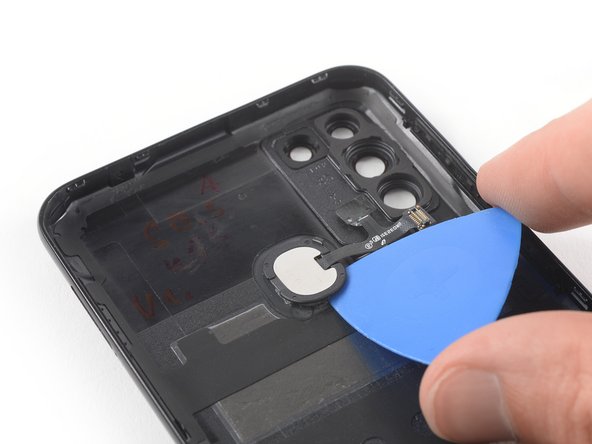
Apply a heated iOpener to the back of the phone where the fingerprint sensor is located to loosen the adhesive underneath. Apply the iOpener for at least two minutes.
-


To reassemble your device, follow these instructions in reverse order. Apply new adhesive where necessary after cleaning the relevant areas with isopropyl alcohol (>90%).
Secure the fingerprint sensor with pre-cut adhesive or double-sided adhesive tape during reassembly.
Removal didn’t go as planned? Try some basic troubleshooting, or ask our Answers community for help.
다른 6명이 해당 안내서를 완성하였습니다.


댓글 2개
лучше если останется заводской скотч.
если вы его убрали то используйте 3m скотч.
если вы заклеите на клей то потом крйне сложно будет отклеить заднюю крышку.