주요 콘텐츠로 건너뛰기
수리 커뮤니티 가입 - 계정 만들기

Samsung Galaxy Note5 Display Replacement

필요한 것

    1. Samsung Galaxy Note5 Display Replacement, SIM Card Tray: 1 단계, 이미지 1개 중 1개
      • Insert a SIM Ejector Tool into the small hole on the left side of the top edge of the device.

      • Press down until the SIM Card Tray begins to protrude out of the device.

      댓글 쓰기

    2. Samsung Galaxy Note5 Display Replacement: 2 단계, 이미지 1개 중 1개
      • Remove the SIM Card Tray from the slot.

      댓글 쓰기

    1. Samsung Galaxy Note5 Display Replacement, Display: 3 단계, 이미지 1개 중 1개
      • Heat the back of the device with a heat gun for two minutes.

      댓글 쓰기

    2. Samsung Galaxy Note5 Display Replacement: 4 단계, 이미지 1개 중 1개
      • Once the device is very warm to the touch, place a suction cup near the bottom of the back of the device.

      • Make sure to place the suction cup on the flat part of the glass.

      • Gently pull upwards on the suction cup to separate the rear glass from the body of the phone.

      • While pulling upwards, insert a pick under the rear glass

      댓글 쓰기

    3. Samsung Galaxy Note5 Display Replacement: 5 단계, 이미지 1개 중 1개
      • Keeping the pick under the rear glass, move the pick along the bottom edge of the device to cut the adhesive.

      댓글 쓰기

    4. Samsung Galaxy Note5 Display Replacement: 6 단계, 이미지 1개 중 1개
      • Repeat the previous heating and cutting procedure for the remaining three sides of the phone.

      • Leave a pick on each side as you continue to the next to prevent the adhesive from resealing.

      댓글 쓰기

    5. Samsung Galaxy Note5 Display Replacement: 7 단계, 이미지 1개 중 1개
      • Once all adhesive has been cut, gently lift up the rear glass to remove it.

      댓글 쓰기

    6. Samsung Galaxy Note5 Display Replacement: 8 단계, 이미지 1개 중 1개
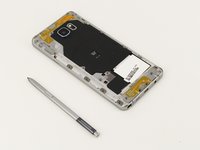
      • Remove the S-Pen from the bottom of the device.

      댓글 쓰기

    7. Samsung Galaxy Note5 Display Replacement: 9 단계, 이미지 2개 중 1개 Samsung Galaxy Note5 Display Replacement: 9 단계, 이미지 2개 중 2개
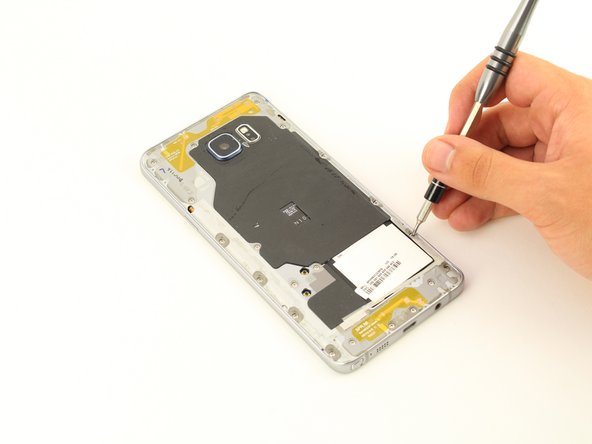
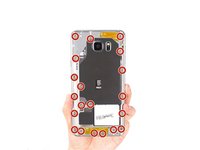
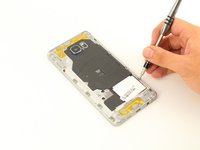
      • Remove 20 5mm screws with a Phillips #1 Screwdriver.

      댓글 쓰기

    8. Samsung Galaxy Note5 Display Replacement: 10 단계, 이미지 3개 중 1개 Samsung Galaxy Note5 Display Replacement: 10 단계, 이미지 3개 중 2개 Samsung Galaxy Note5 Display Replacement: 10 단계, 이미지 3개 중 3개
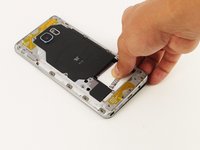
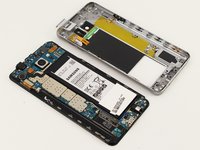
      • Grip the back of the device and press down on the white square to remove the middle housing.

      댓글 쓰기

    9. Samsung Galaxy Note5 Display Replacement: 11 단계, 이미지 1개 중 1개
      • Loosen the two signal cable connectors.

      댓글 쓰기

    10. Samsung Galaxy Note5 Display Replacement: 12 단계, 이미지 3개 중 1개 Samsung Galaxy Note5 Display Replacement: 12 단계, 이미지 3개 중 2개 Samsung Galaxy Note5 Display Replacement: 12 단계, 이미지 3개 중 3개
      이 단계에 사용된 도구:
      Tweezers
      $4.99
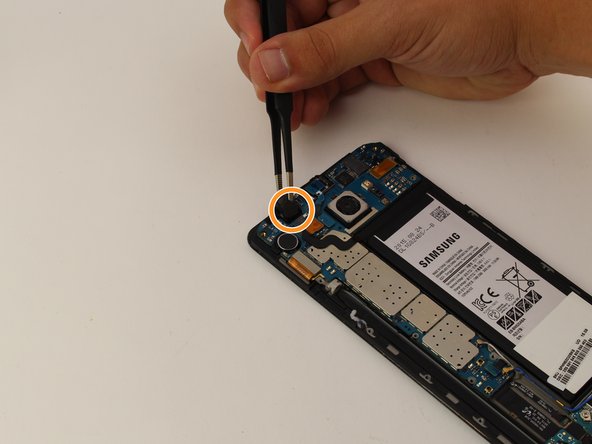
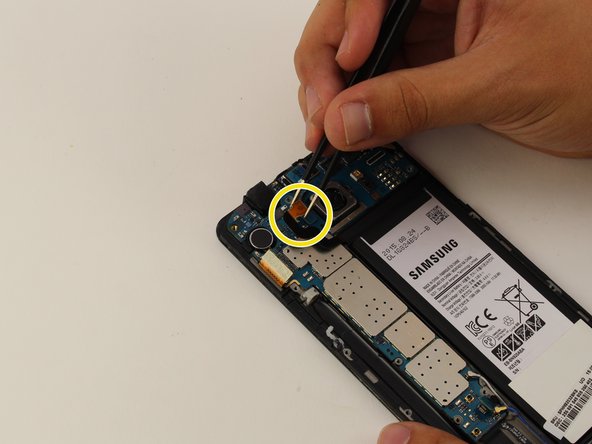
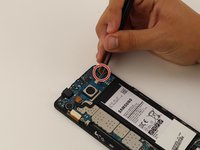
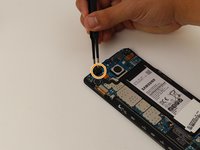
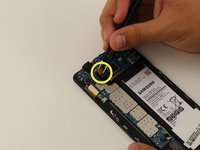
      • To disconnect flexes, carefully pull up on the exposed tab with tweezers.

      • Disconnect the battery flex.

      • Disconnect the earpiece flex.

      • Disconnect the battery flex.

      댓글 쓰기

    11. Samsung Galaxy Note5 Display Replacement: 13 단계, 이미지 1개 중 1개
      • Remove the teal navigation button flex.

      댓글 쓰기

    12. Samsung Galaxy Note5 Display Replacement: 14 단계, 이미지 1개 중 1개
      • Gently lift up the motherboard from the top end to remove.

      • Make sure all flexes are disconnected before removing the motherboard. If the motherboard does not easily detach, remove any connected flexes.

      댓글 쓰기

    13. Samsung Galaxy Note5 Display Replacement: 15 단계, 이미지 3개 중 1개 Samsung Galaxy Note5 Display Replacement: 15 단계, 이미지 3개 중 2개 Samsung Galaxy Note5 Display Replacement: 15 단계, 이미지 3개 중 3개
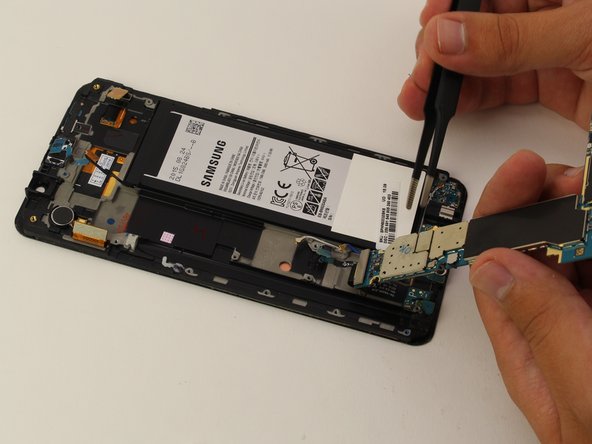
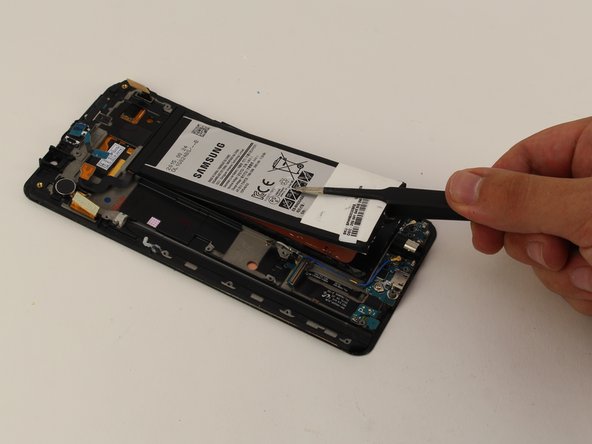
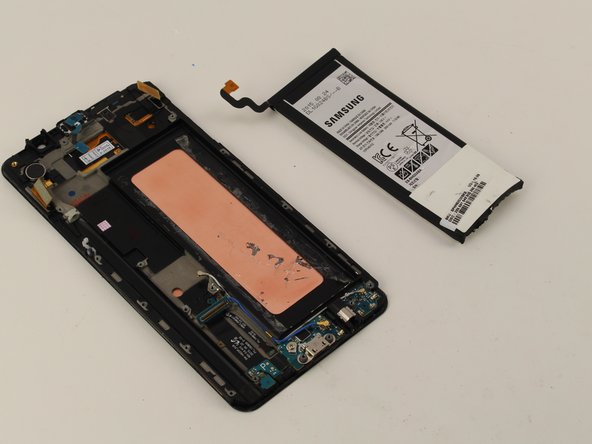
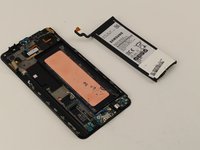
      • With the motherboard removed, slowly pry off the battery with tweezers, starting at the bottom.

      • Be careful not to puncture the battery as this could cause permanent damage.

      댓글 쓰기

    14. Samsung Galaxy Note5 Display Replacement: 16 단계, 이미지 1개 중 1개
      • Heat the display for two minutes with a heat gun.

      댓글 쓰기

    15. Samsung Galaxy Note5 Display Replacement: 17 단계, 이미지 1개 중 1개
      • Once the display is very warm to the touch, slide a pick between the LCD and the LCD shield on the bottom edge of the device.

      • Slide the pick across the bottom to cut through the adhesive.

      댓글 쓰기

    16. Samsung Galaxy Note5 Display Replacement: 18 단계, 이미지 1개 중 1개
      • The display is now removed.

      댓글 쓰기

결론

To reassemble your device, follow these instructions in reverse order.

취소: 해당 안내서를 완성하지 않았습니다.

다른 41명이 해당 안내서를 완성하였습니다.

작성자

5다른 기여자 명과 함께

Alexander Laucius

회원 가입일: 04/19/18

1,662 평판

안내서 2개를 작성함

Cal Poly, Team S25-G17, Maness Spring 2018 Cal Poly, Team S25-G17, Maness Spring 2018 회원

CPSU-MANESS-S18S25G17

4 회원들

안내서 29개를 작성함

6가이드 댓글

Worked like a charm

Ronald Sapp - 답글 공유

How does one bond everything back together?

lcplthomasc - 답글 공유

I am working in fixing my own Note 5. I have heard that double-sided tape made specifically for this task are best. You can find different options here: https://www.magazingsm.ro/adeziv-geam-si...

Cristina - 답글 공유

I have now replaced the display on my Note 5 and actually I didn’t even use the glue I bought. The original glue is quite a lot and the new display comes with glue on the back of it. Thanks again, Alexander, for your helpful instructions!

Cristina - 답글 공유

This was very helpful. Many thanks to the author. may God add many years to his life.

Peterson - 답글 공유

댓글 쓰기

조회 통계:

지난 24시간: 1

지난 7일: 16

지난 30일: 86

전체 시간: 27,078