소개
Use this guide to replace the USB-C charging port and daughterboard in your Samsung Galaxy S21.
Note: Retaining water resistance after the repair will depend on how well you reapply the adhesive, but your device will lose its IP (Ingress Protection) rating.
필요한 것
-
-
Insert a SIM eject tool, bit, or straightened paper clip into the SIM card tray hole on the bottom edge of the phone.
-
Press the SIM eject tool into the SIM card tray hole to eject the SIM card tray.
-
Remove the SIM card tray.
-
-
-
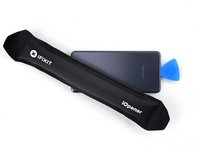
Heat an iOpener and apply it to the back cover's bottom edge for two minutes.
-
-
-
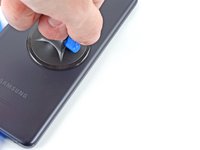
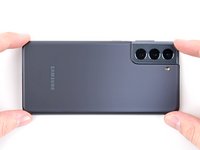
Apply a suction cup to the back of the phone, as close to the center of the bottom edge as possible.
-
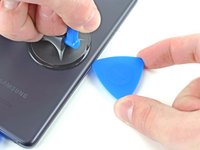
Pull up on the suction cup with strong, steady force to create a gap between the back cover and the frame.
-
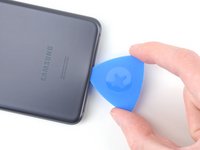
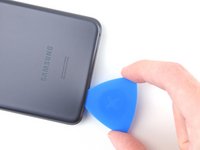
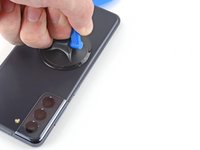
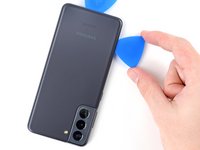
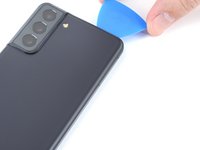
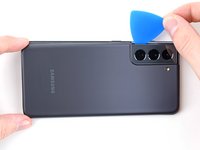
Insert an opening pick into the gap.
-
-
-
Slide the pick back and forth along the bottom edge to slice through the adhesive.
-
Leave the pick in to prevent the adhesive from resealing.
-
-
-
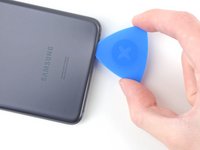
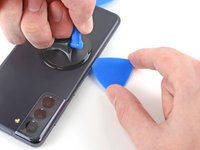
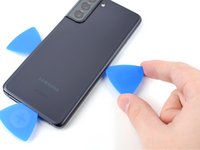
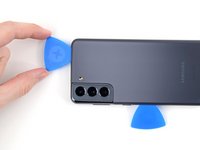
Apply a suction cup to the back of the phone, as close to the center of the left edge as possible.
-
Pull up on the suction cup with strong, steady force to create a gap between the back cover and the frame.
-
Insert an opening pick into the gap.
-
-
-
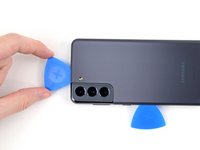
Apply a suction cup to the back of the phone, as close to the center of the right edge as possible.
-
Pull up on the suction cup with strong, steady force to create a gap between the back cover and the frame.
-
Insert an opening pick into the gap.
-
-
-
-
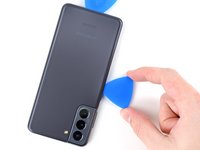
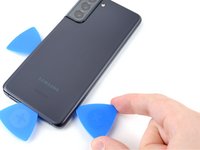
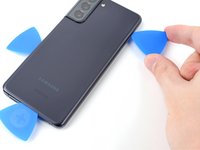
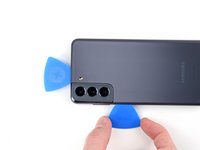
Rotate the right-edge opening pick around the top-right corner of the phone.
-
-
-
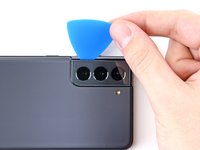
Slide the top-most opening pick as close to the camera shell as possible.
-
Repeat for the left-edge pick.
-
-
-
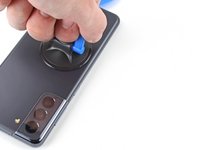
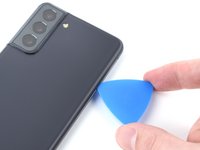
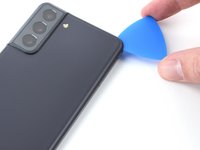
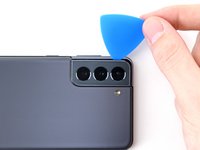
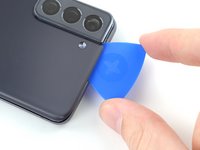
Heat an iOpener and apply it to the camera shell for two minutes.
-
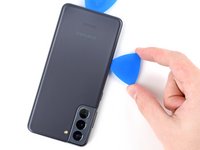
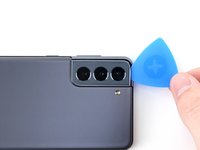
There's additional adhesive to the right of the camera that you need to cut through.
-
Angle the pick downward to avoid any damage.
-
-
-
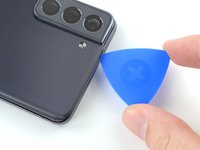
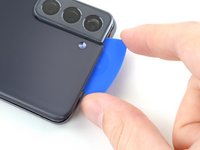
Rotate the back cover counterclockwise to create a gap between the camera shell and the frame.
-
Insert an opening pick in the gap.
-
-
이 단계에 사용된 도구:Tweezers$4.99
-
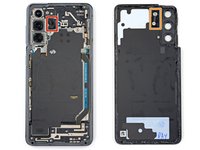
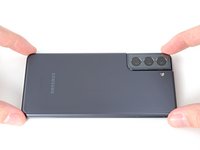
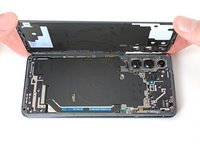
Remove the back cover.
-
This is a good point to power on your phone and test all functions before sealing it up. Be sure to power your phone back down completely before you continue working.
-
Remove any adhesive chunks with a pair of tweezers or your fingers. Apply heat if you're having trouble separating the adhesive.
-
If you're using custom-cut adhesives, follow this guide.
-
If you're using double-sided tape, follow this guide.
-
-
-
Use a Phillips screwdriver to remove the five 4 mm-long screws securing the motherboard bracket to the frame.
-
-
이 단계에 사용된 도구:Tweezers$4.99
-
Use a pair of tweezers to gently pull up and unclip the motherboard bracket from the frame.
-
-
-
While using tweezers, or your fingers, to hold the motherboard bracket out of the way, use a spudger to pry up the battery press connector.
-
-
-
While holding the motherboard bracket out of the way, use a spudger to pry up and disconnect the wireless charging coil's press connector.
-
-
-
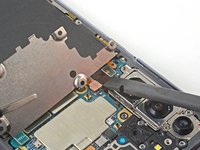
Use a Phillips screwdriver to remove the six 4 mm-long screws securing the loudspeaker to the frame.
-
-
-
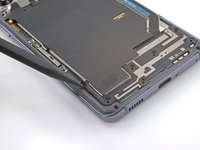
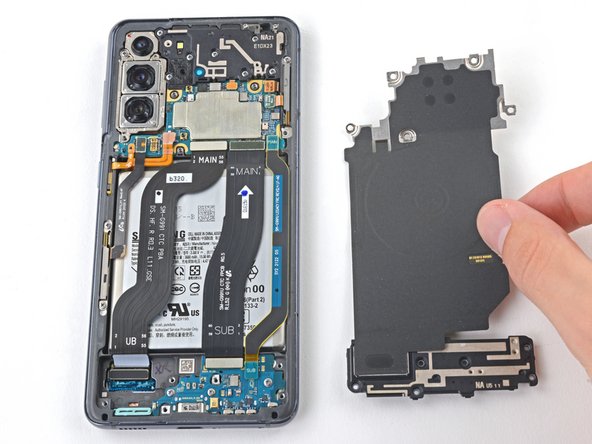
Insert the point of a spudger into the notch in the top-left corner of the loudspeaker and pry up to release the clips holding it in place.
-
-
-
Use the flat end of a spudger to pry up and disconnect the primary interconnect cable's press connector.
-
-
-
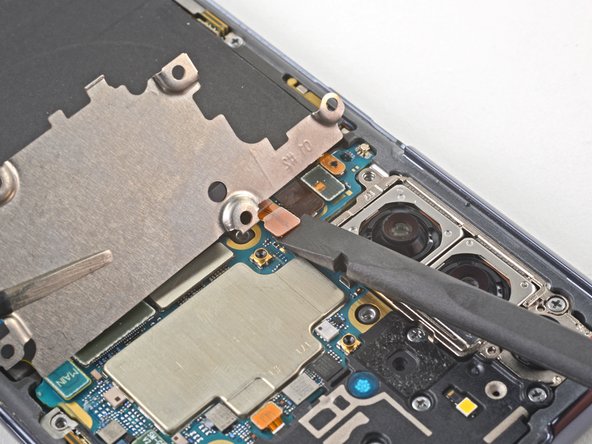
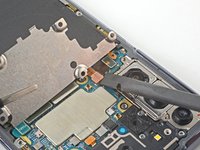
Use the flat end of a spudger to pry up and disconnect the secondary interconnect cable's press connector.
-
-
-
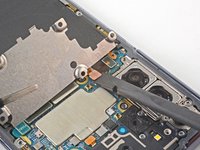
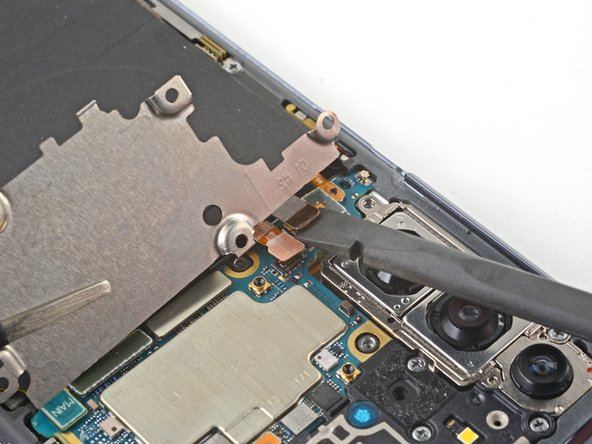
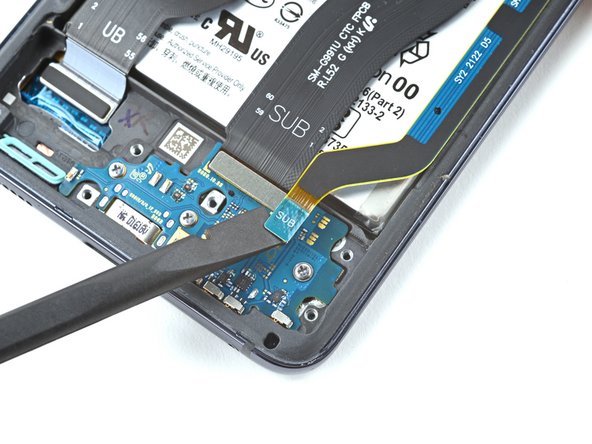
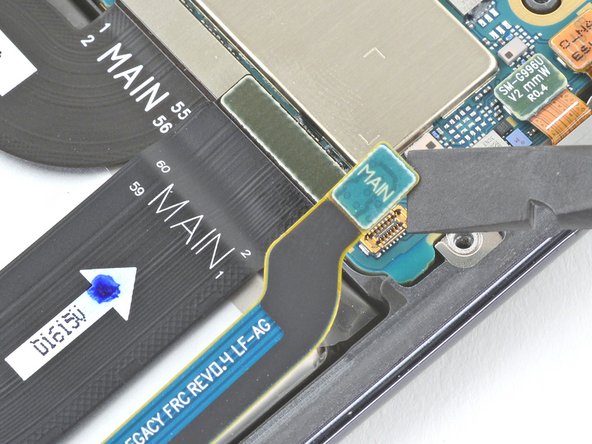
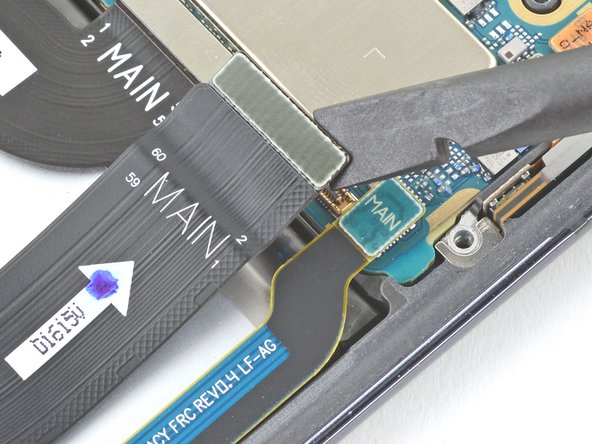
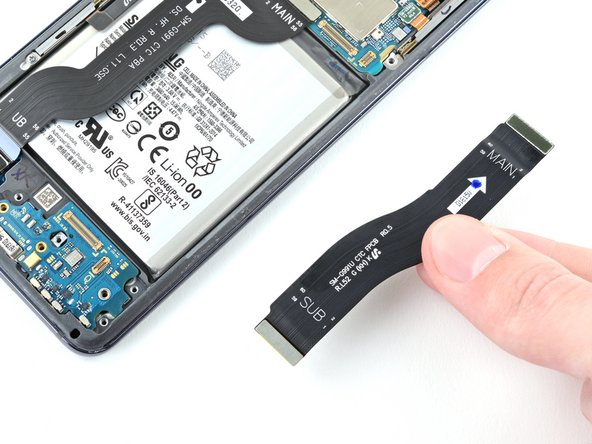
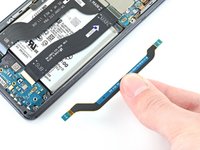
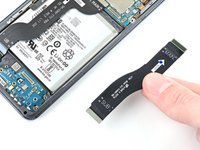
Use a spudger to pry up and disconnect the secondary interconnect cable's press connector.
-
Repeat for the main interconnect cable's press connector.
-
-
이 단계에 사용된 도구:Tweezers$4.99
-
Use tweezers or your fingers to remove both cables.
-
-
-
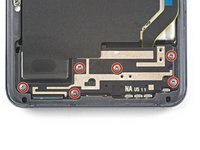
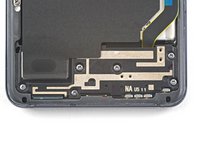
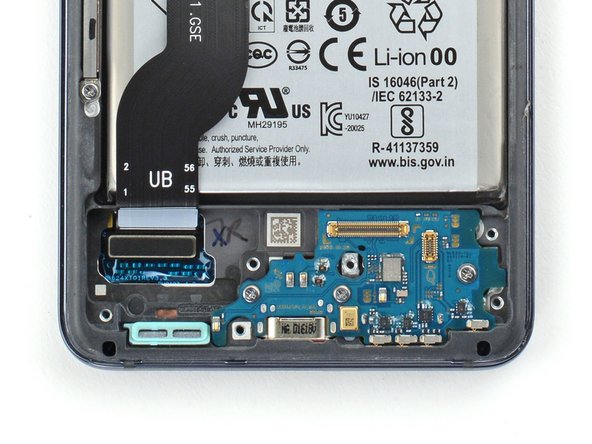
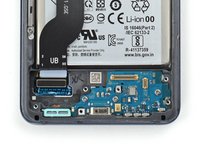
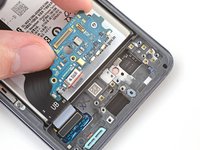
Use a Phillips screwdriver to remove the three 3.5 mm-long screws securing the daughterboard to the frame.
-
-
-
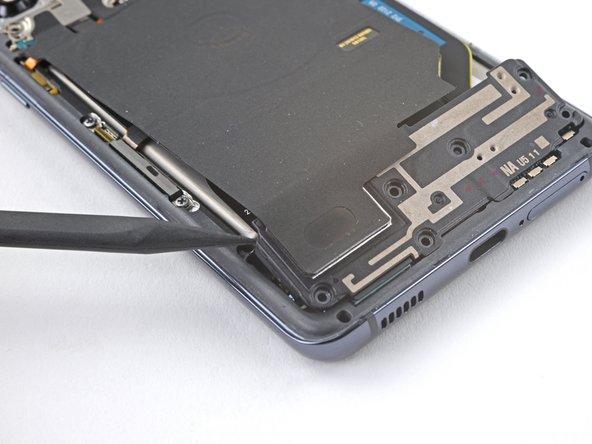
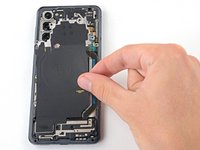
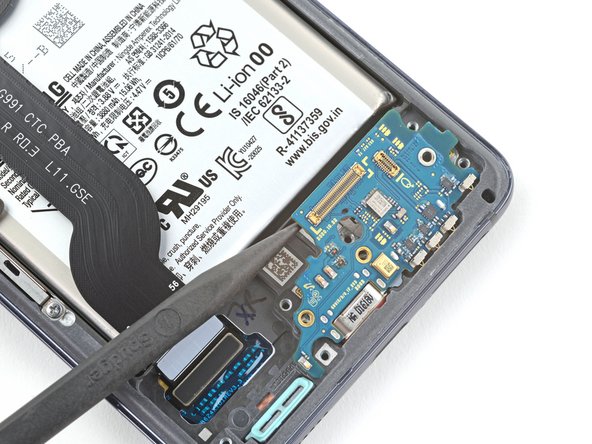
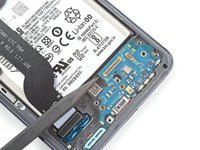
Use the point of a spudger to pry up the daughterboard.
-
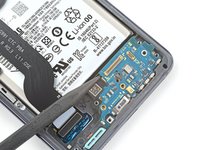
Use your fingers to pull the daughterboard up and away from the bottom of the phone and remove it.
-


To reassemble your device, follow these instructions in reverse order.
Take your e-waste to an R2 or e-Stewards certified recycler.
Repair didn’t go as planned? Check out our Answers community for troubleshooting help.
To reassemble your device, follow these instructions in reverse order.
Take your e-waste to an R2 or e-Stewards certified recycler.
Repair didn’t go as planned? Check out our Answers community for troubleshooting help.
다른 20명이 해당 안내서를 완성하였습니다.


댓글 2개
Ive dome this with 3 boards from amazon and ebay and thay all turn off signal. the usb charging port works on replacements but sim and service do not work. Should a new daughter board work instantly? im having to go back to the broken usb port board and charge via wireless for weeks on end since no boards work correctly.
I purchased the "Fix Kit" which includes an OEM daughter board from Samsung. This board worked instantly with no issues. SIM cards in these phones might not work with the un-official boards you're getting from Amazon, or there is another issue causing them not to work for your phone.
You can get away with purchasing the part-only option instead of the whole kit. The only tool included that might be hard to source is the suction cup. Otherwise, you can use a hair dryer, thin plastic pieces (guitar picks are cheap) and a small screw driver to do this repair. Sounds like you would already have all the tools needed.