소개
For the official iFixit guide to repair your Galaxy S5 rear camera, click here. The guide you are currently viewing is duplicate content, archived here for historical purposes only.
필요한 것
-
-
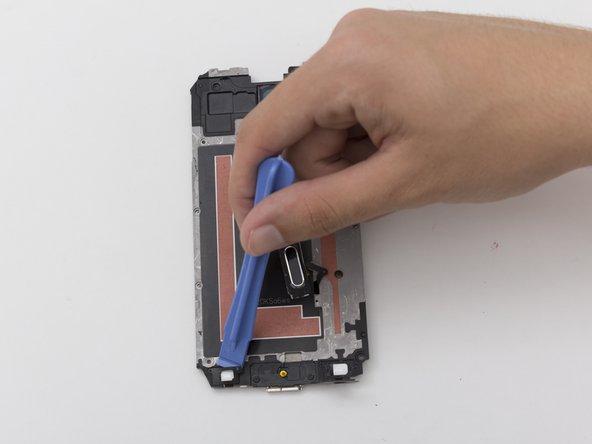
Remove the rear case by using moderate force to pry the divot on the left of the rear facing camera with a plastic opening tool or your fingernail.
-
Continue to lift the case, working your way around the perimeter until the entire rear cover is removed.
-
-
-
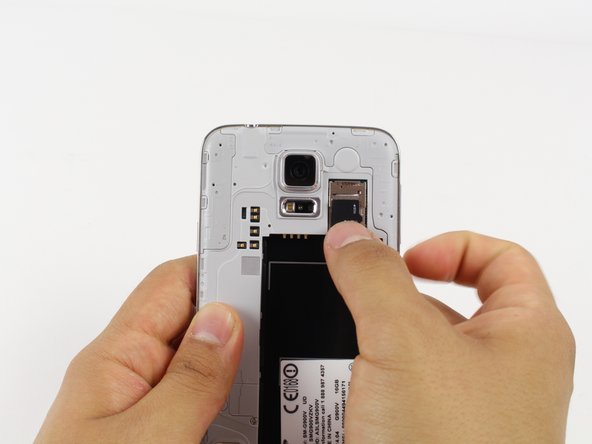
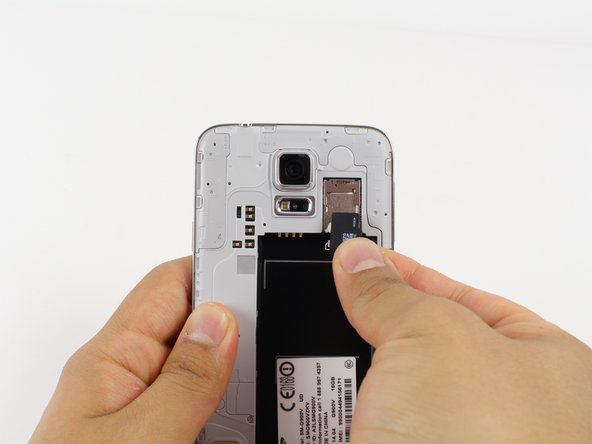
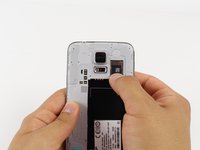
Gently slide out the SD card using your fingernail or a plastic opening tool.
-
-
-
-
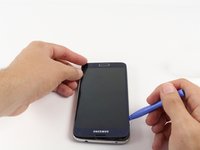
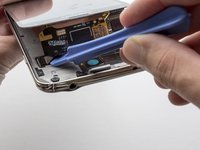
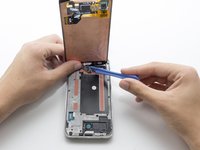
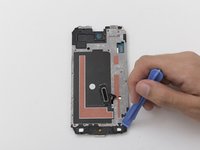
Use a light amount of force when removing the screen.
-
Starting at the top of the device, work the plastic opening tool under the screen. The top of the device has the Samsung logo and headphone port.
-
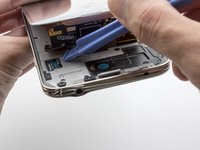
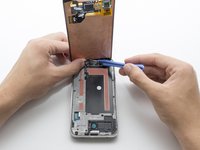
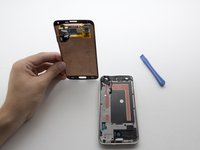
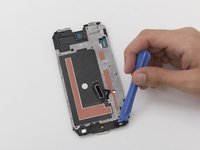
Start separating the screen from the glue. Work your way around the screen until the glue is no longer holding the screen in place.
-
-
이 단계에 사용된 도구:Tweezers$4.99
-
Unscrew the ten 4 mm screws from the midframe with a Phillips#00 head screw driver. You may want to use tweezers or a magnetic screwdriver to remove them.
-
-
-
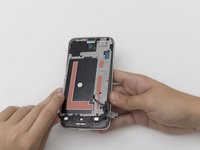
Flip the phone back over. First, unlatch the charging port flap at the bottom of the device with your finger.
-
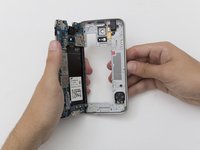
Press firmly on corners of the midframe while holding on to the plastic bezel (the outer plastic ring).
-
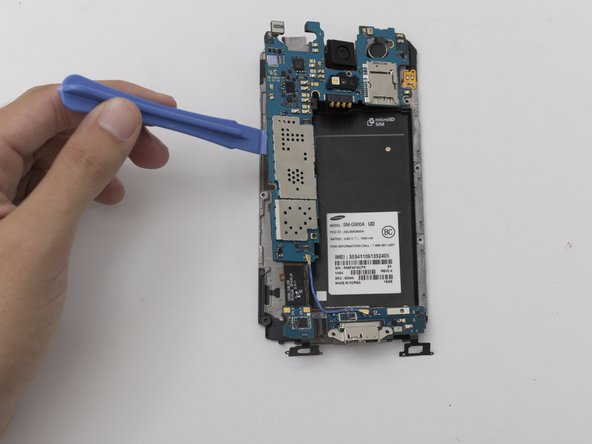
Hold the device in one hand. Then apply pressure with your fingers to the back of the frame at the top of where the battery was. Then remove the midframe by pulling it outwards and towards the top of the phone.
-
-
-
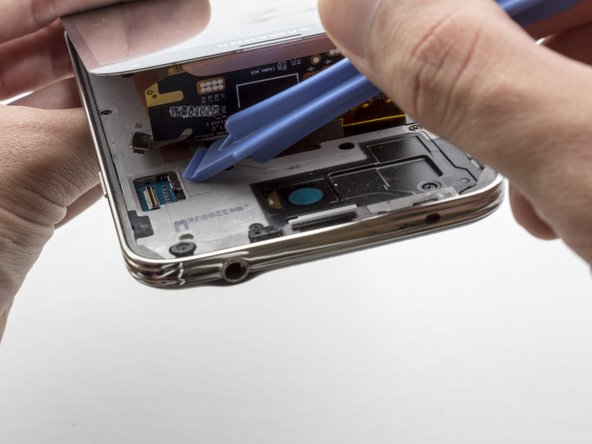
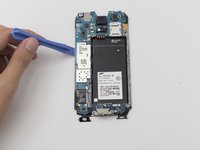
Remove the single silver 4 mm screw from below the rear camera with a Phillips#00 screw driver.
-
-
-
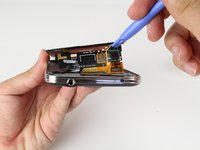
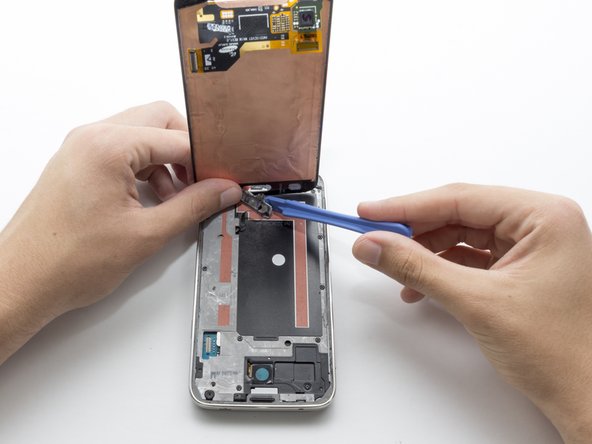
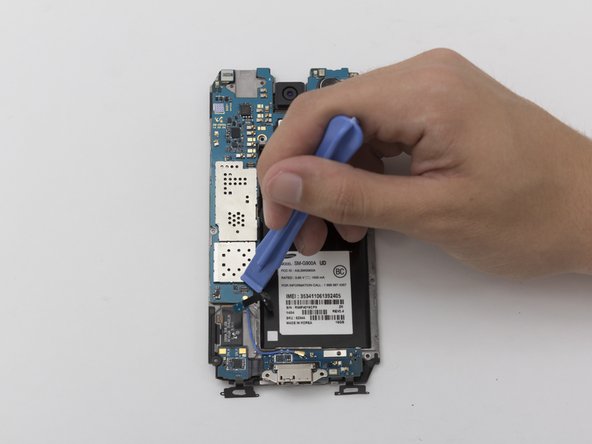
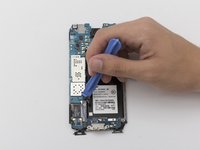
Use the plastic opening tool to gently remove the ribbon cable connecting the rear camera to the motherboard.
-


To reassemble your device, follow these instructions in reverse order.
다른 5명이 해당 안내서를 완성하였습니다.

팀

Cal Poly, Team 10-57, Amido Spring 2014 Cal Poly, Team 10-57, Amido Spring 2014 회원
CPSU-AMIDO-S14S10G57
4 회원들
안내서 12개를 작성함
1가이드 댓글
Warning: you do not need to do this if the camera lens is just scratched! You can replace the outer lens without having to remove the screen or even take the back off. Just use tweezers to remove the lens and then put the new one on. That simple. Hope this helps somebody!