주요 콘텐츠로 건너뛰기
수리 커뮤니티 가입 - 계정 만들기

Samsung HMX-F90 Record Button Replacement

필요한 것

    1. Samsung HMX-F90 Record Button Replacement, Battery: 1 단계, 이미지 3개 중 1개 Samsung HMX-F90 Record Button Replacement, Battery: 1 단계, 이미지 3개 중 2개 Samsung HMX-F90 Record Button Replacement, Battery: 1 단계, 이미지 3개 중 3개
      • Pull the release tab away from the battery.

      • Slide the battery towards the release tab and then pull the battery away from the camcorder.

      댓글 쓰기

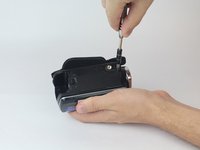
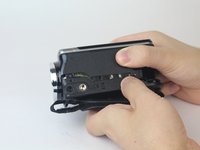
    1. Samsung HMX-F90 Record Button Replacement, Strap Side Outer Casing: 2 단계, 이미지 2개 중 1개 Samsung HMX-F90 Record Button Replacement, Strap Side Outer Casing: 2 단계, 이미지 2개 중 2개
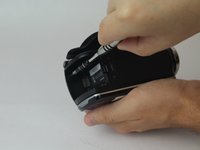
      • Rotate the camcorder so that the strap side is facing you.

      • Locate and remove the three 4.5mm Phillips #00 screws around the hand strap.

      댓글 쓰기

    2. Samsung HMX-F90 Record Button Replacement: 3 단계, 이미지 2개 중 1개 Samsung HMX-F90 Record Button Replacement: 3 단계, 이미지 2개 중 2개
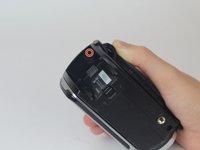
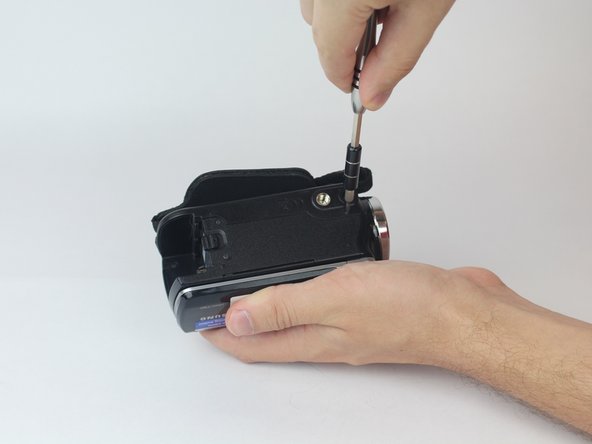
      • Rotate the camcorder so that the battery slot is facing you.

      • Located in the top left corner of the battery slot, remove the 4.5mm Phillips #00 screw.

      댓글 쓰기

    3. Samsung HMX-F90 Record Button Replacement: 4 단계, 이미지 2개 중 1개 Samsung HMX-F90 Record Button Replacement: 4 단계, 이미지 2개 중 2개
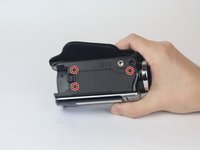
      • Rotate the camcorder so you are looking at the bottom of the camcorder.

      • Locate and remove the last three 4.5mm Phillips #00 screws.

      댓글 쓰기

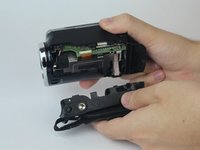
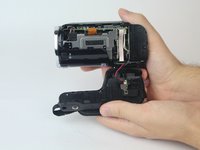
    4. Samsung HMX-F90 Record Button Replacement: 5 단계, 이미지 3개 중 1개 Samsung HMX-F90 Record Button Replacement: 5 단계, 이미지 3개 중 2개 Samsung HMX-F90 Record Button Replacement: 5 단계, 이미지 3개 중 3개
      • With both hands, pull the side strap apart from the rest of the camcorder.

      댓글 쓰기

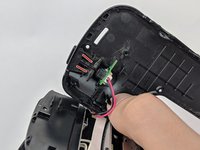
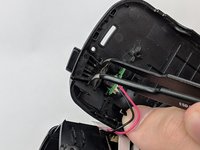
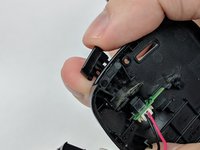
    1. Samsung HMX-F90 Record Button Replacement, Record Button: 6 단계, 이미지 3개 중 1개 Samsung HMX-F90 Record Button Replacement, Record Button: 6 단계, 이미지 3개 중 2개 Samsung HMX-F90 Record Button Replacement, Record Button: 6 단계, 이미지 3개 중 3개
      이 단계에 사용된 도구:
      Tweezers
      $4.99
      • Locate plastic clips of the record button.

      • With tweezers squeeze together the two plastic clips and push the button out.

      • Wiggle and pull the record button to remove completely.

      댓글 쓰기

결론

To reassemble your device, follow these instructions in reverse order.

취소: 해당 안내서를 완성하지 않았습니다.

작성자

2다른 기여자 명과 함께

Amir Harb

회원 가입일: 09/26/17

705 평판

안내서 6개를 작성함

USF Tampa, Team S13-G1, Boczar Fall 2017 USF Tampa, Team S13-G1, Boczar Fall 2017 회원

USFT-BOCZAR-F17S13G1

4 회원들

안내서 12개를 작성함

0가이드 댓글

댓글 쓰기

조회 통계:

지난 24시간: 3

지난 7일: 10

지난 30일: 38

전체 시간: 683