주요 콘텐츠로 건너뛰기
수리 커뮤니티 가입 - 계정 만들기

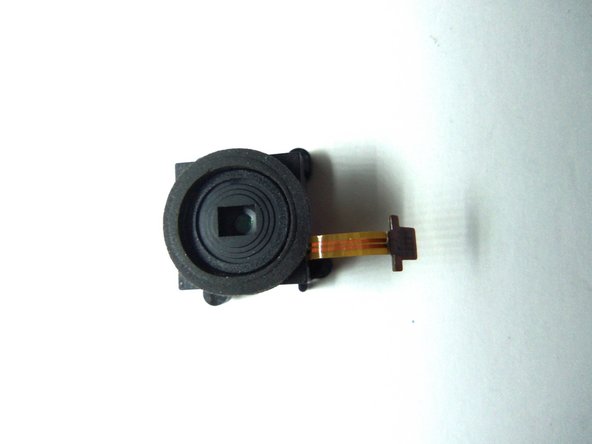
Samsung HMX-W300 Lens Replacement

필요한 것

    1. Samsung HMX-W300 Lens  Replacement, Disassembling Samsung HMX-W300: 1 단계, 이미지 3개 중 1개 Samsung HMX-W300 Lens  Replacement, Disassembling Samsung HMX-W300: 1 단계, 이미지 3개 중 2개 Samsung HMX-W300 Lens  Replacement, Disassembling Samsung HMX-W300: 1 단계, 이미지 3개 중 3개
      • To remove the wristband of the device, grab the middle loop and pull the band through.

      댓글 쓰기

    2. Samsung HMX-W300 Lens  Replacement: 2 단계, 이미지 2개 중 1개 Samsung HMX-W300 Lens  Replacement: 2 단계, 이미지 2개 중 2개
      • Remove four screws with a Hex 1.5 mm screwdriver.

      댓글 쓰기

    3. Samsung HMX-W300 Lens  Replacement: 3 단계, 이미지 3개 중 1개 Samsung HMX-W300 Lens  Replacement: 3 단계, 이미지 3개 중 2개 Samsung HMX-W300 Lens  Replacement: 3 단계, 이미지 3개 중 3개
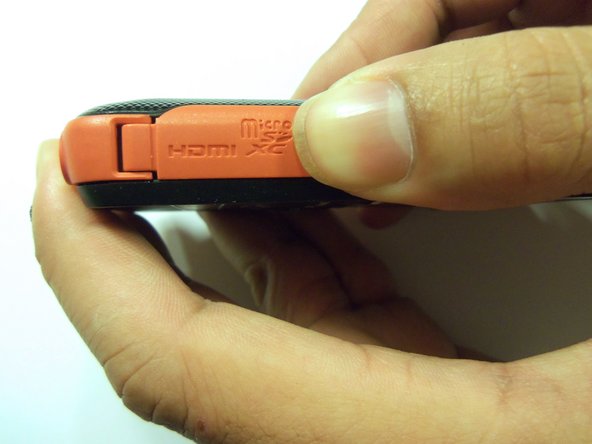
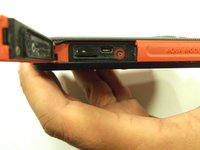
      • Open the HDMI door on the side of the camera.

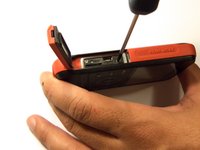
      • Remove the single screw using a Phillips #00 screwdriver.

      댓글 쓰기

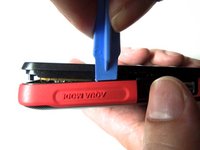
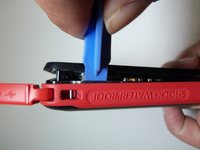
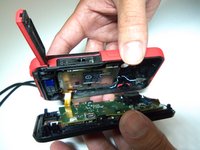
    4. Samsung HMX-W300 Lens  Replacement: 4 단계, 이미지 3개 중 1개 Samsung HMX-W300 Lens  Replacement: 4 단계, 이미지 3개 중 2개 Samsung HMX-W300 Lens  Replacement: 4 단계, 이미지 3개 중 3개
      • Use the iFixit opening tool on both sides on the device. Pry apart both sections with light force.

      • Do not apply too much force. There is a wire that attaches the front case with the rear case that can be damaged.

      댓글 쓰기

    5. Samsung HMX-W300 Lens  Replacement: 5 단계, 이미지 3개 중 1개 Samsung HMX-W300 Lens  Replacement: 5 단계, 이미지 3개 중 2개 Samsung HMX-W300 Lens  Replacement: 5 단계, 이미지 3개 중 3개
      이 단계에 사용된 도구:
      Tweezers
      $4.99
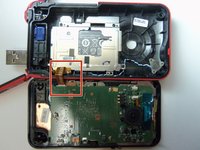
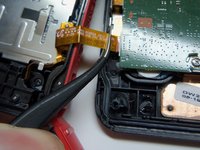
      • Pull the wire ribbon out with a pair of tweezers.

      댓글 쓰기

    1. Samsung HMX-W300 Lens  Replacement, Remove tape.: 6 단계, 이미지 3개 중 1개 Samsung HMX-W300 Lens  Replacement, Remove tape.: 6 단계, 이미지 3개 중 2개 Samsung HMX-W300 Lens  Replacement, Remove tape.: 6 단계, 이미지 3개 중 3개
      이 단계에 사용된 도구:
      Tweezers
      $4.99

      댓글 쓰기

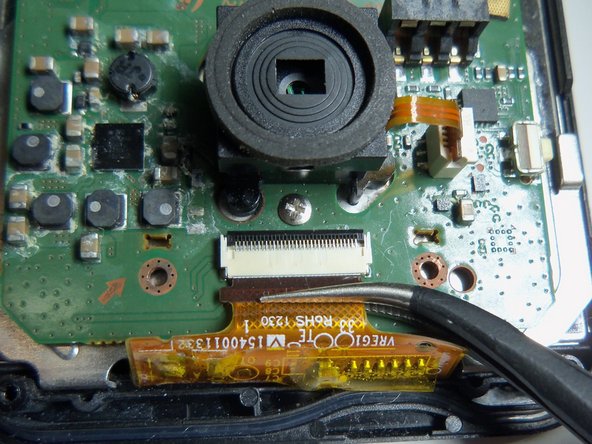
    2. Samsung HMX-W300 Lens  Replacement, Unplug wire ribbon.: 7 단계, 이미지 2개 중 1개 Samsung HMX-W300 Lens  Replacement, Unplug wire ribbon.: 7 단계, 이미지 2개 중 2개
      • Use tweezers to grab the wire ribbon, then pull the wire out of connection.

      댓글 쓰기

    3. Samsung HMX-W300 Lens  Replacement, Remove scerws.: 8 단계, 이미지 2개 중 1개 Samsung HMX-W300 Lens  Replacement, Remove scerws.: 8 단계, 이미지 2개 중 2개
      • There are 5 Phillips size 00 screws. Remove all 5 screws.

      • Wire ribbon is attached to the motherboard.

      댓글 쓰기

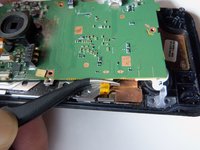
    4. Samsung HMX-W300 Lens  Replacement: 9 단계, 이미지 1개 중 1개
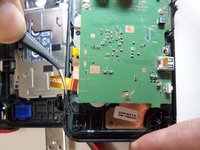
      • Pry the motherboard up using the plastic opening tool.

      • Be careful there is a wire ribbon holding the motherboard.

      댓글 쓰기

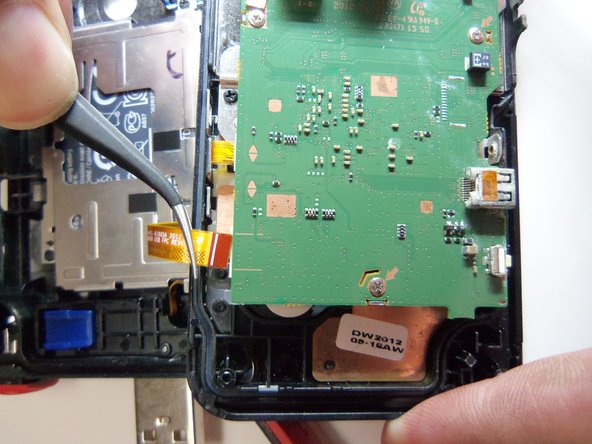
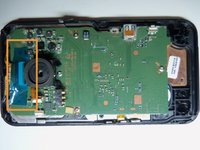
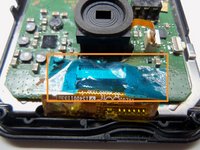
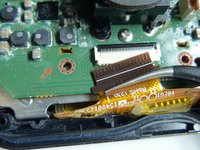
    5. Samsung HMX-W300 Lens  Replacement, Disconnect wire ribbon.: 10 단계, 이미지 2개 중 1개 Samsung HMX-W300 Lens  Replacement, Disconnect wire ribbon.: 10 단계, 이미지 2개 중 2개
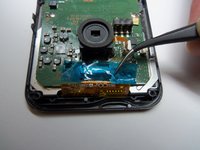
      • Use tweezers to disconnect the wire as shown. This will loosen the motherboard from the rear case.

      댓글 쓰기

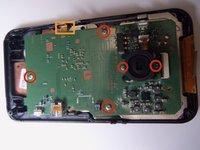
    1. Samsung HMX-W300 Lens  Replacement, Lens screws: 11 단계, 이미지 2개 중 1개 Samsung HMX-W300 Lens  Replacement, Lens screws: 11 단계, 이미지 2개 중 2개
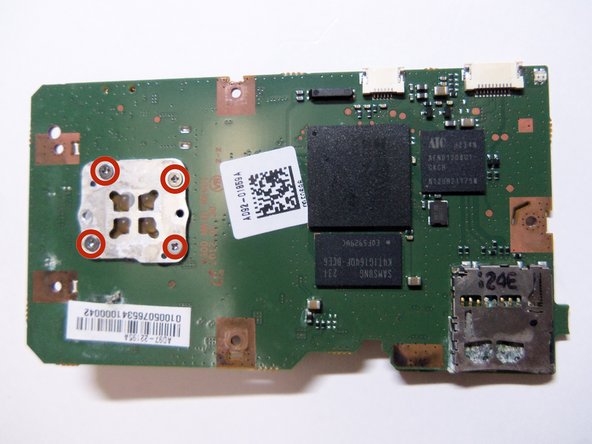
      • Shows front of motherboard and rear of motherboard.

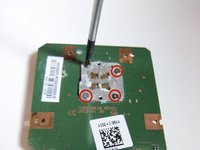
      • Lens has 4 Phillips size 00 screws.

      댓글 쓰기

    2. Samsung HMX-W300 Lens  Replacement, Remove wire ribbon: 12 단계, 이미지 1개 중 1개
      • Unplug the wire ribbon from the motherboard.

      댓글 쓰기

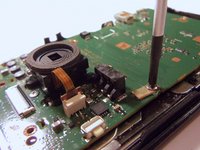
    3. Samsung HMX-W300 Lens  Replacement, Remove lens screws: 13 단계, 이미지 2개 중 1개 Samsung HMX-W300 Lens  Replacement, Remove lens screws: 13 단계, 이미지 2개 중 2개
      • Remove all 4 PH(00) screws, this will loosen the lens from the motherboard.

      댓글 쓰기

결론

To reassemble your device, follow these instructions in reverse order.

취소: 해당 안내서를 완성하지 않았습니다.

다른 한 분이 해당 안내서를 완성하였습니다.

작성자

5다른 기여자 명과 함께

Robert

회원 가입일: 01/21/15

966 평판

안내서 8개를 작성함

USF Tampa, Team 9-2, Blackwell Winter 2015 USF Tampa, Team 9-2, Blackwell Winter 2015 회원

USFT-BLACKWELL-W15S9G2

4 회원들

안내서 16개를 작성함

0가이드 댓글

댓글 쓰기

조회 통계:

지난 24시간: 0

지난 7일: 5

지난 30일: 32

전체 시간: 699