소개
This guide will allow the user to install a 2GB RAM to increase the laptops ability to run multiple programs and will improve overall efficiency.
필요한 것
-
-
Turn off the computer.
-
Disconnect the charging cable from the laptop.
-
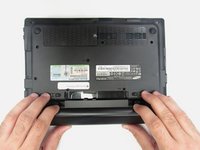
Flip the laptop upside down with the front face down on a flat surface.
 FixBot에 문의하기
-
-
-
While holding the left and right hand switches in the "unlocked" position, push the battery away from the computer.
-
-
-
-
Using the Phillip's 00 screwdriver, unscrew the fourteen 7mm screws until the back panel comes loose.
-
-
-
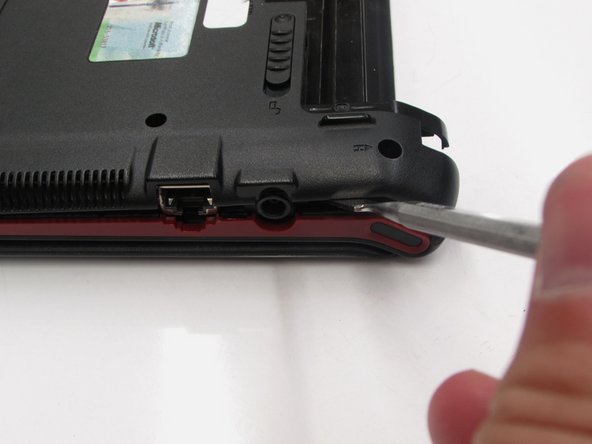
Using either the blue plastic opening tools or spudger tool, wedge one in between the back panel and the laptop.
-
Apply pressure upwards till the back panel pops off.
-
-
-
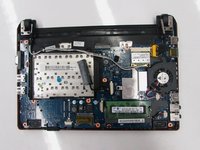
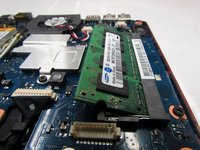
The computer should be open with the motherboard exposed and internal components exposed. You should now be able to access the Fan and RAM. There are more necessary steps to follow before accessing the screen and keyboard.
-
-
-
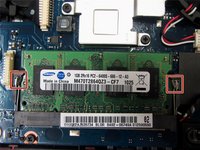
Using your hands, push the two metal clip holders on each side away from the RAM till you hear a clicking sound.
-


To reassemble your device, follow these instructions in reverse order.
다른 한 분이 해당 안내서를 완성하였습니다.

팀

Eastern Washington University, Team 2-3, Andersen Spring 2016 Eastern Washington University, Team 2-3, Andersen Spring 2016 회원
EWU-ANDERSEN-S16S2G3
5 회원들
안내서 6개를 작성함