주요 콘텐츠로 건너뛰기
수리 커뮤니티 가입 - 계정 만들기

Samsung NP-130-JA01US Keyboard Replacement

필요한 것

  1. Samsung NP-130-JA01US Keyboard Replacement, Battery: 1 단계, 이미지 1개 중 1개
    • Turn off the computer.

    • Disconnect the charger cable from the computer.

    • Failure to disconnect the charger cable from the computer could result in an electric shock.

    • Flip the computer over so the underside is facing up.

  2. Samsung NP-130-JA01US Keyboard Replacement: 2 단계, 이미지 2개 중 1개 Samsung NP-130-JA01US Keyboard Replacement: 2 단계, 이미지 2개 중 2개
    • Slide the left and right slider buttons fully away from each other.

  3. Samsung NP-130-JA01US Keyboard Replacement: 3 단계, 이미지 1개 중 1개
    • Pull the battery out of the computer.

  4. Samsung NP-130-JA01US Keyboard Replacement, Keyboard: 4 단계, 이미지 2개 중 1개 Samsung NP-130-JA01US Keyboard Replacement, Keyboard: 4 단계, 이미지 2개 중 2개
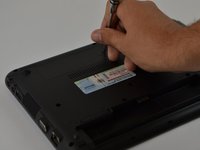
    • Using a Phillips 1 screwdriver carefully remove all 12 screws of the back cover.

    • The screws are Phillips 1 (PH 1) with a length of 60 millimeters (mm)

    • Do not force the screwdriver as you might damage the screws.

  5. Samsung NP-130-JA01US Keyboard Replacement: 5 단계, 이미지 3개 중 1개 Samsung NP-130-JA01US Keyboard Replacement: 5 단계, 이미지 3개 중 2개 Samsung NP-130-JA01US Keyboard Replacement: 5 단계, 이미지 3개 중 3개
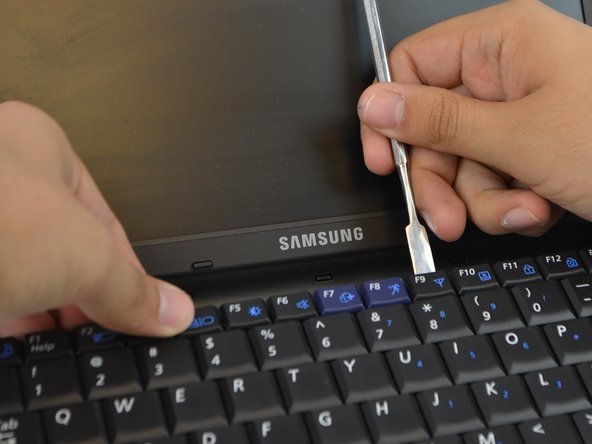
    • Flip the computer and open the front cover so that the screen is looking at you.

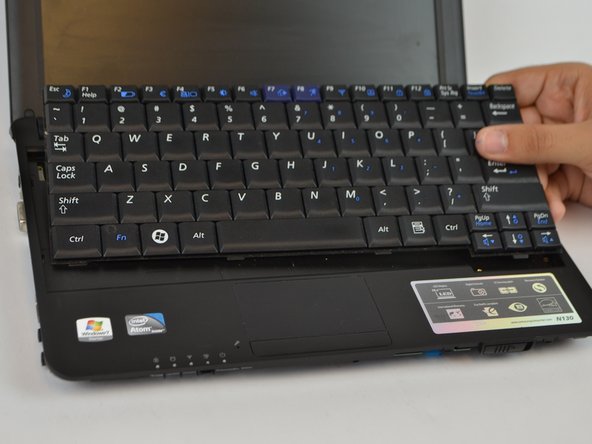
    • Using a Metal Spudger and your dominant hand, carefully separate the keyboard from the computer frame.

    • Do not force the keyboard out, it should come out easily with the help of the Metal Spudger

  6. Samsung NP-130-JA01US Keyboard Replacement: 6 단계, 이미지 3개 중 1개 Samsung NP-130-JA01US Keyboard Replacement: 6 단계, 이미지 3개 중 2개 Samsung NP-130-JA01US Keyboard Replacement: 6 단계, 이미지 3개 중 3개
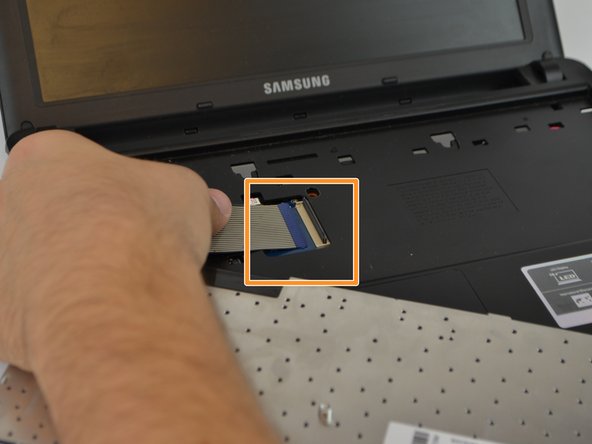
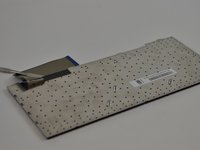
    • Flip the keyboard over.

    • Notice the lock mechanism (marked in red) that holds the cables to the computer.

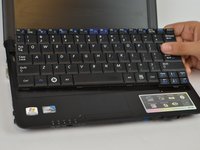
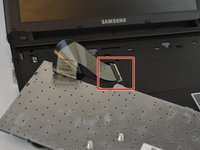
    • With your fingers, flip the mechanism over before pulling the cables out.

    • Second picture shows the unlocked position.

    • Carefully pull the cables out of the computer.

결론

To reassemble your device, follow these instructions in reverse order.

다른 한 분이 해당 안내서를 완성하였습니다.

작성자

2다른 기여자 명과 함께

Alejandro Guerra Piol

회원 가입일: 09/12/16

319 평판

안내서 2개를 작성함

USF Tampa, Team 9-6, Lacy Fall 2016 USF Tampa, Team 9-6, Lacy Fall 2016 회원

USFT-LACY-F16S9G6

3 회원들

안내서 5개를 작성함

0가이드 댓글

댓글 쓰기

조회 통계:

지난 24시간: 1

지난 7일: 9

지난 30일: 53

전체 시간: 575