필요한 것
-
-
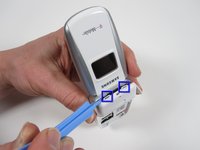
Begin by inserting the pry tool near the charger jack.
-
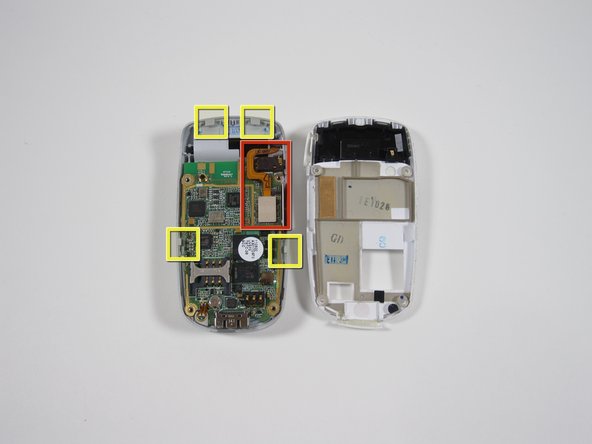
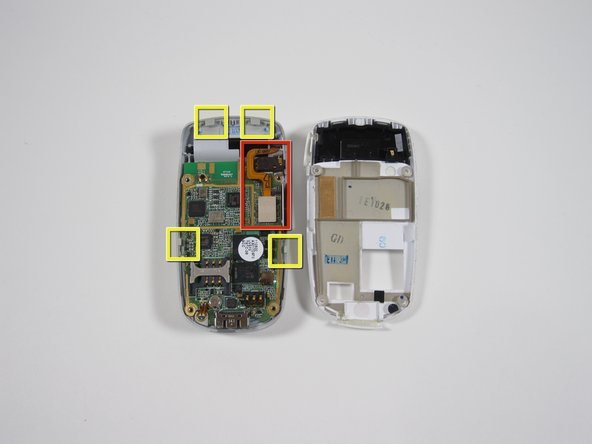
There are 4 tabs to release.
-
Start at the bottom and slide the tool up, lifting the silver front of the phone away from the white backing.
-
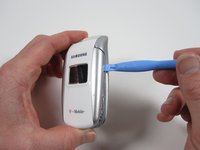
Loosen the 2 side tabs before moving on to the top two.
-
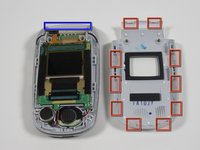
See the second photo to see location of the tabs.
-
Be careful of the ribbon wires shown in second photo.
-
-
-
Once the two side tabs are free; gently pry the white backing down to release the top two tabs.
-
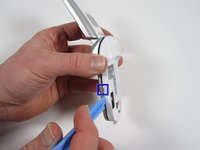
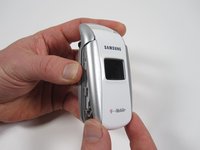
Hold the phone with the left hand as shown
-
Wiggle the white backplate from side to side while pulling down with the right hand.
-
Be careful of the ribbon wires shown in second photo.
-
-
-
-
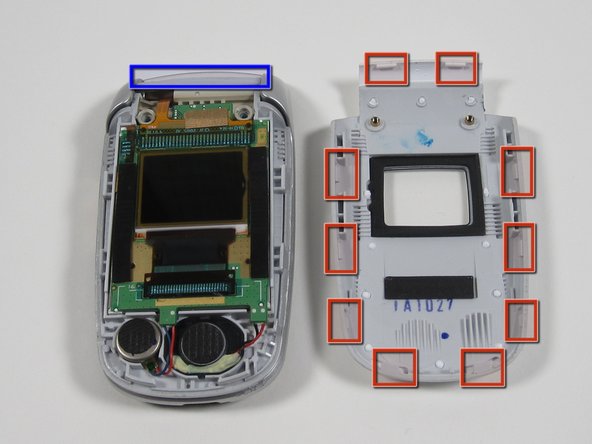
First, remove the 2 silver stickers (as indicated by the circles) with a a safety or push pin to reveal 2 screws.
-
-
-
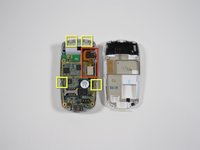
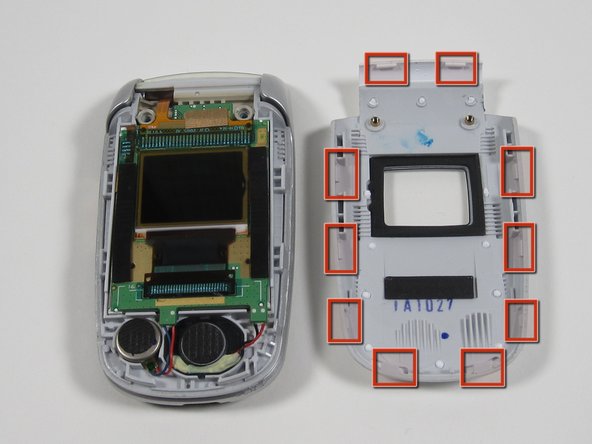
As shown above, with a plastic pry tool, begin working at the top corner and down each side. The face plate has 10 tabs that hook into the phone's body.
-
Before removing the 2 tabs on the bottom, the 3 tabs on either side must be free first.
-
Note: The bottom 2 are the most challenging to remove.
-
Note: When reassembling start with the bottom two tabs.
-
-
-
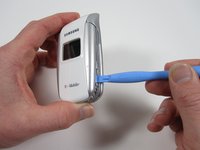
Continue down each side toward the bottom with your pry tool.
-
Note: It may help to use multiple pry tools to help hold it open.
-
Second photo: location of the tabs.
-
-
-
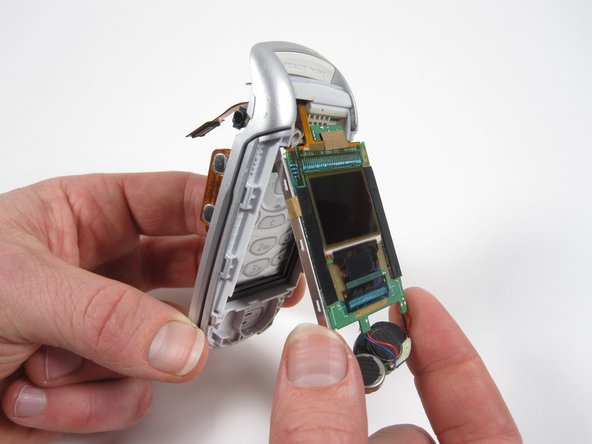
With 8 tabs released, the face plate is nearly free.
-
With the phone in your left hand, gently wiggle the face plate from side to side and push the face place upward.
-
Note: A strip of double sided tape holds the faceplate, so expect some resistance
-
-
-
Use an opening tool to gently lift the ribbon wire connection to the screen.
-


To reassemble your device, follow these instructions in reverse order.
다른 2명이 해당 안내서를 완성하였습니다.
팀

Cal Poly, Team 3-40, Regan Winter 2011 Cal Poly, Team 3-40, Regan Winter 2011 회원
CPSU-REGAN-W11S3G40
4 회원들
안내서 22개를 작성함