주요 콘텐츠로 건너뛰기
수리 커뮤니티 가입 - 계정 만들기

Sanyo VPC S1275 Function Set Replacement

필요한 것

    1. Sanyo VPC S1275 Function Set Replacement, Battery: 1 단계, 이미지 1개 중 1개
      • Place your thumb on the right side of the camera over the battery door.

      • Slide the battery door to the right until the door lifts up.

      댓글 쓰기

    2. Sanyo VPC S1275 Function Set Replacement: 2 단계, 이미지 1개 중 1개
      • Remove and recycle old batteries.

      댓글 쓰기

    1. Sanyo VPC S1275 Function Set Replacement, Case: 3 단계, 이미지 3개 중 1개 Sanyo VPC S1275 Function Set Replacement, Case: 3 단계, 이미지 3개 중 2개 Sanyo VPC S1275 Function Set Replacement, Case: 3 단계, 이미지 3개 중 3개
      • Remove the following six screws using the Phillips #00 screwdriver:

      • Two screws on the left side of the camera.

      • Two screws on the right side of the camera.

      • Two screws on the bottom of the camera.

      댓글 쓰기

    2. Sanyo VPC S1275 Function Set Replacement: 4 단계, 이미지 2개 중 1개 Sanyo VPC S1275 Function Set Replacement: 4 단계, 이미지 2개 중 2개
      • Open the battery slot on the bottom of the camera by sliding the door to the right.

      • Remove the single 4 mm screw on the bottom right using the Phillips #00 screwdriver.

      댓글 쓰기

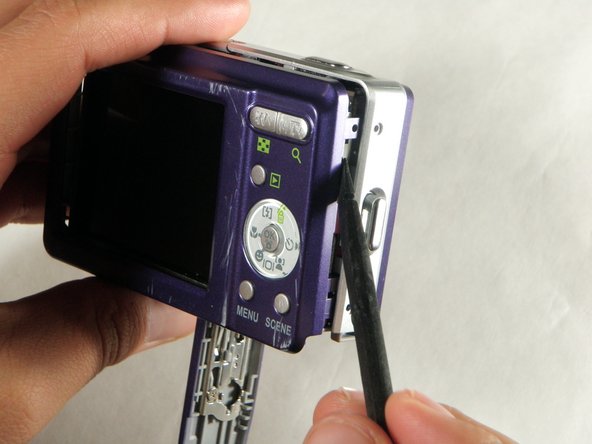
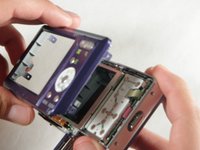
    3. Sanyo VPC S1275 Function Set Replacement: 5 단계, 이미지 3개 중 1개 Sanyo VPC S1275 Function Set Replacement: 5 단계, 이미지 3개 중 2개 Sanyo VPC S1275 Function Set Replacement: 5 단계, 이미지 3개 중 3개
      • Insert a spudger in the seam at the bottom of the camera.

      • Gently separate the rear case from the front of the camera.

      댓글 쓰기

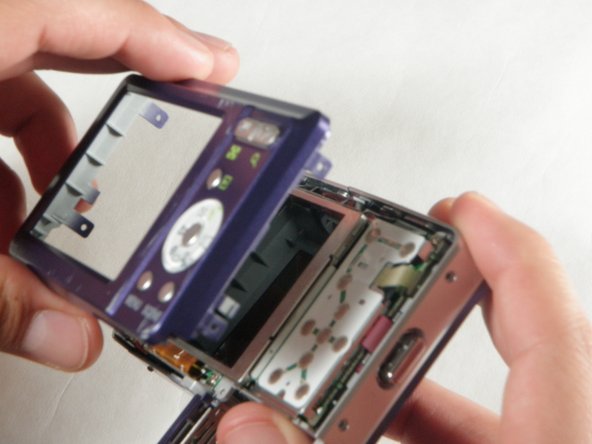
    4. Sanyo VPC S1275 Function Set Replacement: 6 단계, 이미지 1개 중 1개
      • This step is only needed for the case and logic board replacement

      • Using the Phillips #00 screwdriver, remove the single screw attached to the front casing in the top left corner. The front case should easily separate.

      댓글 쓰기

    5. Sanyo VPC S1275 Function Set Replacement: 7 단계, 이미지 1개 중 1개
      • This step is only needed for the case replacement.

      • Using the Phillips #00 screwdriver, remove the screw on the inside of the battery door.

      • Slide the battery door off of the hinge.

      댓글 쓰기

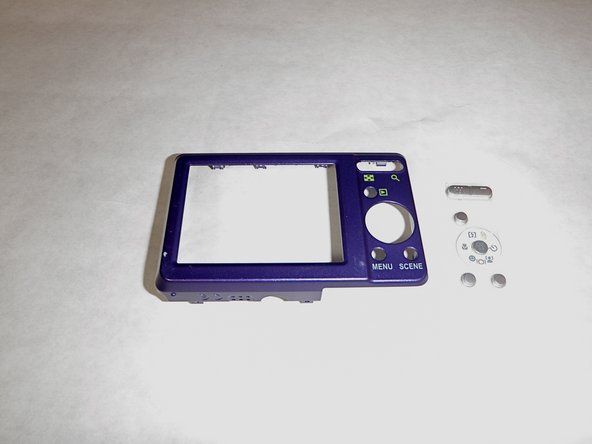
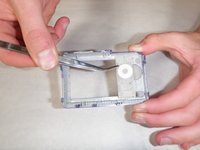
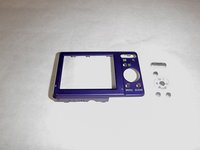
    1. Sanyo VPC S1275 Function Set Replacement, Function Set: 8 단계, 이미지 2개 중 1개 Sanyo VPC S1275 Function Set Replacement, Function Set: 8 단계, 이미지 2개 중 2개
      • Remove the function set strip by lifting it from the inside of the rear case.

      • The function strip is now free from the camera.

      댓글 쓰기

결론

To reassemble your device, follow these instructions in reverse order.

취소: 해당 안내서를 완성하지 않았습니다.

작성자

4다른 기여자 명과 함께

Ariana Martinez

회원 가입일: 04/15/10

50 평판

안내서 4개를 작성함

Cal Poly, Team 24-24, Regan Spring 2010 Cal Poly, Team 24-24, Regan Spring 2010 회원

CPSU-REGAN-S10S24G24

4 회원들

안내서 18개를 작성함

0가이드 댓글

댓글 쓰기

조회 통계:

지난 24시간: 0

지난 7일: 9

지난 30일: 38

전체 시간: 3,220