소개
Use this guide to gain entry to LCD screen and replace it if necessary.
필요한 것
-
-
-
Place your thumb on the right side of the camera over the battery door.
-
Slide the battery door to the right until the door lifts up.
 FixBot에 문의하기
-
-
-
-
-
Remove the following six screws using the Phillips #00 screwdriver:
-
Two screws on the left side of the camera.
-
Two screws on the right side of the camera.
-
Two screws on the bottom of the camera.
-
-
-
-
Open the battery slot on the bottom of the camera by sliding the door to the right.
-
Remove the single 4 mm screw on the bottom right using the Phillips #00 screwdriver.
-
-
-
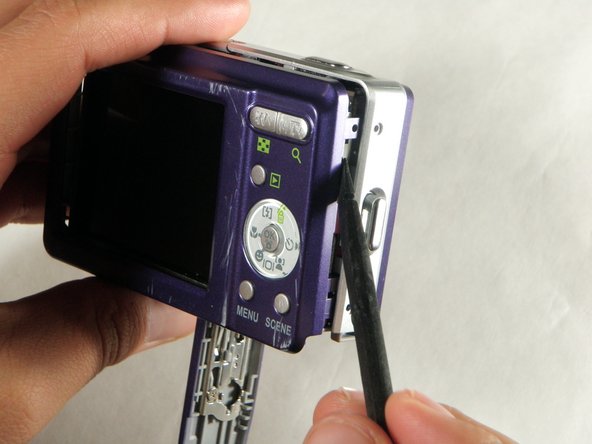
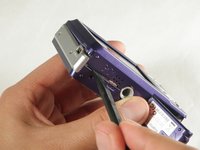
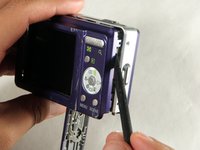
Insert a spudger in the seam at the bottom of the camera.
-
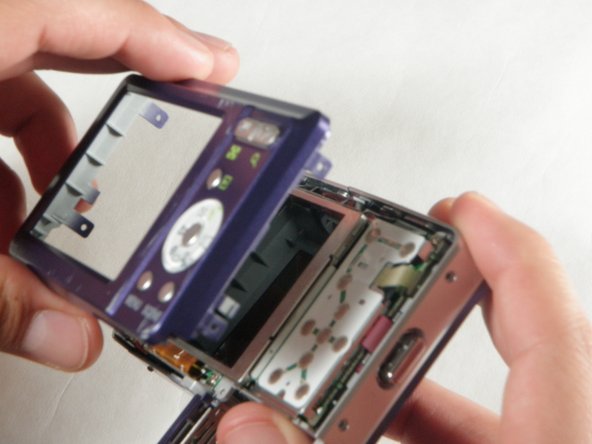
Gently separate the rear case from the front of the camera.
-
-
-
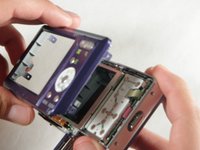
Using the Phillips #00 screwdriver, remove the single screw attached to the front casing in the top left corner. The front case should easily separate.
-
-
-
Using the Phillips #00 screwdriver, remove the screw on the inside of the battery door.
-
Slide the battery door off of the hinge.
-
-
-
-
-
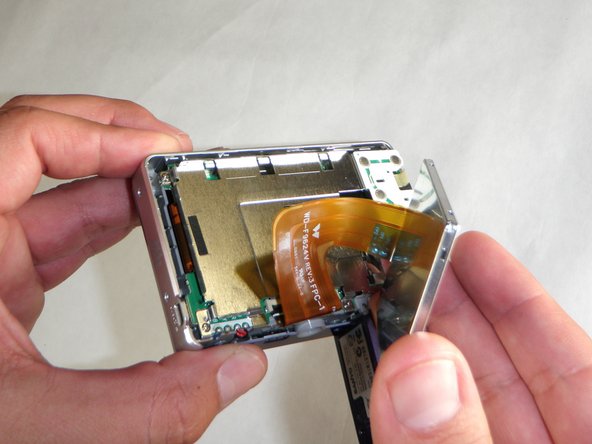
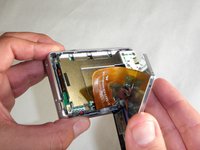
Using the spudger, carefully lift up the LCD screen, making sure to keep the ribbon cable intact.
-
Place the LCD screen on a non-abrasive surface.
-
-
-
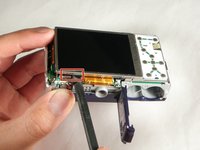
Using the spudger lift the black flap up to release the ribbon cable.
-
The LCD screen will now be completely detached from the camera.
-
-





To reassemble your device, follow these instructions in reverse order.

팀

Cal Poly, Team 24-24, Regan Spring 2010 Cal Poly, Team 24-24, Regan Spring 2010 회원
CPSU-REGAN-S10S24G24
4 회원들
안내서 42개를 작성함
