주요 콘텐츠로 건너뛰기

Sega Genesis 6 button controller

필요한 것

  1. Sega Genesis 6 button controller, Disassembling the handle: 1 단계, 이미지 1/1
    • Flip the controller upside down.

    • Using a Phillips #00 screwdriver, remove the five screws holding the controller back cover in place.

  2. Sega Genesis 6 button controller: 2 단계, 이미지 1/1
    • Then remove the back cover of the controller, which gives you access to the motherboard of the controller.

    • Carefully put back the 5 screws from step 1 as well as the back cover of the controller

  3. Sega Genesis 6 button controller, Disassembling the motherboard: 3 단계, 이미지 1/2 Sega Genesis 6 button controller, Disassembling the motherboard: 3 단계, 이미지 2/2
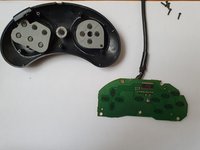
    • Remove the motherboard from the controller body, after releasing the rubber part that holds the cable in the controller body

    • This gives you access to the button contact pads

  4. Sega Genesis 6 button controller, Dismantling the buttons: 4 단계, 이미지 1/1
    • Remove the contact pads

    • Then remove the 8 plastic buttons

  5. Sega Genesis 6 button controller, Dismantling the Directional Pad: 5 단계, 이미지 1/3 Sega Genesis 6 button controller, Dismantling the Directional Pad: 5 단계, 이미지 2/3 Sega Genesis 6 button controller, Dismantling the Directional Pad: 5 단계, 이미지 3/3
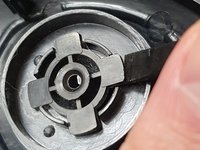
    • In order to disassemble the directional cross, it is necessary to levergentlypreferably with a plastic Spudger, under the 4 retaining tabs.

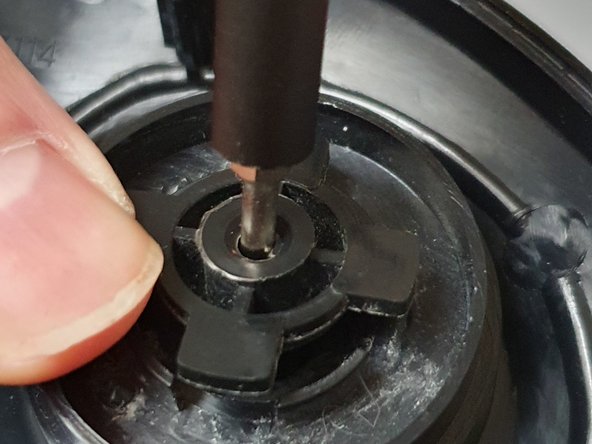
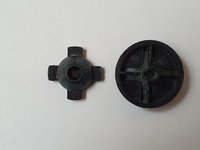
    • Then, push in the central hole with a fine tool (here a screwdriver), in order to undo the assembly

    • For reassembly, be careful to put the corrector in front of the slot of the outer part!

결론

Follow these steps in reverse order to reassemble your device.

다른 한 분이 해당 안내서를 완성하였습니다.

다음 번역가들에게 특별히 감사 드립니다:

fr en

100%

tayola님은 저희가 세상을 수리하는데 동참하신 분입니다! 기여하시겠습니까?
번역 시작하기 ›

Thierry Benitez

회원 가입일: 01/14/19

315 평판

안내서 1개 작성함

댓글 0개

댓글 쓰기

조회 통계:

24 시간 전: 3

7일 전: 13

30일 전: 37

전체 시간: 987