주요 콘텐츠로 건너뛰기
수리 커뮤니티 가입 - 계정 만들기

Shark Rocket Professional Hose Replacement

필요한 것

  1. Shark Rocket Professional Hose Replacement, Main Hose: 1 단계, 이미지 3개 중 1개 Shark Rocket Professional Hose Replacement, Main Hose: 1 단계, 이미지 3개 중 2개 Shark Rocket Professional Hose Replacement, Main Hose: 1 단계, 이미지 3개 중 3개
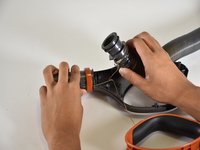
    • Look at the Shark Rocket Professional's Extension Rod.

    • Identify where the hose connects to the main body of the vacuum.

    • Press the tabs on the sides of the connector to remove the hose.

    • You can use a long, thin object to unclog the hose.

    • If this fixes your problem, then you are finished with this guide.

    댓글 쓰기

  2. Shark Rocket Professional Hose Replacement: 2 단계, 이미지 2개 중 1개 Shark Rocket Professional Hose Replacement: 2 단계, 이미지 2개 중 2개
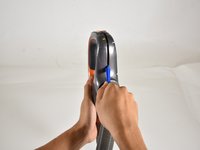
    • Look at the vacuum handle and locate the orange button that says "Handle" with a picture of a lock.

    • Press the button and remove the handle.

    댓글 쓰기

  3. Shark Rocket Professional Hose Replacement: 3 단계, 이미지 2개 중 1개 Shark Rocket Professional Hose Replacement: 3 단계, 이미지 2개 중 2개
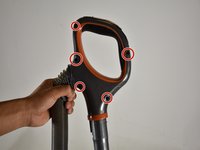
    • Look at the vacuum handle.

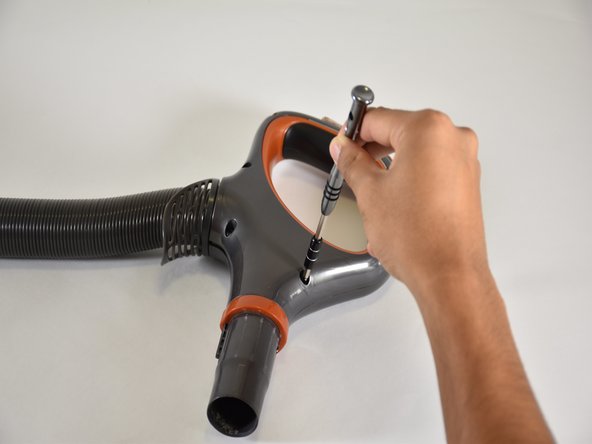
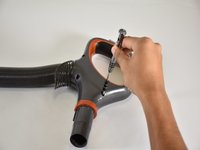
    • Using a T-15 screwdriver, remove the five 15mm screws in the handle by turning them counter-clockwise.

    댓글 쓰기

  4. Shark Rocket Professional Hose Replacement: 4 단계, 이미지 3개 중 1개 Shark Rocket Professional Hose Replacement: 4 단계, 이미지 3개 중 2개 Shark Rocket Professional Hose Replacement: 4 단계, 이미지 3개 중 3개
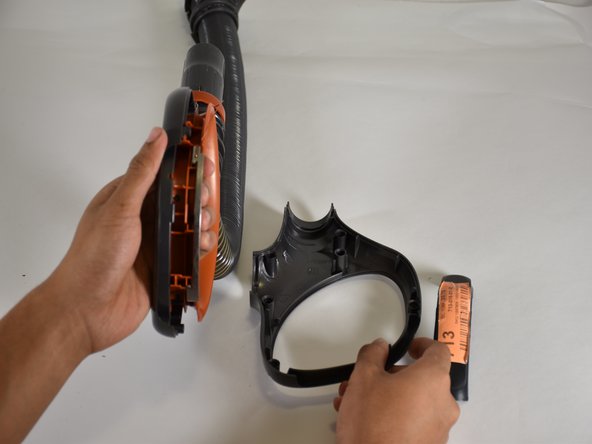
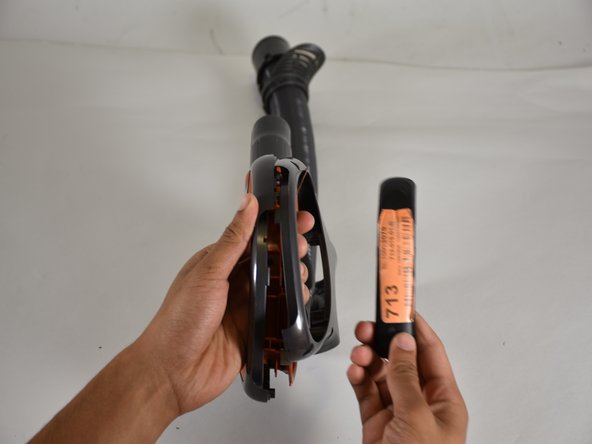
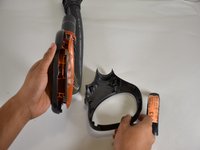
    • Use a plastic opening tool to pry open the handle.

    • Don't worry if the handle sounds like it is going to break; it takes a lot of force to pull apart.

    • When popping open your handle, the small grey piece of plastic(pictured in the last frame) will fly out.

    댓글 쓰기

  5. Shark Rocket Professional Hose Replacement: 5 단계, 이미지 3개 중 1개 Shark Rocket Professional Hose Replacement: 5 단계, 이미지 3개 중 2개 Shark Rocket Professional Hose Replacement: 5 단계, 이미지 3개 중 3개
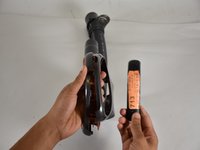
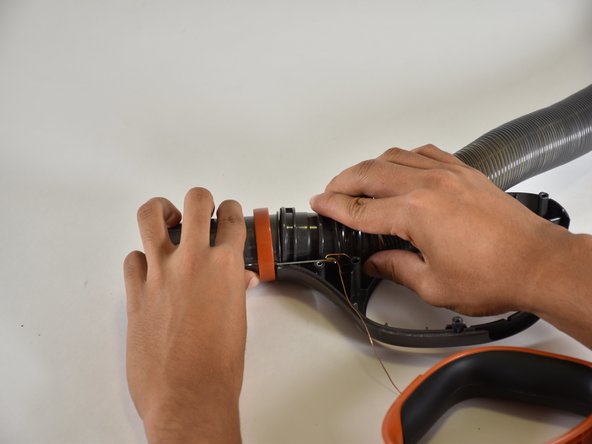
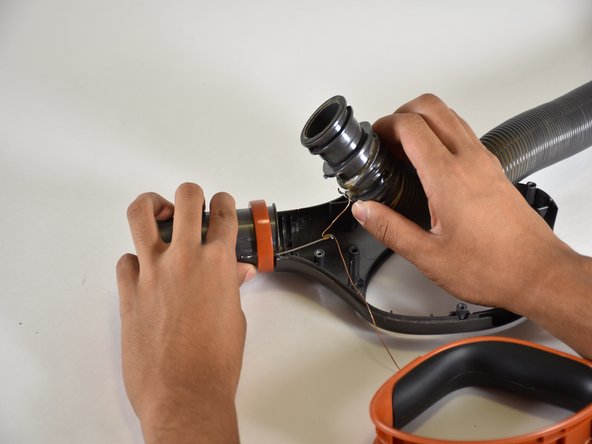
    • The orange plastic piece may have naturally fallen out at this point.

    • Look a your handle.

    • Using your hands, pull the tube from the nozzle of the handle.

    • The tube is soldered onto a wire connecting to the plastic orange piece inside the handle.

    • Cut this connection with wire clippers to remove and replace your tube.

    댓글 쓰기

결론

To reassemble your device, follow these instructions in reverse order.

취소: 해당 안내서를 완성하지 않았습니다.

다른 2명이 해당 안내서를 완성하였습니다.

작성자

3다른 기여자 명과 함께

Brad Iglesia

회원 가입일: 01/24/18

316 평판

안내서 2개를 작성함

Cal Poly, Team S18-G6, Livingston Winter 2018 Cal Poly, Team S18-G6, Livingston Winter 2018 회원

CPSU-LIVINGSTON-W18S18G6

4 회원들

안내서 10개를 작성함

4가이드 댓글

How about an expla8nation about how t9 actually do the lower the hose inside the brush head

Jonathan Hill - 답글 공유

How do you replace the hose in the beater head

daveve2 - 답글 공유

Thank you for this, this guide helped a ton.

Bradlee Johnson - 답글 공유

How long does it take to answer acquestion?

daveve2 - 답글 공유

댓글 쓰기

조회 통계:

지난 24시간: 3

지난 7일: 9

지난 30일: 63

전체 시간: 6,892