주요 콘텐츠로 건너뛰기
수리 커뮤니티 가입 - 계정 만들기

Shop-Vac MC150A Motor Replacement

필요한 것

    1. Shop-Vac MC150A Motor Replacement, Unlatch the power unit assembly: 1 단계, 이미지 1개 중 1개
      • Before you begin, make sure to switch off the device and unplug it from the outlet.

      • Unlatch the two side clips securing the power unit assembly to the tank.

      • Remove the power unit assembly from the tank assembly.

      댓글 쓰기

    2. Shop-Vac MC150A Motor Replacement, Remove the top cover: 2 단계, 이미지 2개 중 1개 Shop-Vac MC150A Motor Replacement, Remove the top cover: 2 단계, 이미지 2개 중 2개
      • Use a 3.5 mm hex key to remove the three screws securing the top cover.

      • Remove the top cover.

      댓글 쓰기

    3. Shop-Vac MC150A Motor Replacement: 3 단계, 이미지 1개 중 1개
      • Use a 3.5 mm hex key to remove the four screws securing the power unit assembly.

      댓글 쓰기

    4. Shop-Vac MC150A Motor Replacement: 4 단계, 이미지 1개 중 1개
      • Separate the power unit assembly from the cover.

      댓글 쓰기

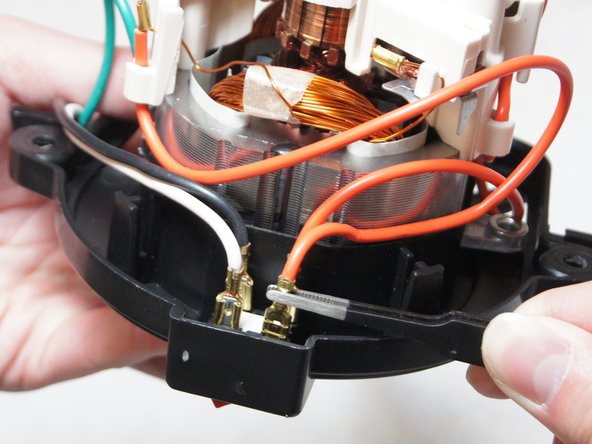
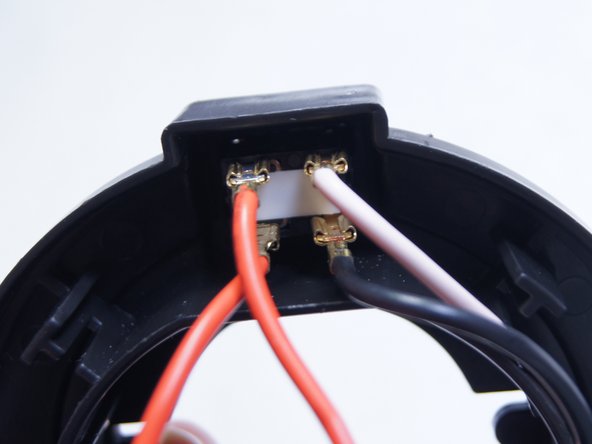
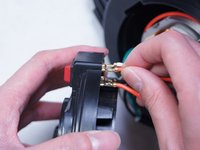
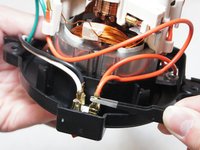
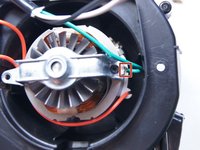
    1. Shop-Vac MC150A Motor Replacement, Disconnect the switch: 5 단계, 이미지 3개 중 1개 Shop-Vac MC150A Motor Replacement, Disconnect the switch: 5 단계, 이미지 3개 중 2개 Shop-Vac MC150A Motor Replacement, Disconnect the switch: 5 단계, 이미지 3개 중 3개
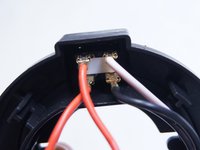
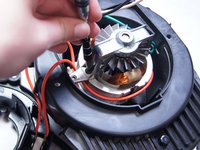
      • Pull out and disconnect the four spade connectors from the switch module.

      • During reassembly, use the last image as a reference for how to connect the wires.

      댓글 쓰기

    2. Shop-Vac MC150A Motor Replacement, Unscrew the motor bracket: 6 단계, 이미지 2개 중 1개 Shop-Vac MC150A Motor Replacement, Unscrew the motor bracket: 6 단계, 이미지 2개 중 2개
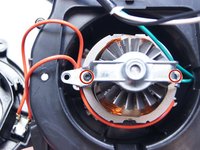
      • Use a Torx T15 driver to unscrew the two screws securing the metal motor bracket.

      댓글 쓰기

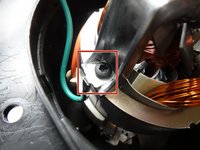
    3. Shop-Vac MC150A Motor Replacement: 7 단계, 이미지 2개 중 1개 Shop-Vac MC150A Motor Replacement: 7 단계, 이미지 2개 중 2개
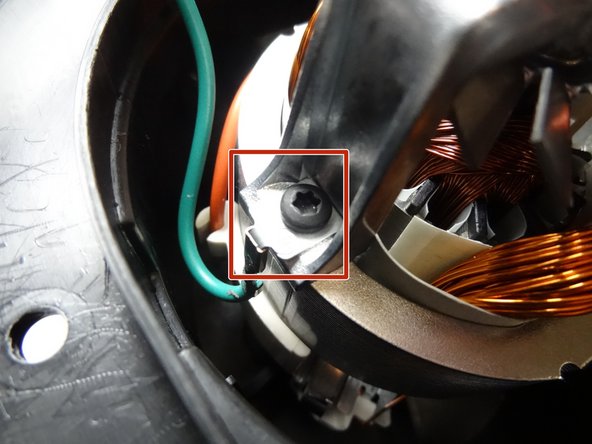
      • During reassembly, be sure to reattach the green ground wire clip to the bracket.

      댓글 쓰기

    4. Shop-Vac MC150A Motor Replacement: 8 단계, 이미지 1개 중 1개
      • Separate the clip from the green wire and transfer it to the replacement motor.

      댓글 쓰기

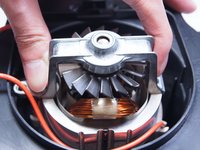
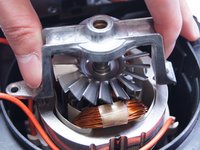
    1. Shop-Vac MC150A Motor Replacement, Motor: 9 단계, 이미지 2개 중 1개 Shop-Vac MC150A Motor Replacement, Motor: 9 단계, 이미지 2개 중 2개
      • Remove the motor bracket.

      댓글 쓰기

    2. Shop-Vac MC150A Motor Replacement: 10 단계, 이미지 1개 중 1개
      • Turn the part over to the other side.

      • Use the socket wrench remove the bolt securing the aluminum plate.

      댓글 쓰기

    3. Shop-Vac MC150A Motor Replacement: 11 단계, 이미지 1개 중 1개
      • Unscrew the two Phillips head screws holding the cover to the motor.

      • After removing the cover to the motor, you can replace the motor.

      댓글 쓰기

결론

To reassemble your device, follow these instructions in reverse order.

취소: 해당 안내서를 완성하지 않았습니다.

다른 8명이 해당 안내서를 완성하였습니다.

작성자

5다른 기여자 명과 함께

Ngunlian

회원 가입일: 02/08/16

756 평판

안내서 5개를 작성함

IUPUI, Team 1-2, Baechle Spring 2016 IUPUI, Team 1-2, Baechle Spring 2016 회원

IUPUI-BAECHLE-S16S1G2

5 회원들

안내서 18개를 작성함

2가이드 댓글

Where do I buy a new motor?????

Gerald Mikel - 답글 공유

Yeah that's what we all would like to know, removing is the easy part

Junkyard_Boxer - 답글 공유

댓글 쓰기

조회 통계:

지난 24시간: 2

지난 7일: 47

지난 30일: 242

전체 시간: 32,376