소개
The old power button is removed by pushing the power button to the right, pushing up on the power button to lift the left side of the power button over the plastic ridge that was holding it in place, and then sliding the power button to the left. The new power button is installed by reversing these steps.
필요한 것
-
-
-
Remove the battery (which also functions as the back cover) from the device. This step is not explicitly shown, but a picture without the battery cover shows the device post-battery removal.
 FixBot에 문의하기
-
-
-
Use a Philip's head screw driver to remove the screws from the case.
-
Place the screws in a small container to avoid losing them.
-
-
-
Remove the front cover.
-
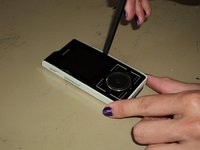
First, insert a small pry bar where the black front cover and white back cover meet.
-
Begin prying the black plastic up, slowing moving around to the bottom and other side.
-
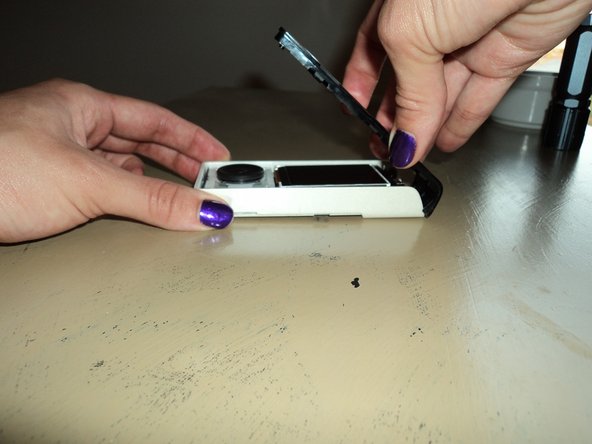
At an angle, carefully pull up on the front cover separate the two pieces.
-
Excellent! Now you have removed the front cover!
-
-
-
-
-
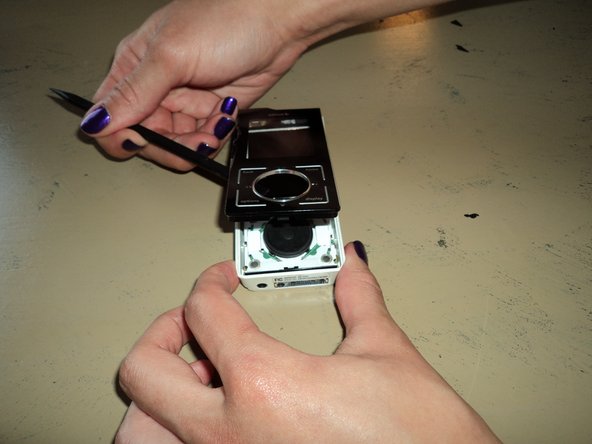
While looking down at the device, place your index finger at the top of the circuit board and your thumb on the device screen.
-
-
-
Using your fingers, gently pull the top of the circuit board up toward you while also sliding the bottom of the circuit board away from the bottom of the Sirius Stiletto 100 back cover.
-
-
-
-
Congratulations! You have successfully removed the internal circuit board from the Sirius Stiletto 100 back cover.
-
-
-
-
-
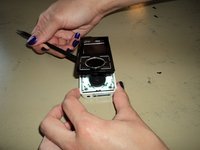
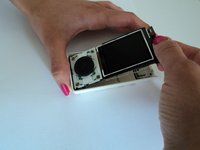
Locate the power button on the side of the device (the power button is circled in orange in the photograph).
-
-
-
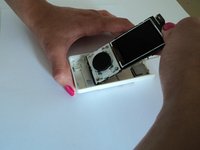
Turn the case so that you can see the other side of the power button (so that you are looking at it from "inside" the device). The power button is indicated by an orange circle in the photograph.
-
-
-
Grasping the button as shown, slide the power button all the way to the right.
-
-
-
Push upwards with your thumb to lift the left side of the button over the plastic ridge.
-
If the button hits the plastic ridge as you push upwards, try pushing it to the right with your index finger as you push upwards with your thumb.
-
-
-
Remove the power button by sliding the power button to the left, over the plastic ridge.
-
-
-
Place the new power button in the slot so that the right end of the power button is under the plastic ridge on the right and the left end of the power button is on top of the plastic ridge on the left.
-
Make sure the power button is oriented the same way as the slot. The bottom left corner of the power button should stick out more than the top left corner, and the top right corner should stick out more than the bottom right corner. A simple way to check this is to held the power button in place and look at the side of the device (from the "outside" of the device).
-
-
-
Grasping the power button between your index finger and your thumb, slide the power button to the right.
-
As you do this, the left side of the power button will come off of the plastic ridge it was resting on. The power button will rest against the case.
-
Move the power button back and forth to make sure it is in the correct position and free to move.
-
-


To reassemble your device, follow these instructions in reverse order.
팀

Clemson, Team 2-1, Benson Spring 2012 Clemson, Team 2-1, Benson Spring 2012 회원
CLEM-BENSON-S12S2G1
3 회원들
안내서 18개를 작성함