주요 콘텐츠로 건너뛰기
수리 커뮤니티 가입 - 계정 만들기

Skil 88 Motor Housing Replacement

필요한 것

    1. Skil 88 Motor Housing Replacement, Disassembling Skil 88 Front Housing: 1 단계, 이미지 1개 중 1개
      • On the front of the drill, remove the three 2" flathead screws connecting the front housing to the rear housing.

      댓글 쓰기

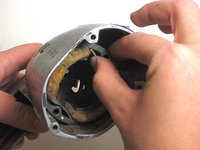
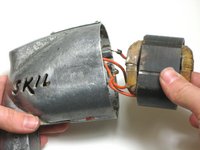
    2. Skil 88 Motor Housing Replacement: 2 단계, 이미지 2개 중 1개 Skil 88 Motor Housing Replacement: 2 단계, 이미지 2개 중 2개
      • Pull the front housing apart from the rear.

      • The motor and gears might fall out when you are pulling it apart.

      댓글 쓰기

    1. Skil 88 Motor Housing Replacement, Trigger Housing: 3 단계, 이미지 2개 중 1개 Skil 88 Motor Housing Replacement, Trigger Housing: 3 단계, 이미지 2개 중 2개
      • Use the socket wrench to remove the 0.5" length screw from the bottom of the handle.

      댓글 쓰기

    2. Skil 88 Motor Housing Replacement: 4 단계, 이미지 3개 중 1개 Skil 88 Motor Housing Replacement: 4 단계, 이미지 3개 중 2개 Skil 88 Motor Housing Replacement: 4 단계, 이미지 3개 중 3개
      • Separate the cord from the handle.

      댓글 쓰기

    1. Skil 88 Motor Housing Replacement, Motor Housing: 5 단계, 이미지 2개 중 1개 Skil 88 Motor Housing Replacement, Motor Housing: 5 단계, 이미지 2개 중 2개
      • Remove the inner divider.

      댓글 쓰기

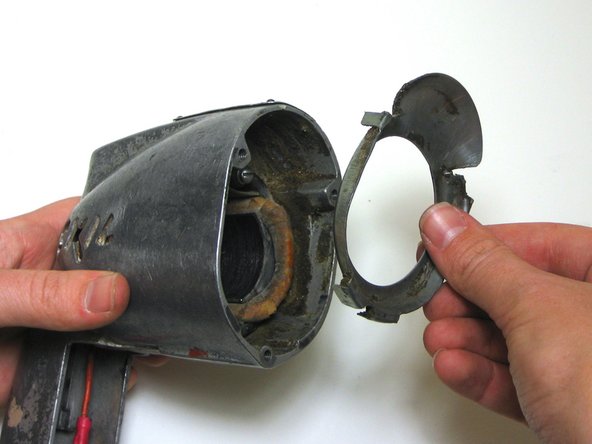
    2. Skil 88 Motor Housing Replacement: 6 단계, 이미지 1개 중 1개
      • Remove the two 1" flathead screws located at the top and bottom of the motor housing.

      댓글 쓰기

    3. Skil 88 Motor Housing Replacement: 7 단계, 이미지 2개 중 1개 Skil 88 Motor Housing Replacement: 7 단계, 이미지 2개 중 2개
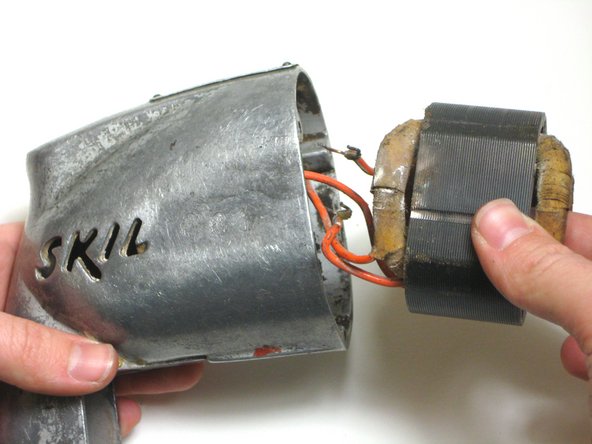
      • Pull the motor housing out.

      • The wires from the trigger housing should follow the motor housing.

      댓글 쓰기

    4. Skil 88 Motor Housing Replacement: 8 단계, 이미지 2개 중 1개 Skil 88 Motor Housing Replacement: 8 단계, 이미지 2개 중 2개
      이 단계에 사용된 도구:
      Tweezers
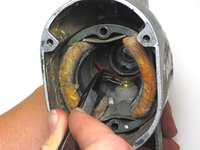
      $4.99
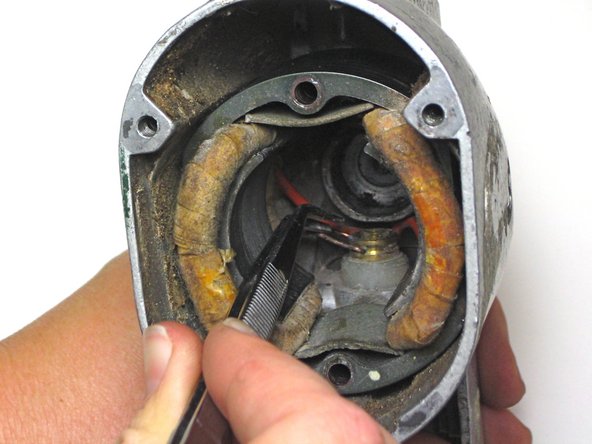
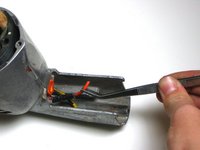
      • After you have placed the motor housing back into the drill during reassembly, thread the wires down to the handle using tweezers.

      • Plug the forked wire into the socket at the back of the motor housing using tweezers.

      댓글 쓰기

결론

To continue reassembly, simply follow the guide backwards starting at step 2.

취소: 해당 안내서를 완성하지 않았습니다.

작성자

4다른 기여자 명과 함께

Matt

회원 가입일: 10/10/10

365 평판

안내서 7개를 작성함

Cal Poly, Team 5-17, Maness Fall 2010 Cal Poly, Team 5-17, Maness Fall 2010 회원

CPSU-MANESS-F10S5G17

3 회원들

안내서 21개를 작성함

0가이드 댓글

댓글 쓰기

조회 통계:

지난 24시간: 2

지난 7일: 8

지난 30일: 31

전체 시간: 3,324