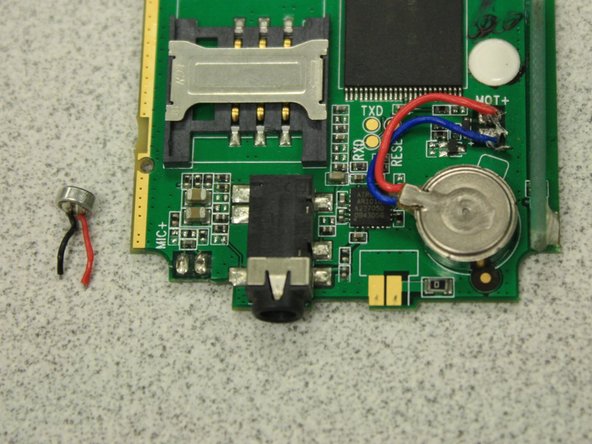
주요 콘텐츠로 건너뛰기

Snapfon ez One Microphone Replacement

필요한 것

  1. Snapfon ez One Microphone Replacement, Remove the battery cover: 1 단계, 이미지 1/1
    • Turn off the phone to prevent data loss.

    • Press and slide the battery out to remove it.

    • Picture rights belong to Snapfon®. Picture is used for educational purposes only. No copyright infringement intended.

  2. Snapfon ez One Microphone Replacement, Remove the battery: 2 단계, 이미지 1/1
    • Pry the battery out with your thumb or the iFixit opening tool.

    • Make sure to properly dispose of the old battery at a recycling center.

    • Picture rights belong to Snapfon®. Picture is used for educational purposes only. No copyright infringement intended.

  3. Snapfon ez One Microphone Replacement, Removing the plastic inserts: 3 단계, 이미지 1/2 Snapfon ez One Microphone Replacement, Removing the plastic inserts: 3 단계, 이미지 2/2
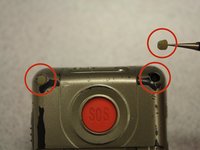
    • Remove the four rubber inserts from the screw holes using a pair of tweezers.

  4. Snapfon ez One Microphone Replacement, Remove the shield screws: 4 단계, 이미지 1/3 Snapfon ez One Microphone Replacement, Remove the shield screws: 4 단계, 이미지 2/3 Snapfon ez One Microphone Replacement, Remove the shield screws: 4 단계, 이미지 3/3
    • Remove the four 3.1mm screws in the corners with a Phillips #00 screwdriver.

  5. Snapfon ez One Microphone Replacement, Separate the case: 5 단계, 이미지 1/3 Snapfon ez One Microphone Replacement, Separate the case: 5 단계, 이미지 2/3 Snapfon ez One Microphone Replacement, Separate the case: 5 단계, 이미지 3/3
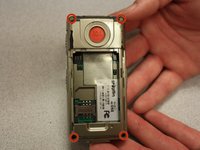
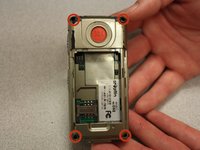
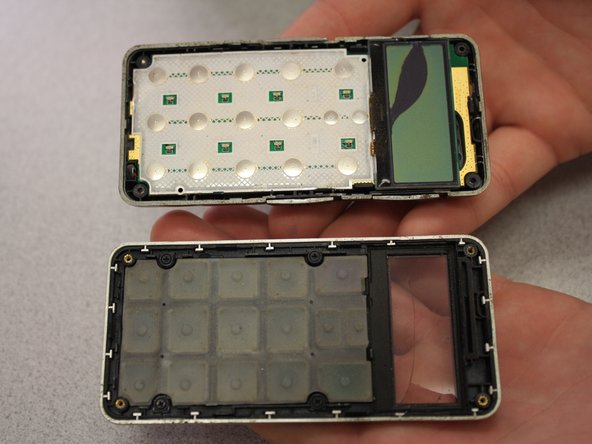
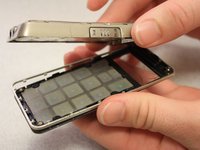
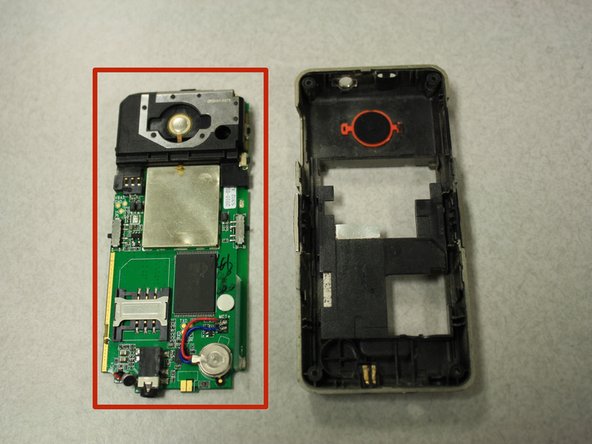
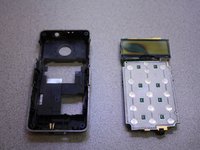
    • Separate the front case from the back case.

    • Remove the metal bumper from the front case’s perimeter.

  6. Snapfon ez One Microphone Replacement, Remove the volume slider: 6 단계, 이미지 1/1
    • Pry the volume slider button out with tweezers.

    • The volume slider button may fall out during the separation of the front and back cases. This is OK.

  7. Snapfon ez One Microphone Replacement, Remove the motherboard: 7 단계, 이미지 1/3 Snapfon ez One Microphone Replacement, Remove the motherboard: 7 단계, 이미지 2/3 Snapfon ez One Microphone Replacement, Remove the motherboard: 7 단계, 이미지 3/3
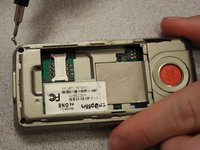
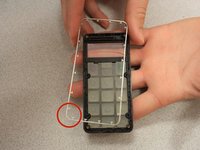
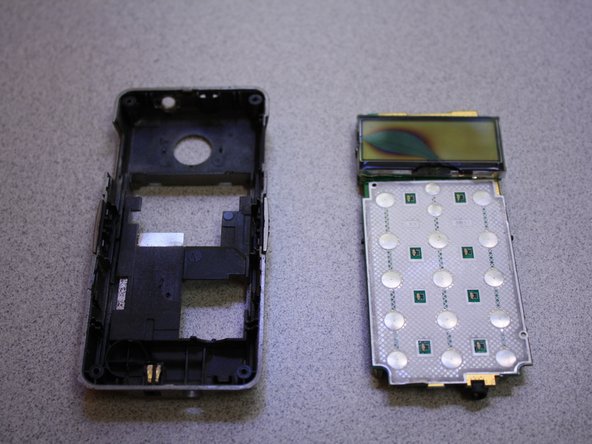
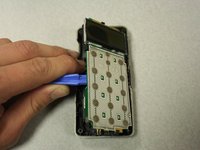
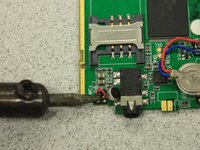
    • Separate the circuit board from the inside of the back case by prying between them with the opening tool.

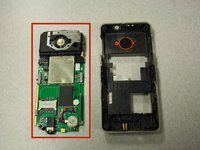
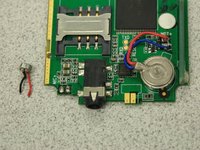
    • The last picture is a view of the back of the circuit board.

  8. Snapfon ez One Microphone Replacement, Microphone: 8 단계, 이미지 1/1
    • Locate the microphone on the back of the circuit board.

  9. Snapfon ez One Microphone Replacement: 9 단계, 이미지 1/2 Snapfon ez One Microphone Replacement: 9 단계, 이미지 2/2
    • Desolder the microphone from the circuit board using the soldering iron.

    • The solder iron creates high temperatures that may cause bodily harm.

    • Take the replacement microphone and melt the wires to the circuit board with the soldering iron in the same fashion that the old microphone was oriented.

결론

To reassemble your device, follow these instructions in reverse order.

John Bender

회원 가입일: 03/26/14

818 평판

안내서 8개 작성하였습니다

Clemson, Team 6-5, Benson Spring 2014 Clemson, Team 6-5, Benson Spring 2014 회원

CLEM-BENSON-S14S6G5

3 회원들

안내서 16개 작성하였습니다

댓글 0개

댓글 쓰기

조회 통계:

24 시간 전: 1

7일 전: 1

30일 전: 2

전체 시간: 387