주요 콘텐츠로 건너뛰기
수리 커뮤니티 가입 - 계정 만들기

SodaStream Source Loader Tab Replacement

필요한 것

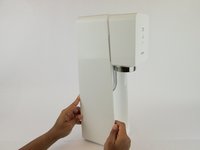
  1. SodaStream Source Loader Tab Replacement, SodaStream Source External Disassembly: 1 단계, 이미지 3개 중 1개 SodaStream Source Loader Tab Replacement, SodaStream Source External Disassembly: 1 단계, 이미지 3개 중 2개 SodaStream Source Loader Tab Replacement, SodaStream Source External Disassembly: 1 단계, 이미지 3개 중 3개
    • Remove the soda bottle and the CO₂ canister from the machine.

    댓글 쓰기

  2. SodaStream Source Loader Tab Replacement: 2 단계, 이미지 2개 중 1개 SodaStream Source Loader Tab Replacement: 2 단계, 이미지 2개 중 2개
    이 단계에 사용된 도구:
    Phillips #1 Screwdriver
    $8.99

    댓글 쓰기

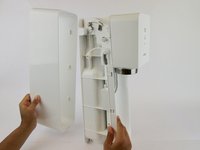
  3. SodaStream Source Loader Tab Replacement: 3 단계, 이미지 2개 중 1개 SodaStream Source Loader Tab Replacement: 3 단계, 이미지 2개 중 2개
    • Pull the outer cover away from the front of the device.

    댓글 쓰기

  4. SodaStream Source Loader Tab Replacement: 4 단계, 이미지 1개 중 1개
    이 단계에 사용된 도구:
    Phillips #1 Screwdriver
    $8.99

    댓글 쓰기

  5. SodaStream Source Loader Tab Replacement: 5 단계, 이미지 2개 중 1개 SodaStream Source Loader Tab Replacement: 5 단계, 이미지 2개 중 2개
    이 단계에 사용된 도구:
    Jimmy
    $7.95
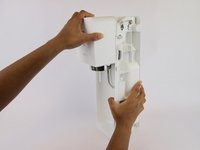
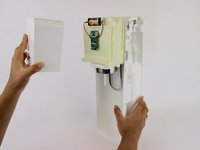
    • Firmly pull the front cover off.

    • This piece is difficult to remove and requires force. It may help to use a wide, thin object to pry it off (like a Jimmy).

    댓글 쓰기

  6. SodaStream Source Loader Tab Replacement, SodaStream Source  Internal Disassembly: 6 단계, 이미지 3개 중 1개 SodaStream Source Loader Tab Replacement, SodaStream Source  Internal Disassembly: 6 단계, 이미지 3개 중 2개 SodaStream Source Loader Tab Replacement, SodaStream Source  Internal Disassembly: 6 단계, 이미지 3개 중 3개
    • Push the brass bar, located in the top of the device, out of the carbonating block.

    • You can use the end of your screwdriver to push this piece out.

    댓글 쓰기

  7. SodaStream Source Loader Tab Replacement: 7 단계, 이미지 3개 중 1개 SodaStream Source Loader Tab Replacement: 7 단계, 이미지 3개 중 2개 SodaStream Source Loader Tab Replacement: 7 단계, 이미지 3개 중 3개
    • Slide the yellow battery cover up and away to remove it from the device.

    댓글 쓰기

  8. SodaStream Source Loader Tab Replacement: 8 단계, 이미지 2개 중 1개 SodaStream Source Loader Tab Replacement: 8 단계, 이미지 2개 중 2개
    • Unhook the bottom piece of the plastic arm on each side of the device.

    댓글 쓰기

  9. SodaStream Source Loader Tab Replacement: 9 단계, 이미지 2개 중 1개 SodaStream Source Loader Tab Replacement: 9 단계, 이미지 2개 중 2개
    • Lift the top of the plastic arm with the spudger and remove it on both sides.

    댓글 쓰기

  10. SodaStream Source Loader Tab Replacement: 10 단계, 이미지 2개 중 1개 SodaStream Source Loader Tab Replacement: 10 단계, 이미지 2개 중 2개
    • Remove the plastic piece, located near the front of the carbonating block, from both sides of the device using a plastic opening tool or nylon spudger.

    댓글 쓰기

  11. SodaStream Source Loader Tab Replacement: 11 단계, 이미지 2개 중 1개 SodaStream Source Loader Tab Replacement: 11 단계, 이미지 2개 중 2개
    • Remove the plastic oval and the spring within it.

    댓글 쓰기

  12. SodaStream Source Loader Tab Replacement: 12 단계, 이미지 2개 중 1개 SodaStream Source Loader Tab Replacement: 12 단계, 이미지 2개 중 2개
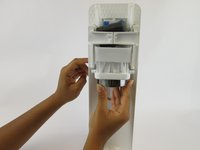
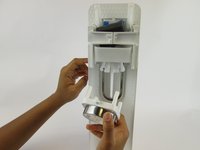
    • Pull the loader tab cover down and away from the rest of the carbonating block.

    댓글 쓰기

  13. SodaStream Source Loader Tab Replacement: 13 단계, 이미지 1개 중 1개
    • Remove the three 17.9 mm screws located on the right side.

    • These screws may be difficult to access.

    댓글 쓰기

  14. SodaStream Source Loader Tab Replacement: 14 단계, 이미지 2개 중 1개 SodaStream Source Loader Tab Replacement: 14 단계, 이미지 2개 중 2개
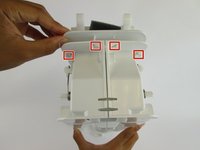
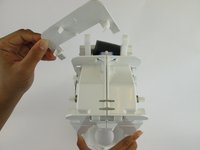
    • Unhook the four clips on the top of the carbonating block and remove the plastic cover.

    댓글 쓰기

  15. SodaStream Source Loader Tab Replacement: 15 단계, 이미지 3개 중 1개 SodaStream Source Loader Tab Replacement: 15 단계, 이미지 3개 중 2개 SodaStream Source Loader Tab Replacement: 15 단계, 이미지 3개 중 3개
    • Lift the clips located on both sides with the plastic spudger. Slide the front cover off.

    댓글 쓰기

  16. SodaStream Source Loader Tab Replacement: 16 단계, 이미지 2개 중 1개 SodaStream Source Loader Tab Replacement: 16 단계, 이미지 2개 중 2개
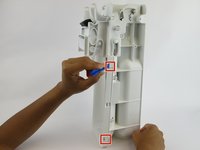
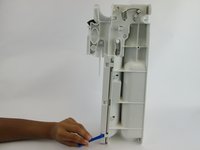
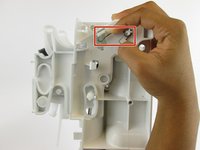
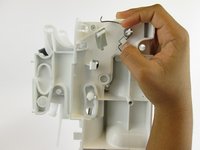
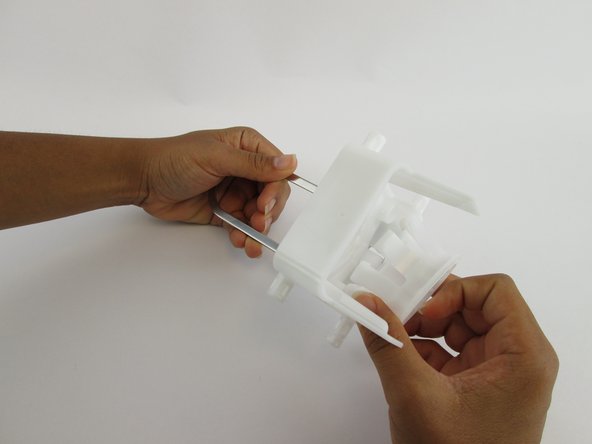
    • Unhook the silver spring arms on both sides of the device by pushing down.

    댓글 쓰기

  17. SodaStream Source Loader Tab Replacement: 17 단계, 이미지 1개 중 1개
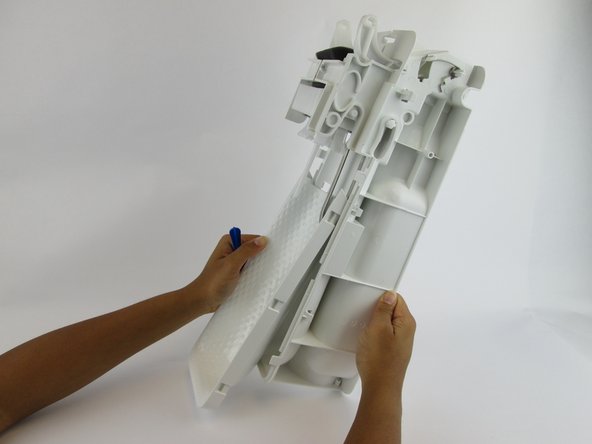
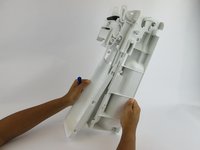
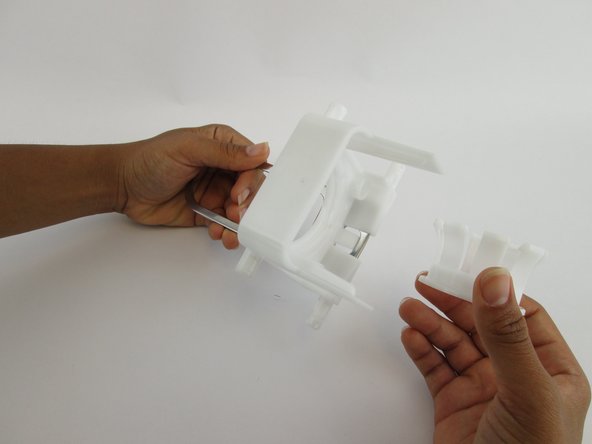
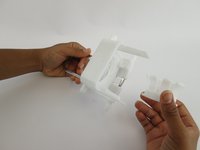
    • Grip the right and left sides of the device and pull it into two identical halves.

    • Once these two pieces are apart, all remaining internal components will fall out of the device.

    댓글 쓰기

  18. SodaStream Source Loader Tab Replacement: 18 단계, 이미지 3개 중 1개 SodaStream Source Loader Tab Replacement: 18 단계, 이미지 3개 중 2개 SodaStream Source Loader Tab Replacement: 18 단계, 이미지 3개 중 3개
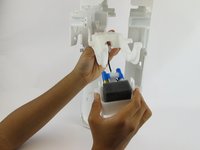
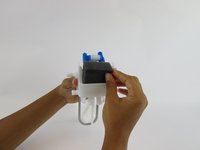
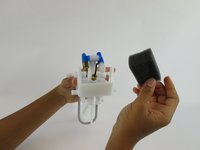
    • Pull the foam pad up and remove it from the front side of the carbonation component.

    댓글 쓰기

  19. SodaStream Source Loader Tab Replacement: 19 단계, 이미지 1개 중 1개
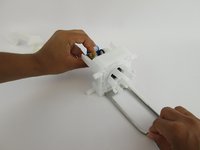
    • Remove the six 17.7 mm screws from the underside of the loader tab piece.

    댓글 쓰기

  20. SodaStream Source Loader Tab Replacement: 20 단계, 이미지 3개 중 1개 SodaStream Source Loader Tab Replacement: 20 단계, 이미지 3개 중 2개 SodaStream Source Loader Tab Replacement: 20 단계, 이미지 3개 중 3개
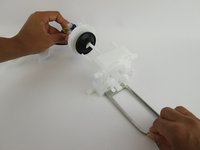
    • Pull the loader tab out of the nozzle.

    댓글 쓰기

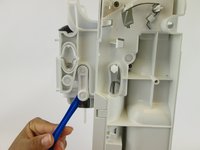
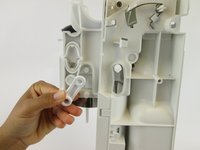
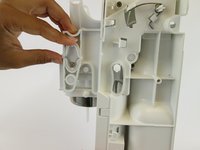
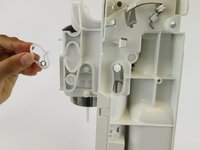
  21. SodaStream Source Loader Tab Replacement, Loader Tab: 21 단계, 이미지 3개 중 1개 SodaStream Source Loader Tab Replacement, Loader Tab: 21 단계, 이미지 3개 중 2개 SodaStream Source Loader Tab Replacement, Loader Tab: 21 단계, 이미지 3개 중 3개
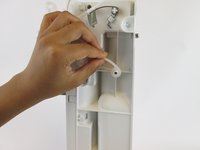
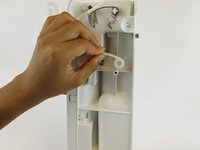
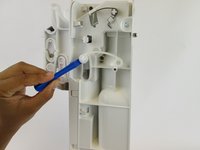
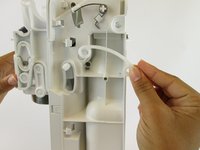
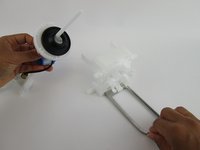
    • Pull the small inner plastic circle out of the large plastic loader tab piece.

    댓글 쓰기

결론

To reassemble your device, follow these instructions in reverse order.

취소: 해당 안내서를 완성하지 않았습니다.

다른 8명이 해당 안내서를 완성하였습니다.

작성자

3다른 기여자 명과 함께

Angela Mossgrove

회원 가입일: 02/20/17

1,213 평판

안내서 3개를 작성함

USF Tampa, Team S1-G4, Leahy Spring 2017 USF Tampa, Team S1-G4, Leahy Spring 2017 회원

USFT-LEAHY-S17S1G4

3 회원들

안내서 48개를 작성함

6가이드 댓글

Thank you SO much for this! I was having a lot of trouble with this thing not releasing the bottle, so I disassembled it all and put it back together and now it works a treat! Not sure what was going on but I am so excited. You weren’t kidding at the end about it all falling apart… took ages to work out how it all went back together, but now I understand it and I have a working SodaStream. 5*!

Amanda L - 답글 공유

Do you know where the tiny magnet goes? It fell out on the table as I was disassembling.

cheryl meeks - 답글 공유

I think it has something to do with the microchip for the LED’s. Can’t figure out how else the light would light. I haven’t taken it apart far enough to find the magnet. Hope this helps you.

Paul Bibeau - 답글 공유

You can see the magnet in step 18, the first picture. Its right below where a screw used to be.

Tom Green - 답글 공유

I placed sodastream on side and removed top half. I could then see where parts needed to be after they “fell out” for reassembly. More pictures of those steps would be helpful. Thank

cheryl meeks - 답글 공유

댓글 쓰기

조회 통계:

지난 24시간: 7

지난 7일: 44

지난 30일: 236

전체 시간: 29,118