소개
The control wheel is used to navigate through pictures, and can wear down over time, and will need replacement.
필요한 것
-
-
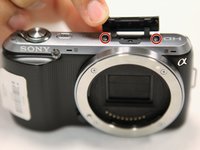
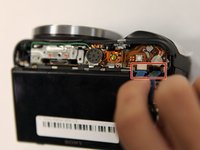
Use a Phillips head 000 screwdriver to remove the 4.0mm screw inside the USB port.
-
-
-
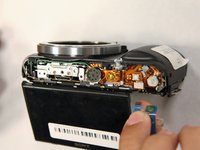
Use a Phillips head 000 screwdriver to remove the one 4.0mm screw on the side opposite of the USB port near the shutter button.
-
-
-
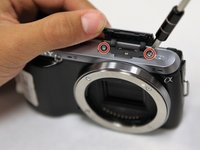
Open the flap at the top of the camera.
-
Use a Phillips head 000 screwdriver to remove the two 4.0mm screws inside.
-
-
-
-
Use a Phillips head 000 screwdriver to remove the 4.0mm screw at the side opposite of the USB port.
-
-
-
Use a Phillips head 000 screwdriver to remove the three 4.0mm screws on the bottom of the camera.
-
-
-
Tilt up the LCD screen.
-
Use a Phillips head 000 screwdriver to remove the two coarse 4.0mm screws near the bottom of the camera.
-
-
-
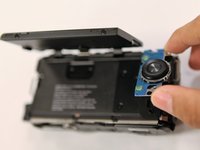
Tilt up the LCD screen.
-
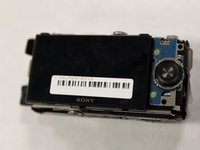
Grab the silver plate, and gently pry it up.
-


To reassemble your device, follow these instructions in reverse order.
다른 3명이 해당 안내서를 완성하였습니다.
팀

UC Santa Barbara, Team S1-G1, Weedon Fall 2017 UC Santa Barbara, Team S1-G1, Weedon Fall 2017 회원
UCSB-WEEDON-F17S1G1
3 회원들
안내서 13개를 작성함