소개
This guide will help you replace the motherboard of your Sony BDP-BX320. The motherboard is the central hub of your device and controls many essential functions. Replacing it can resolve connectivity or hardware-related issues.
필요한 것
-
-
-
Power off and unplug the device from any power source.
-
Place the Blue-ray player on a clean, stable surface.
 FixBot에 문의하기
-
-
이 단계에 사용된 도구:Magnetic Project Mat$19.95
-
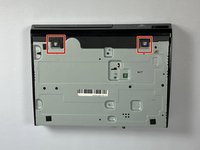
Use a Phillips #1 screwdriver to remove the three 8.3 mm screws on the back of the device.
-
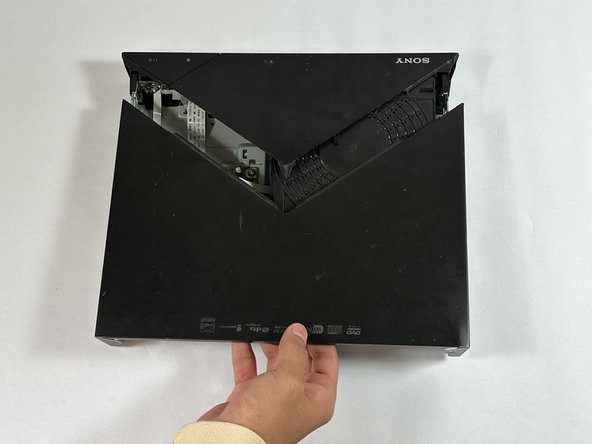
Slide the back section of the top case off the device.
-
-
-
-
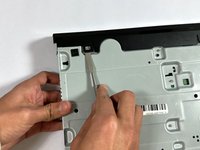
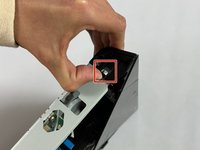
Use your hands or a metal spudger to gently disconnect the case from the small tabs on the bottom and sides of the device.
-
-
-
Slide off the front section of the top case to expose the internal components.
-
-
-
-
-
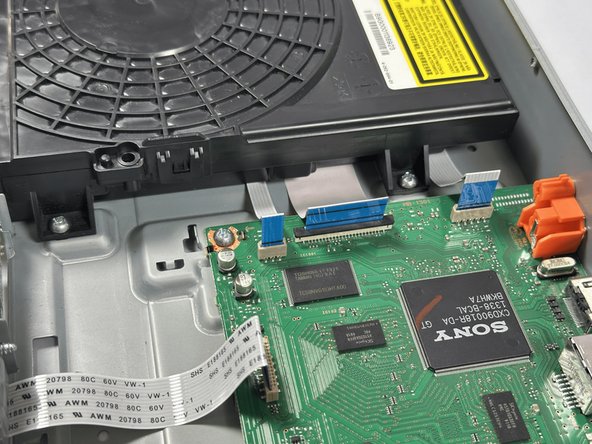
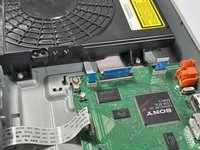
Use a spudger or a clean fingernail to flip up the locking flap of the ZIF connector located between the two "no fuss" ribbon cables that are attached to the board. This action puts the connector in the unlocked position.
-
Use tweezers or your fingers to gently pull the cable out of its socket by the blue tab.
-
Use tweezers or your fingers to pull the remaining four "no-fuss" ribbon cables straight out of their socket to disconnect them.
-
-
-
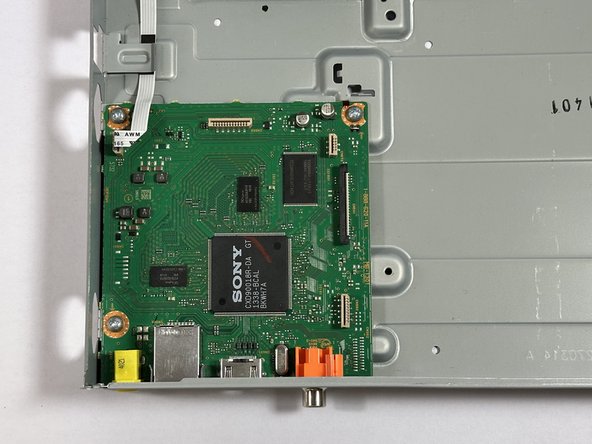
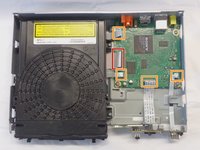
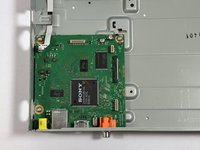
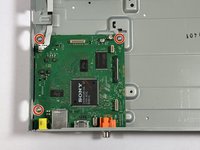
Use a Phillips #1 screwdriver to remove the three 7 mm screws that secure the motherboard to the frame of the device.
-
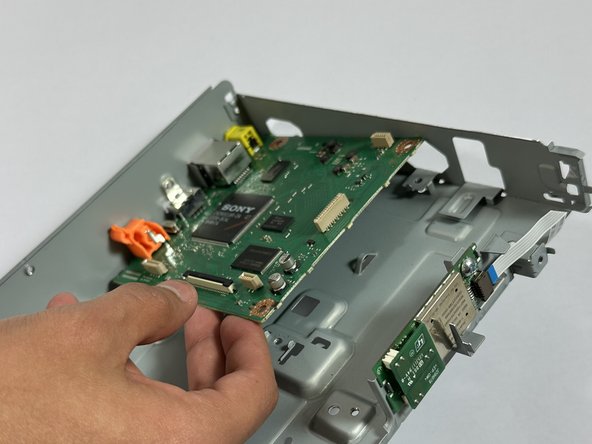
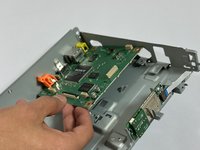
Remove the motherboard from the frame of the device.
-
-







By following these steps, you have successfully replaced the motherboard in your Sony BDP-BX320. To reassemble your device, follow these instructions in reverse order. To test, reconnect the device to power and verify functionality. Avoid overtightening screws and handle components with care to prevent damage.
다른 한 분이 해당 안내서를 완성하였습니다.

팀

CSU Los Angeles, Team 5-2, Kershman Fall 2024 CSU Los Angeles, Team 5-2, Kershman Fall 2024 회원
CSULA-KERSHMAN-F24S5G2
6 회원들
안내서 9개를 작성함
