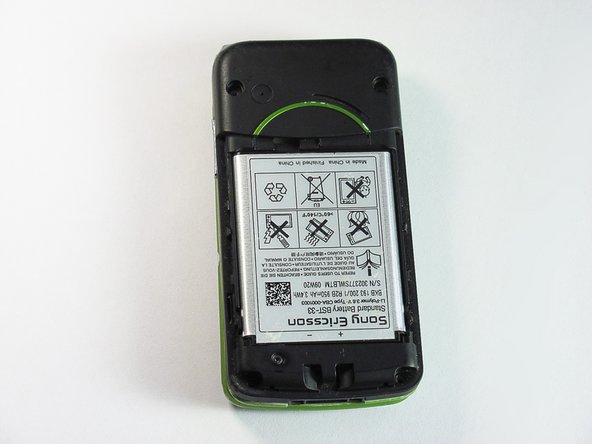
주요 콘텐츠로 건너뛰기

Sony Ericsson TM506 Sim Card Replacement

필요한 것

  1. Sony Ericsson TM506 Sim Card Replacement, Battery Cover: 1 단계, 이미지 1/3 Sony Ericsson TM506 Sim Card Replacement, Battery Cover: 1 단계, 이미지 2/3 Sony Ericsson TM506 Sim Card Replacement, Battery Cover: 1 단계, 이미지 3/3
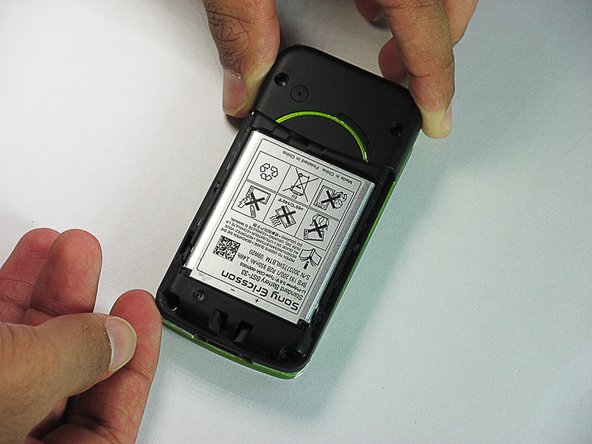
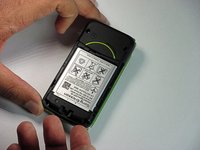
    • Firmly hold the phone between your fingers with your thumb on the battery cover.

    • Push down with your thumb until the battery cover comes off.

  2. Sony Ericsson TM506 Sim Card Replacement, Back Case: 2 단계, 이미지 1/3 Sony Ericsson TM506 Sim Card Replacement, Back Case: 2 단계, 이미지 2/3 Sony Ericsson TM506 Sim Card Replacement, Back Case: 2 단계, 이미지 3/3
    • Unscrew the bottom two 5.4mm screws with a Torx T6 screwdriver.

  3. Sony Ericsson TM506 Sim Card Replacement: 3 단계, 이미지 1/2 Sony Ericsson TM506 Sim Card Replacement: 3 단계, 이미지 2/2
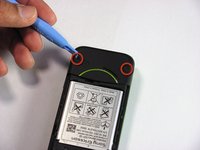
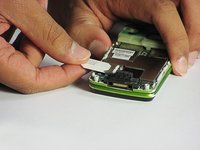
    • Remove the two rubber casings for the top two screws with a plastic opening tool.

  4. Sony Ericsson TM506 Sim Card Replacement: 4 단계, 이미지 1/1
    • Unscrew these two 5.4mm screws with a Torx T6 screwdriver.

  5. Sony Ericsson TM506 Sim Card Replacement: 5 단계, 이미지 1/3 Sony Ericsson TM506 Sim Card Replacement: 5 단계, 이미지 2/3 Sony Ericsson TM506 Sim Card Replacement: 5 단계, 이미지 3/3
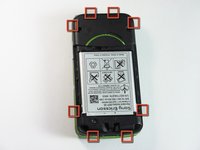
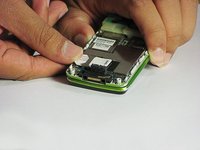
    • There are eight snap hooks located around the outer case. Carefully snap these to remove the outer case.

  6. Sony Ericsson TM506 Sim Card Replacement, Sim Card: 6 단계, 이미지 1/2 Sony Ericsson TM506 Sim Card Replacement, Sim Card: 6 단계, 이미지 2/2
    • The Sim card can simply be pulled out through the opening.

결론

To reassemble your device, follow these instructions in reverse order.

Daniel

회원 가입일: 06/20/12

83 평판

안내서 7개 작성하였습니다

Cal Poly, Team 1-1, Regan SU 2012 Cal Poly, Team 1-1, Regan SU 2012 회원

CPSU-REGAN-SU12S1G1

2 회원들

안내서 16개 작성하였습니다

댓글 0개

댓글 쓰기

조회 통계:

24 시간 전: 1

7일 전: 1

30일 전: 4

전체 시간: 1,503