소개
In this guide the back housing of the phone will be removed and the camera lens will be removed from the housing.
필요한 것
-
-
-
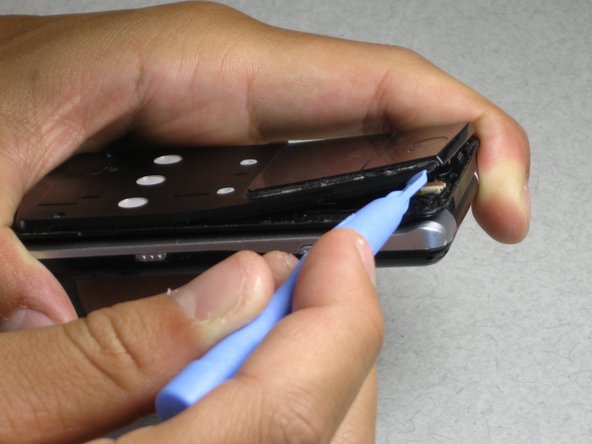
Find the small notch on the side of the phone. The notch is located by the "fast-forward" button and the "lock" switch.
 FixBot에 문의하기
-
-
-
Insert your plastic opening tool into the notch.
-
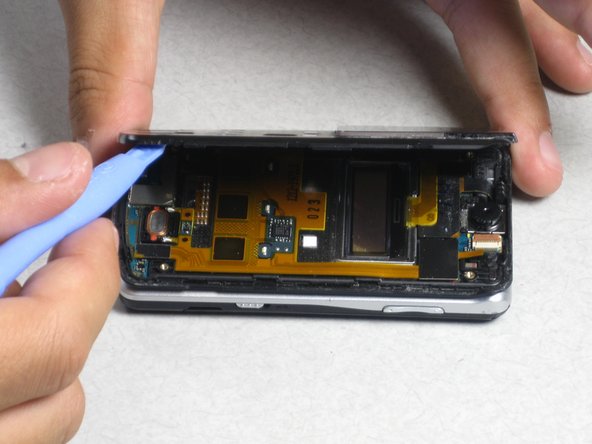
Pry off the faceplate by gently sliding the plastic opening tool around the phone while still keeping the tool under the edge of the phone.
-
When enough of the faceplate has been lifted it can be easily removed.
-
-
-
-
-
-
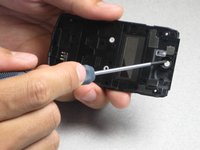
Remove the four 2mm Phillips screws from the back housing of the phone.
-
-
-
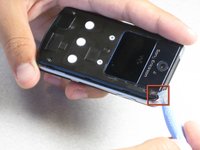
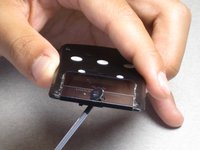
Insert the plastic opening tool in the notch at the top corner of the phone.
-
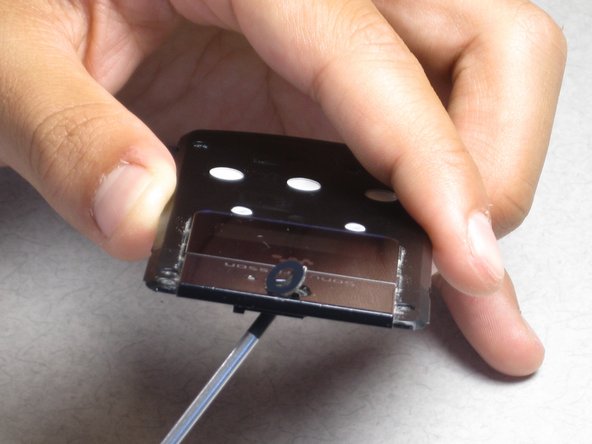
Lift the corner and run the plastic opening tool around the phone until the back housing can easily be removed.
-
-


To reassemble your device, follow these instructions in reverse order.
다른 한 분이 해당 안내서를 완성하였습니다.
팀

Cal Poly, Team 1-5, Regan SU 2012 Cal Poly, Team 1-5, Regan SU 2012 회원
CPSU-REGAN-SU12S1G5
3 회원들
안내서 20개를 작성함