주요 콘텐츠로 건너뛰기

Sony NWZ-E473 Screen Replacement

필요한 것

  1. Sony NWZ-E473  Screen Replacement, Back Panel: 1 단계, 이미지 1/1
    • Use a Phillips #00 screwdriver to unscrew the two 5 mm screws located on the bottom of the back of the device.

  2. Sony NWZ-E473  Screen Replacement: 2 단계, 이미지 1/1
    • Use a plastic opening tool to loosen the bottom portion of device.

  3. Sony NWZ-E473  Screen Replacement: 3 단계, 이미지 1/1
    • Use a plastic opening tool to loosen the top panel of the device.

  4. Sony NWZ-E473  Screen Replacement: 4 단계, 이미지 1/1
    • Use a Phillips #00 screwdriver to remove the two 3 mm screws located on the portion under the top panel of the device.

  5. Sony NWZ-E473  Screen Replacement: 5 단계, 이미지 1/3 Sony NWZ-E473  Screen Replacement: 5 단계, 이미지 2/3 Sony NWZ-E473  Screen Replacement: 5 단계, 이미지 3/3
    • Remove the back plate from the device.

  6. Sony NWZ-E473  Screen Replacement, Screen: 6 단계, 이미지 1/1
    • Use a nylon spudger or tweezers to remove the plastic USB cover.

  7. Sony NWZ-E473  Screen Replacement: 7 단계, 이미지 1/1
    • Use a Phillips #00 screwdriver to unscrew two 2 mm screws located on the top corners of the device.

  8. Sony NWZ-E473  Screen Replacement: 8 단계, 이미지 1/1
    • Use a nylon spudger or tweezers to remove the plastic protective plate at the top of device.

  9. Sony NWZ-E473  Screen Replacement: 9 단계, 이미지 1/2 Sony NWZ-E473  Screen Replacement: 9 단계, 이미지 2/2
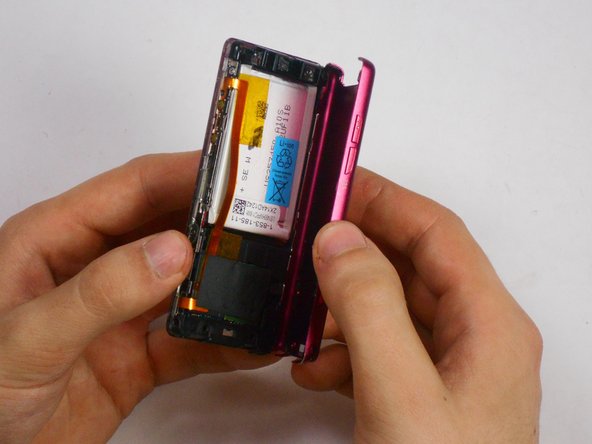
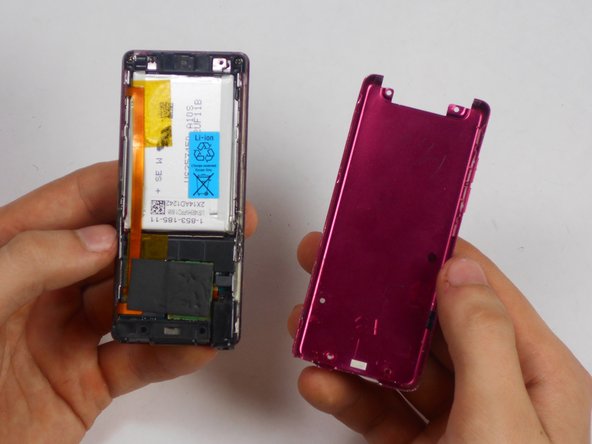
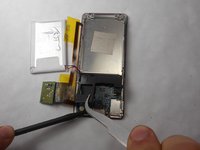
    • Remove the plastic protective frame located over the motherboard with tweezers and a spudger.

  10. Sony NWZ-E473  Screen Replacement: 10 단계, 이미지 1/1
    • Remove screen connection from motherboard using tweezers and spudger.

  11. Sony NWZ-E473  Screen Replacement: 11 단계, 이미지 1/1
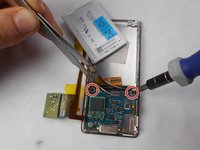
    • Use a Phillips #00 screwdriver to remove two 3 mm screws at the bottom sides and two 1 mm screws at top sides of the device.

  12. Sony NWZ-E473  Screen Replacement: 12 단계, 이미지 1/2 Sony NWZ-E473  Screen Replacement: 12 단계, 이미지 2/2
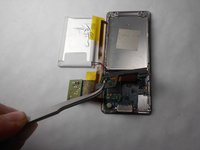
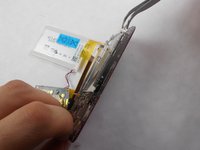
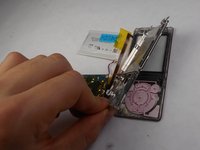
    • Use a Phillips #00 screwdriver to unscrew two 2 mm screws, and remove the motherboard from the device with tweezers and a plastic opening tool.

  13. Sony NWZ-E473  Screen Replacement: 13 단계, 이미지 1/2 Sony NWZ-E473  Screen Replacement: 13 단계, 이미지 2/2
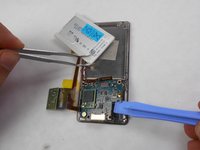
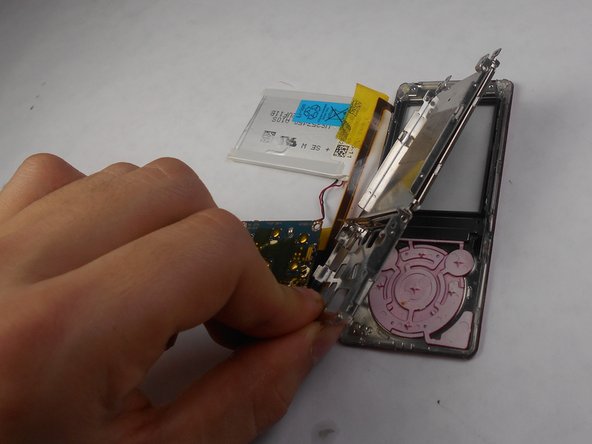
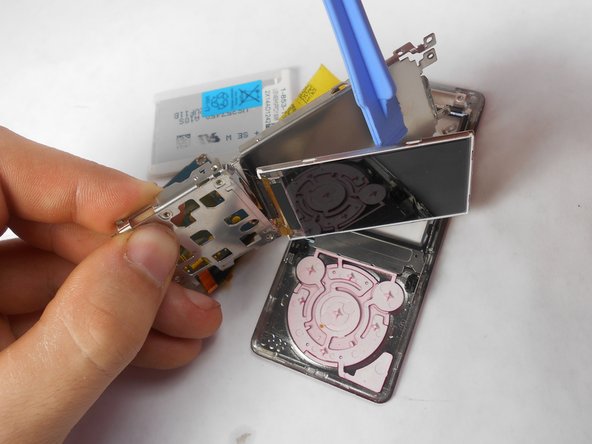
    • Disconnect the metal shielding plate from the front panel with tweezers or a plastic opening tool.

  14. Sony NWZ-E473  Screen Replacement: 14 단계, 이미지 1/2 Sony NWZ-E473  Screen Replacement: 14 단계, 이미지 2/2
    • Use a plastic opening tool to remove the screen from metal back plate.

결론

To reassemble your device, follow these instructions in reverse order.

Matthew Hintz

회원 가입일: 01/16/15

327 평판

안내서 3개 작성하였습니다

USF Tampa, Team 17-6, Watkins Winter 2015 USF Tampa, Team 17-6, Watkins Winter 2015 회원

USFT-WATKINS-W15S17G6

4 회원들

안내서 5개 작성하였습니다

댓글 한 개

very helpful!!! thx

Stefan Taubert - 답글

댓글 쓰기

조회 통계:

24 시간 전: 0

7일 전: 1

30일 전: 1

전체 시간: 918