소개
The PCG F360 comes with a floppy drive in an expansion bay. This can be replaced or swapped out for a battery or for a weight saver.
-
-
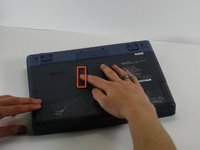
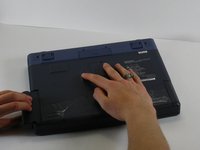
Position the laptop screen-side down as shown.
-
In this position the battery housing will be located on the right hand side.
 FixBot에 문의하기
-
-
-
-
The battery is now removed and it is safe to move on to uninstalling other components.
-
-
-
With one hand slide and hold the tab shown.
-
With your other hand, pull the floppy drive out of the floppy drive bay.
-


결론
To reassemble your device, follow these instructions in reverse order.
팀

Cal Poly, Team 16-3, Maness Spring 2010 Cal Poly, Team 16-3, Maness Spring 2010 회원
CPSU-MANESS-S10S16G3
3 회원들
안내서 8개를 작성함