주요 콘텐츠로 건너뛰기
수리 커뮤니티 가입 - 계정 만들기
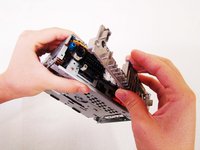
Sony Xplod CDX-MP30 Audio In/Audio Out Inputs Replacement

필요한 것

    1. Sony Xplod CDX-MP30 Audio In/Audio Out Inputs Replacement, Front Panel: 1 단계, 이미지 3개 중 1개 Sony Xplod CDX-MP30 Audio In/Audio Out Inputs Replacement, Front Panel: 1 단계, 이미지 3개 중 2개 Sony Xplod CDX-MP30 Audio In/Audio Out Inputs Replacement, Front Panel: 1 단계, 이미지 3개 중 3개
      • Press down the release button on the bottom left corner of the face plate.

      • Then remove the face plate carefully.

      댓글 쓰기

    1. Sony Xplod CDX-MP30 Audio In/Audio Out Inputs Replacement, Main Panels: 2 단계, 이미지 2개 중 1개 Sony Xplod CDX-MP30 Audio In/Audio Out Inputs Replacement, Main Panels: 2 단계, 이미지 2개 중 2개
      이 단계에 사용된 도구:
      Phillips #0 Screwdriver
      $5.49

      댓글 쓰기

    2. Sony Xplod CDX-MP30 Audio In/Audio Out Inputs Replacement: 3 단계, 이미지 3개 중 1개 Sony Xplod CDX-MP30 Audio In/Audio Out Inputs Replacement: 3 단계, 이미지 3개 중 2개 Sony Xplod CDX-MP30 Audio In/Audio Out Inputs Replacement: 3 단계, 이미지 3개 중 3개
      이 단계에 사용된 도구:
      Phillips #1 Screwdriver
      $5.49
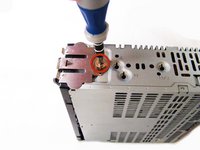
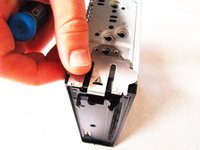
      • Using the Phillips #1 Screwdriver, unscrew the 2 thick screws (length - 7.69mm) located on both sides of the stereo.
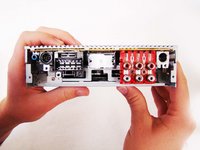
      • Remove side-metal plates gently.

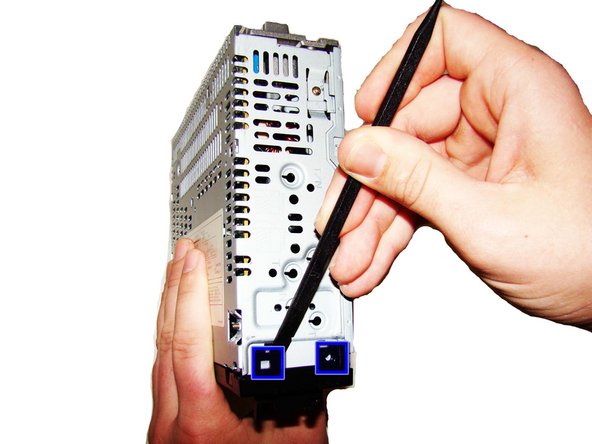
      • Use the Heavy-duty Spudger, insert the flat end under each of the black flaps indicated in the picture. Use leverage to pry and pop them loose.

      댓글 쓰기

    3. Sony Xplod CDX-MP30 Audio In/Audio Out Inputs Replacement: 4 단계, 이미지 1개 중 1개
      • Remove the black front plate of the stereo.

      댓글 쓰기

    4. Sony Xplod CDX-MP30 Audio In/Audio Out Inputs Replacement: 5 단계, 이미지 2개 중 1개 Sony Xplod CDX-MP30 Audio In/Audio Out Inputs Replacement: 5 단계, 이미지 2개 중 2개
      이 단계에 사용된 도구:
      Phillips #0 Screwdriver
      $5.49
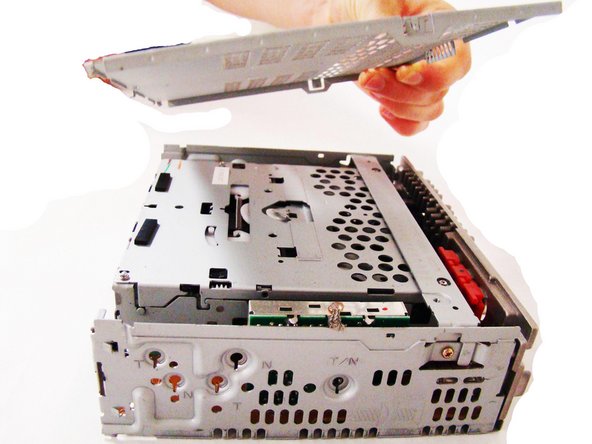
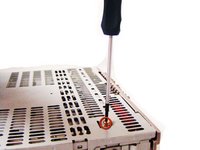
      • Using the Phillips #0 Screwdriver, unscrew the 1 gold screw (height - 7.47mm) on the top of the stereo.

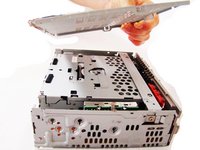
      • Lift off the top plate.

      댓글 쓰기

    5. Sony Xplod CDX-MP30 Audio In/Audio Out Inputs Replacement: 6 단계, 이미지 3개 중 1개 Sony Xplod CDX-MP30 Audio In/Audio Out Inputs Replacement: 6 단계, 이미지 3개 중 2개 Sony Xplod CDX-MP30 Audio In/Audio Out Inputs Replacement: 6 단계, 이미지 3개 중 3개
      이 단계에 사용된 도구:
      Phillips #0 Screwdriver
      $5.49
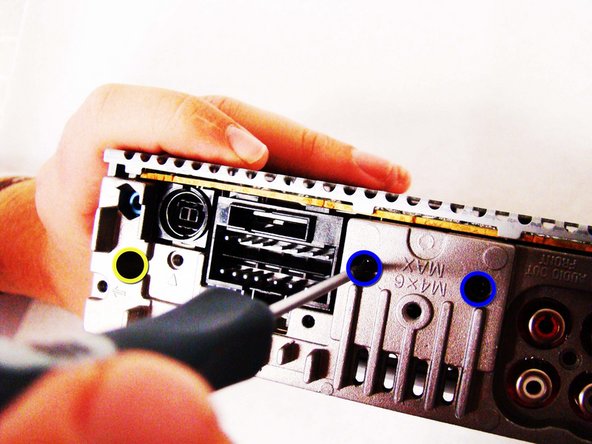
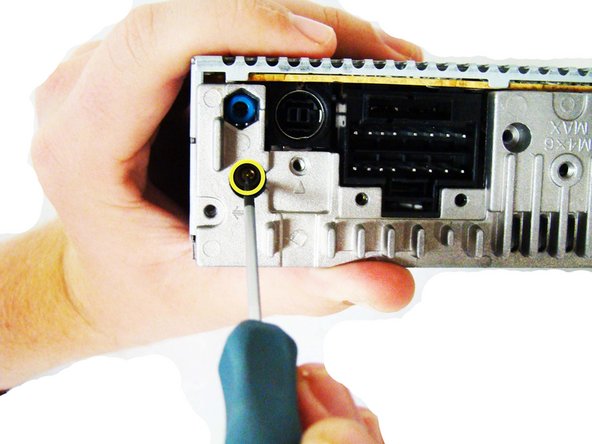
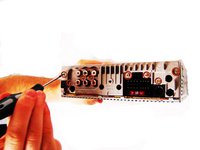
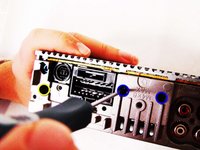
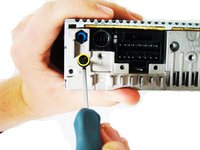
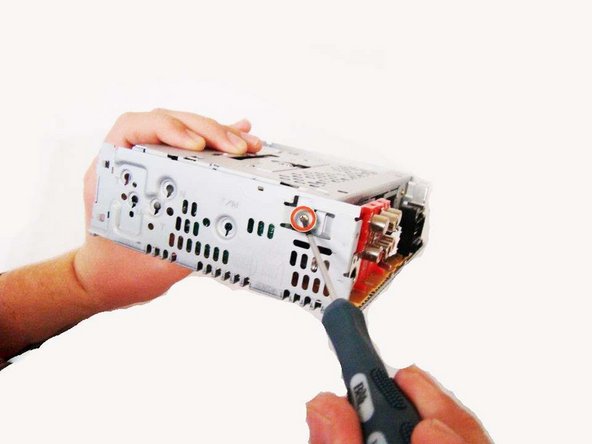
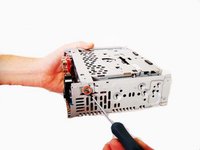
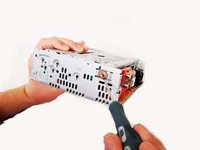
      • Using the Phillips #0 Screwdriver, unscrew the 8 gold screws (length - 9.26mm), located on the back side of the stereo.

      • Using the Phillips #0 Screwdriver, unscrew the 2 black screws (length - 13.27mm), also located on the back of the stereo.

      • Using the Phillips #0 Screwdriver, unscrew the 1 gold screw (length - 9.3mm), located on the bottom of a hole as noted in pictures (2) and (3).

      댓글 쓰기

    6. Sony Xplod CDX-MP30 Audio In/Audio Out Inputs Replacement: 7 단계, 이미지 3개 중 1개 Sony Xplod CDX-MP30 Audio In/Audio Out Inputs Replacement: 7 단계, 이미지 3개 중 2개 Sony Xplod CDX-MP30 Audio In/Audio Out Inputs Replacement: 7 단계, 이미지 3개 중 3개
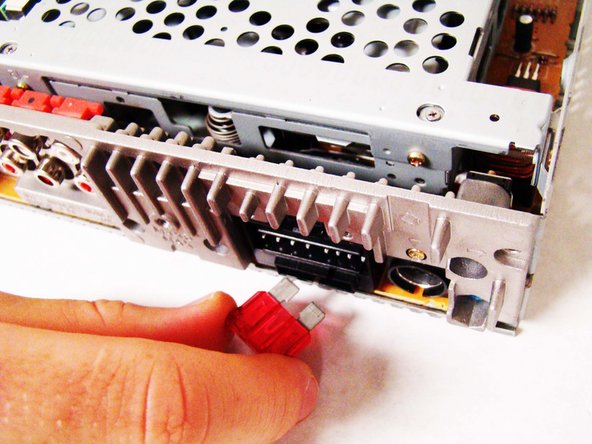
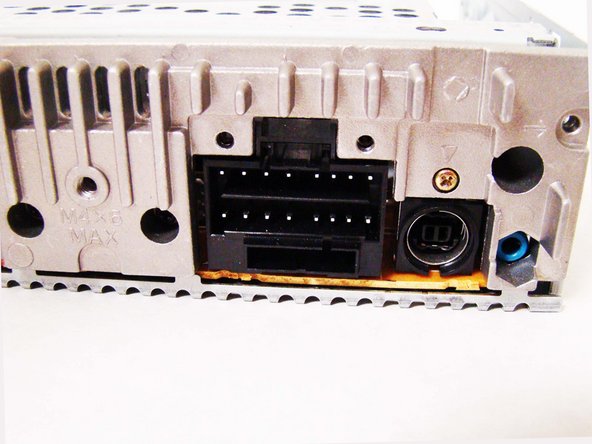
      • Carefully pull the fuse out of the back of the stereo.

      댓글 쓰기

    7. Sony Xplod CDX-MP30 Audio In/Audio Out Inputs Replacement: 8 단계, 이미지 2개 중 1개 Sony Xplod CDX-MP30 Audio In/Audio Out Inputs Replacement: 8 단계, 이미지 2개 중 2개
      • Firmly grip the body of the stereo and pull off the silver back plate.

      댓글 쓰기

    8. Sony Xplod CDX-MP30 Audio In/Audio Out Inputs Replacement: 9 단계, 이미지 1개 중 1개
      이 단계에 사용된 도구:
      Phillips #0 Screwdriver
      $5.49

      댓글 쓰기

    9. Sony Xplod CDX-MP30 Audio In/Audio Out Inputs Replacement: 10 단계, 이미지 2개 중 1개 Sony Xplod CDX-MP30 Audio In/Audio Out Inputs Replacement: 10 단계, 이미지 2개 중 2개
      이 단계에 사용된 도구:
      Phillips #0 Screwdriver
      $5.49
      • Using the Phillips #0 Screwdriver, unscrew the 2 gold screws (length - 7.34mm) found on both sides of the stereo.

      댓글 쓰기

    10. Sony Xplod CDX-MP30 Audio In/Audio Out Inputs Replacement: 11 단계, 이미지 3개 중 1개 Sony Xplod CDX-MP30 Audio In/Audio Out Inputs Replacement: 11 단계, 이미지 3개 중 2개 Sony Xplod CDX-MP30 Audio In/Audio Out Inputs Replacement: 11 단계, 이미지 3개 중 3개
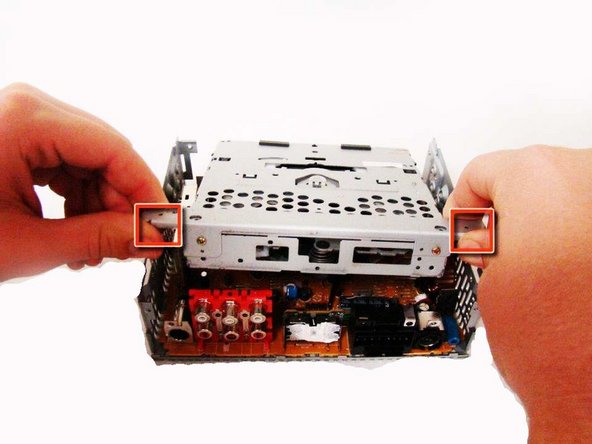
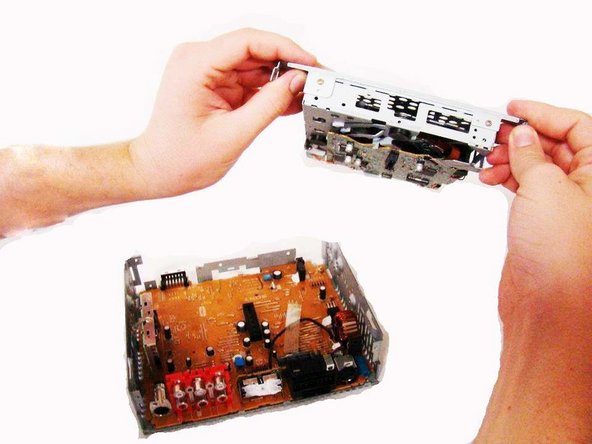
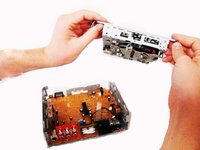
      • Grip the top portion of the stereo, where the CD-Drive is located, and gently pull up to release it, but you will not be able to lift it all the way out.

      • Grab the two tabs located near the back of the stereo, and gently pull the CD-drive front the rest of the device.

      댓글 쓰기

    1. Sony Xplod CDX-MP30 Audio In/Audio Out Inputs Replacement, Audio In/Audio Out Inputs: 12 단계, 이미지 2개 중 1개 Sony Xplod CDX-MP30 Audio In/Audio Out Inputs Replacement, Audio In/Audio Out Inputs: 12 단계, 이미지 2개 중 2개
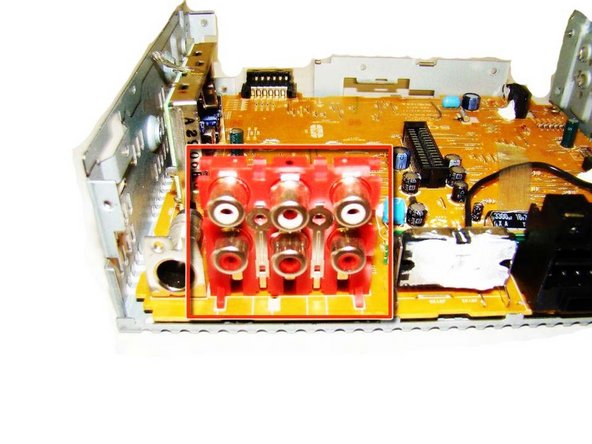
      • To remove the Audio In/Audio Out inputs on the circuit board please refer to the iFixit soldering guide to assist you.

      댓글 쓰기

결론

To reassemble your device, follow these instructions in reverse order.

취소: 해당 안내서를 완성하지 않았습니다.

다른 한 분이 해당 안내서를 완성하였습니다.

작성자

6다른 기여자 명과 함께

Chao Chen

회원 가입일: 10/04/11

82 평판

안내서 5개를 작성함

Cal Poly, Team 5-35, Amido Fall 2011 Cal Poly, Team 5-35, Amido Fall 2011 회원

CPSU-AMIDO-F11S5G35

4 회원들

안내서 24개를 작성함

0가이드 댓글

댓글 쓰기

조회 통계:

지난 24시간: 2

지난 7일: 9

지난 30일: 40

전체 시간: 4,814