주요 콘텐츠로 건너뛰기
수리 커뮤니티 가입 - 계정 만들기

TI-36X Pro Button Replacement

필요한 것

    1. TI-36X Pro Button Replacement, Back Cover: 1 단계, 이미지 2개 중 1개 TI-36X Pro Button Replacement, Back Cover: 1 단계, 이미지 2개 중 2개
      • Remove the calculator's protective cover.

      • Place the calculator face down.

      댓글 쓰기

    2. TI-36X Pro Button Replacement: 2 단계, 이미지 2개 중 1개 TI-36X Pro Button Replacement: 2 단계, 이미지 2개 중 2개
      • Using a Phillips #1 screwdriver, remove the six 6mm screws from the back of the case and place them to the side.

      • Start from the notches on the top edge and use your fingers or a prying tool to carefully pry the back cover from the calculator.

      댓글 쓰기

    1. TI-36X Pro Button Replacement, Battery: 3 단계, 이미지 2개 중 1개 TI-36X Pro Button Replacement, Battery: 3 단계, 이미지 2개 중 2개
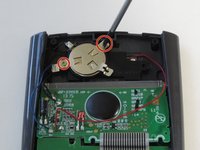
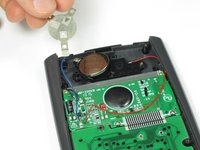
      • Use a Phillips #00 screwdriver to remove the two 7.5 mm screws holding the battery cover to the case.

      • Remove the battery cover without disconnecting either end of the blue wire.

      • Use your finger to move the battery cover to the side.

      댓글 쓰기

    2. TI-36X Pro Button Replacement: 4 단계, 이미지 1개 중 1개
      • Use the flat side of a spudger to remove the battery by lifting the bottom edge.

      • When inserting a new battery, check the polarity (+ or -) and insert the new battery with the + side on top.

      댓글 쓰기

    1. TI-36X Pro Button Replacement, Button: 5 단계, 이미지 1개 중 1개
      • After removing the battery, use a Phillips #00 screwdriver to take out the 4.5mm screw directly to the right of the solar panel.

      • Do not disconnect any wires or you will need to solder them back on.

      댓글 쓰기

    2. TI-36X Pro Button Replacement: 6 단계, 이미지 1개 중 1개
      • Next, use a Phillips #00 screwdriver to remove the two screws located on each side of the striped ribbon between the two green circuit boards.

      댓글 쓰기

    3. TI-36X Pro Button Replacement: 7 단계, 이미지 1개 중 1개
      • Be careful not to scratch the gold lines on the circuit board since it may damage the circuit.

      • Carefully chisel off the 11 circular pieces that connect the lower circuit board to the calculator.

      • When reassembling the calculator, glue the lower circuit board back in place by dabbing glue into the holes that you chiseled.

      댓글 쓰기

    4. TI-36X Pro Button Replacement: 8 단계, 이미지 3개 중 1개 TI-36X Pro Button Replacement: 8 단계, 이미지 3개 중 2개 TI-36X Pro Button Replacement: 8 단계, 이미지 3개 중 3개
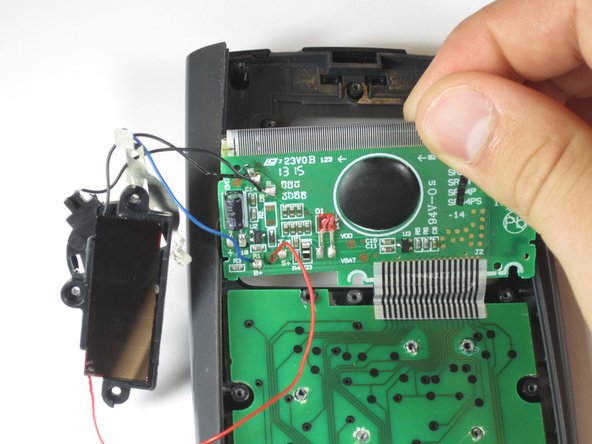
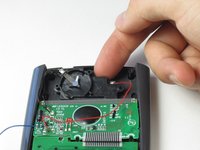
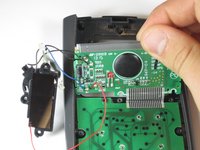
      • When removing the parts from the calculator be careful not to break any wires or ribbons. The solar panel, screen, and lower circuit board should remain connected throughout this guide.

      • Lift the top edge of the solar panel with a finger and slide it away from the circuit board to disconnect it from the calculator.

      • Carefully pry the screen out of the calculator with a prying tool or spudger.

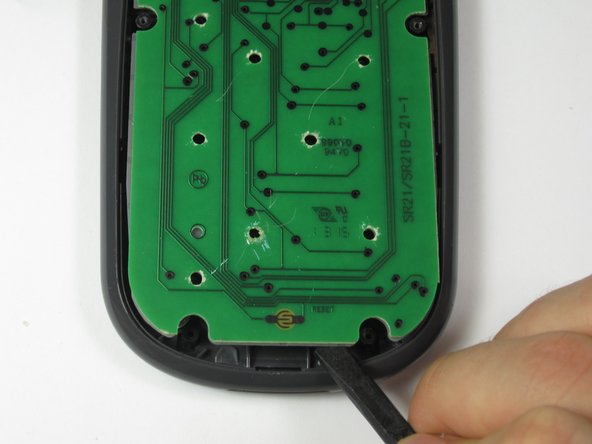
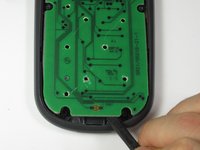
      • Pry the lower circuit board from the calculator by inserting a prying tool between the base of the calculator and the circuit board.

      댓글 쓰기

    5. TI-36X Pro Button Replacement: 9 단계, 이미지 1개 중 1개
      • Grab one of the top corners of the gray rubber button pad and peel it off of the buttons.

      • If you turn the calculator over, all of the buttons will fall out.

      댓글 쓰기

    6. TI-36X Pro Button Replacement: 10 단계, 이미지 2개 중 1개 TI-36X Pro Button Replacement: 10 단계, 이미지 2개 중 2개
      이 단계에 사용된 도구:
      Tweezers
      $4.99
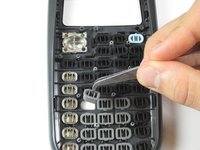
      • Locate the button that needs replacement and lift it out of the calculator with tweezers.

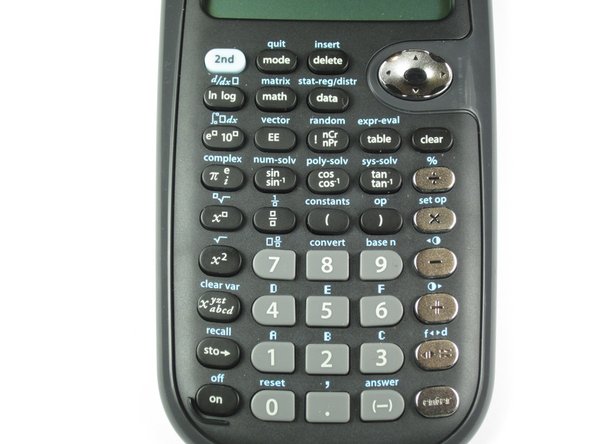
      • If the buttons do fall out, use the second picture to put them back properly.

      댓글 쓰기

결론

To reassemble your device, follow these instructions in reverse order.

취소: 해당 안내서를 완성하지 않았습니다.

다른 3명이 해당 안내서를 완성하였습니다.

작성자

5다른 기여자 명과 함께

Robert Sekerak

회원 가입일: 04/25/14

664 평판

안내서 4개를 작성함

Cal Poly, Team 11-52, Amido Spring 2014 Cal Poly, Team 11-52, Amido Spring 2014 회원

CPSU-AMIDO-S14S11G52

4 회원들

안내서 25개를 작성함

0가이드 댓글

댓글 쓰기

조회 통계:

지난 24시간: 2

지난 7일: 11

지난 30일: 44

전체 시간: 3,076