주요 콘텐츠로 건너뛰기

TI-84 Plus Disassembly

필요한 것

  1. TI-84 Plus Disassembly, flip: 1 단계, 이미지 1/2 TI-84 Plus Disassembly, flip: 1 단계, 이미지 2/2
    • Be sure the calculator is powered off before proceeding.

    • Take off the sliding cover, and flip your calculator to the back side.

  2. TI-84 Plus Disassembly, battery plate.: 2 단계, 이미지 1/2 TI-84 Plus Disassembly, battery plate.: 2 단계, 이미지 2/2
    • Press down on the latch, then remove the battery cover.

  3. TI-84 Plus Disassembly, take out the batteries: 3 단계, 이미지 1/2 TI-84 Plus Disassembly, take out the batteries: 3 단계, 이미지 2/2
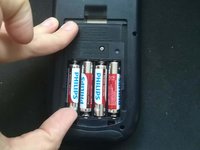
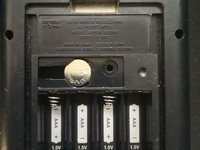
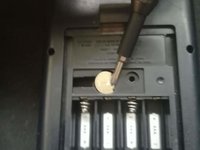
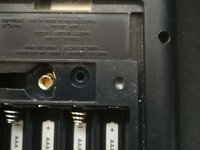
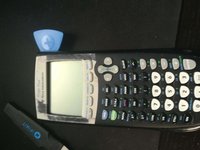
    • Remove the batteries.

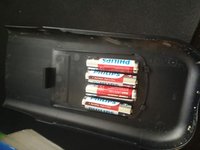
    • You can use the battery cover as a plate to keep the batteries.

  4. TI-84 Plus Disassembly, back up battery: 4 단계, 이미지 1/3 TI-84 Plus Disassembly, back up battery: 4 단계, 이미지 2/3 TI-84 Plus Disassembly, back up battery: 4 단계, 이미지 3/3
    • Removing this battery will clear your RAM, so be sure that you have made any backups of important data.

    • Use a Phillips #0 to remove the plate from the back up battery.

  5. TI-84 Plus Disassembly, backup battery: 5 단계, 이미지 1/2 TI-84 Plus Disassembly, backup battery: 5 단계, 이미지 2/2
    • remove the backup battery with either a screwdriver or the spudger.

  6. TI-84 Plus Disassembly: 6 단계, 이미지 1/1
    • you can use a t6 or tr6 take out all six marked screws

  7. TI-84 Plus Disassembly, cracking the case: 7 단계, 이미지 1/3 TI-84 Plus Disassembly, cracking the case: 7 단계, 이미지 2/3 TI-84 Plus Disassembly, cracking the case: 7 단계, 이미지 3/3
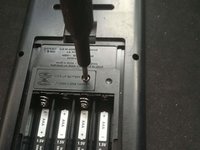
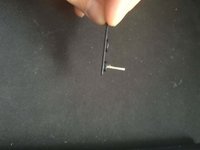
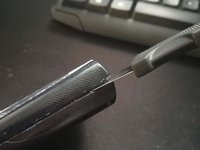
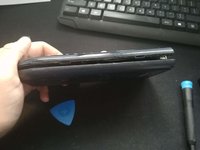
    • Use a prying tool to get a pick into the side and then move it down until its open.

결론

To reassemble your device, follow these instructions in reverse order.

다른 8명이 해당 안내서를 완성하였습니다.

martijn muntenaar

회원 가입일: 12/20/18

681 평판

안내서 1개 작성함

댓글 한 개

Nice! My calculator wasn't turning on, took it apart and rebent the contacts for the batteries, works great now!

Noah Molla - 답글

댓글 쓰기

조회 통계:

24 시간 전: 5

7일 전: 42

30일 전: 214

전체 시간: 8,598