소개
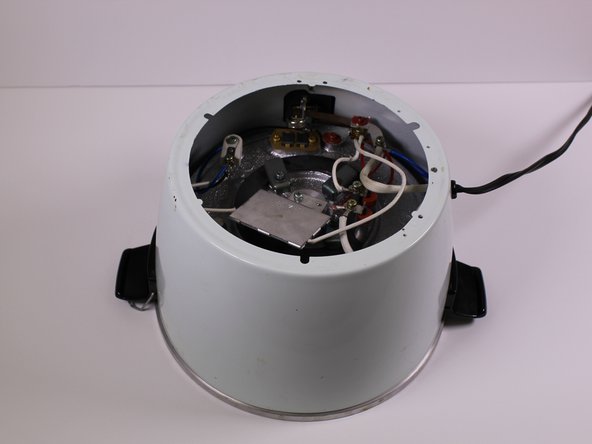
The device contains small lights that indicate whether the rice is cooking or being kept warm. In this guide we will the expose the light bulb circuitry to check if it is broken and replace the light bulbs if necessary.
필요한 것
-
-
-
Pull the panel away from the rice cooker.
-
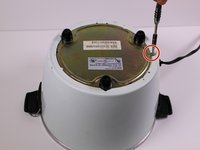
Remove the 9mm Phillips screw from behind the power component dashboard that is connected to the light plate.
-
-
-
-
Remove the one 7mm Phillips screw from the side of the brass panel
-
Lift the brass plate off of the device and set it aside.
-
-
-
Remove the 7mm Phillips screw holding the white and maroon colored wires that are connected to the heating element.
-
-
-
Remove the 10mm Phillips screw that connects the white, blue and black wires to the white plastic piece in the corner of the device.
-
-
-
Remove the 7mm Phillips screw that connects two white wires and one red wire to the heating "warm" switch.
-
-
-
Using your hand, pull out the light plate with the maroon red and black wires.
-

 FixBot에 문의하기




To reassemble your device, follow these instructions in reverse order.

팀

University of Alabama, Team 1-6, Sydow campbell Spring 2016 University of Alabama, Team 1-6, Sydow campbell Spring 2016 회원
UA-SYDOW CAMPBELL-S16S1G6
4 회원들
안내서 12개를 작성함
