소개
Is your Teddy Ruxpin story-time mood or singing not working? Your Teddy Ruxpin’s arm buttons might need to be replaced! This guide will take you through the proper steps on how to remove the buttons with ease. For this guide, all you will need is a pair of scissors and a Phillips #1 and #2 screwdriver. There are not many difficult steps but pull the wires with caution as you do not want to break them.
필요한 것
-
-
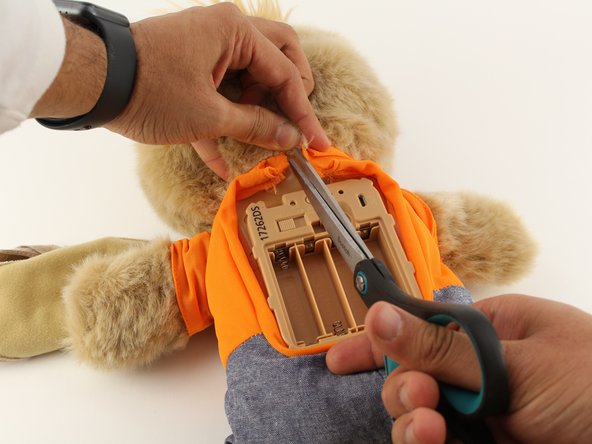
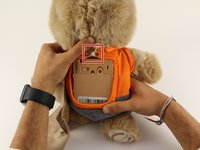
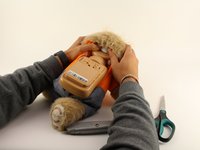
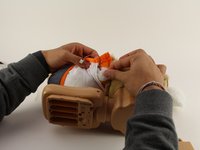
Remove the vest covering the back of the bear.
-
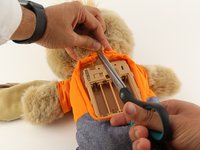
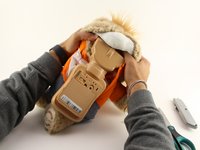
Orient the bear with his back facing upwards and unscrew the single Phillips #2 screw.
 FixBot에 문의하기
-
-
-
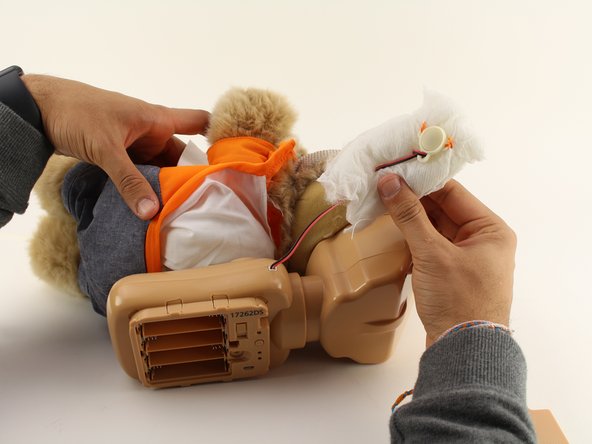
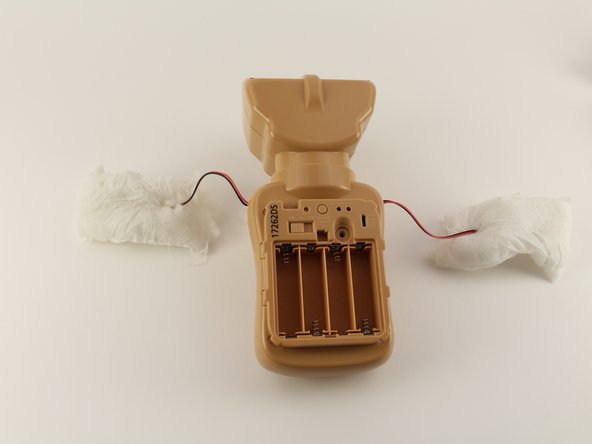
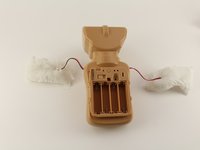
Remove all four AA batteries by pushing the positive end down and pulling the battery out toward yourself.
-
-
-
-
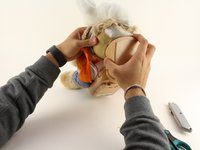
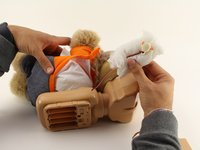
Remove the interior of the doll.
-
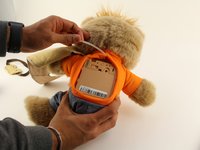
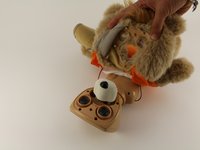
Peel the outer layer around the head of the bear and forcefully pry off the face of the bear from the outside layer of the bear.
-


To reassemble your device, follow these instructions in reverse order.
다른 4명이 해당 안내서를 완성하였습니다.

팀

Cal Poly, Team S18-G5, White Winter 2020 Cal Poly, Team S18-G5, White Winter 2020 회원
CPSU-WHITE-W20S18G5
4 회원들
안내서 8개를 작성함
4가이드 댓글
All you need are screwdrivers? The most important part is left out! New buttons? Where, how?
And how do you replace it?! This just says how to take out old buttons!
So has anyone figured out how to replace the button?
knrobinson83 - 답글 공유
The plastic part of the button is what broke in my daughter's Teddy Ruxpin. She had a similar toy with a button in its hand that she no longer played with, so I took the plastic button part out of the old toy and fit it onto Teddy Ruxpin. I used the same wires and threaded them through the plastic button, then resoldered the wires to the small board in the button. Works perfectly now.