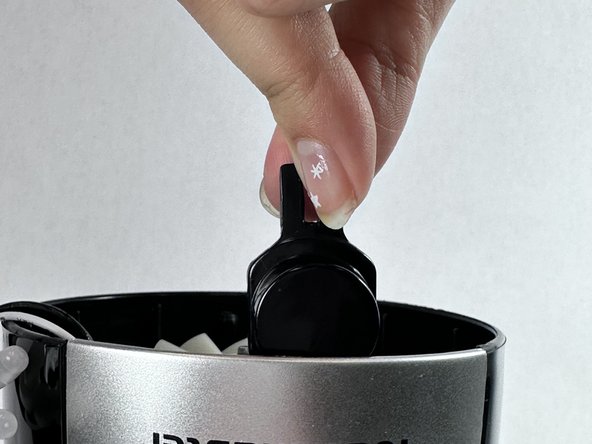
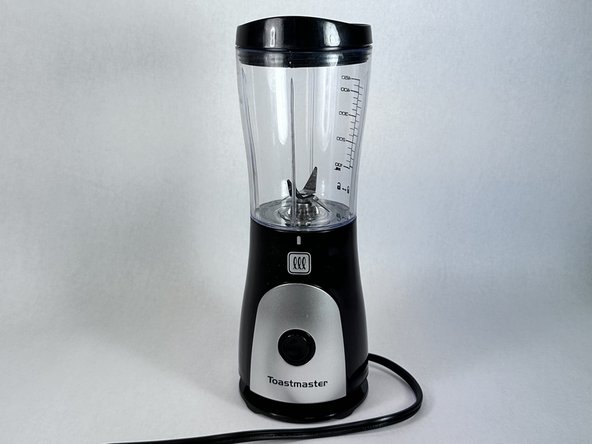
주요 콘텐츠로 건너뛰기

Toast Master Blender Button Replacement

필요한 것

  1. Toast Master Blender Button Replacement, Blender Button: 1 단계, 이미지 3개 중 1개 Toast Master Blender Button Replacement, Blender Button: 1 단계, 이미지 3개 중 2개 Toast Master Blender Button Replacement, Blender Button: 1 단계, 이미지 3개 중 3개
    • Unplug the plug if connected to any outlets.

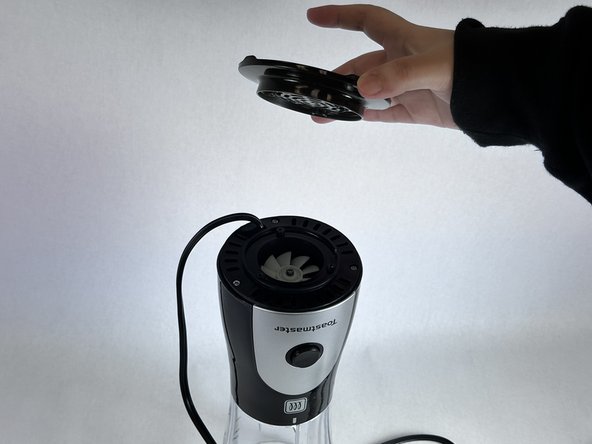
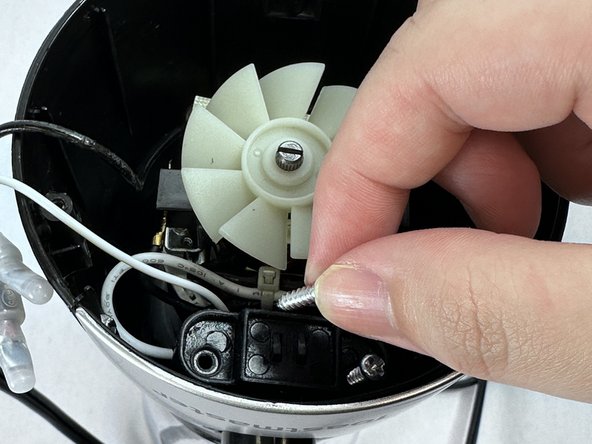
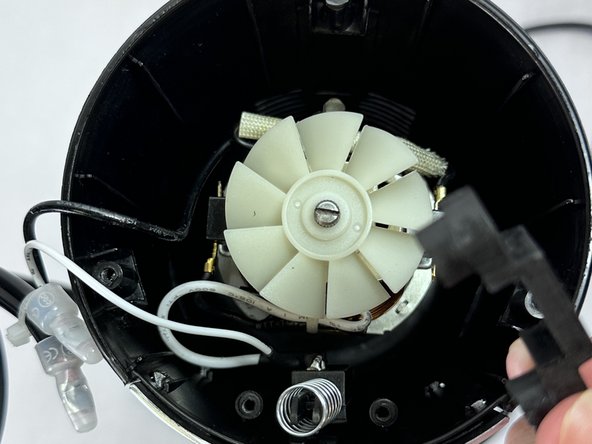
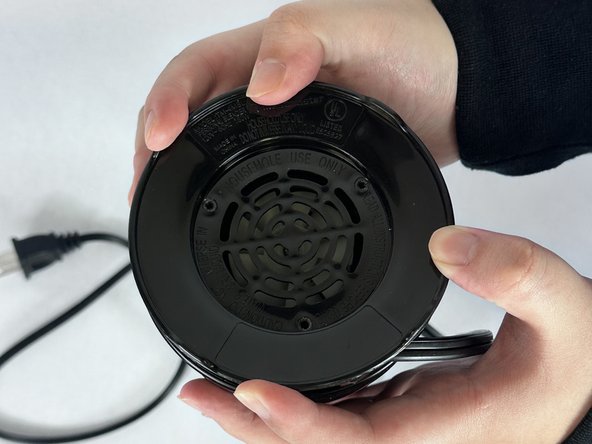
    • Take off the cap from the blender and turn the appliance upside down.

    • The blender should be standing upward stably.

  2. Toast Master Blender Button Replacement: 2 단계, 이미지 3개 중 1개 Toast Master Blender Button Replacement: 2 단계, 이미지 3개 중 2개 Toast Master Blender Button Replacement: 2 단계, 이미지 3개 중 3개
    • Use an allen wrench to remove the three screws from the bottom cover.

  3. Toast Master Blender Button Replacement: 3 단계, 이미지 3개 중 1개 Toast Master Blender Button Replacement: 3 단계, 이미지 3개 중 2개 Toast Master Blender Button Replacement: 3 단계, 이미지 3개 중 3개
    • Take off the black blender stand.

    • Take off three silver screws.

    • Put the screws safely aside.

  4. Toast Master Blender Button Replacement: 4 단계, 이미지 3개 중 1개 Toast Master Blender Button Replacement: 4 단계, 이미지 3개 중 2개 Toast Master Blender Button Replacement: 4 단계, 이미지 3개 중 3개
    • Use the Allen wrench to remove the three silver screws on the next level of the blender.

  5. Toast Master Blender Button Replacement: 5 단계, 이미지 2개 중 1개 Toast Master Blender Button Replacement: 5 단계, 이미지 2개 중 2개
    • Remove the black cap by lifting it upwards and gently placing it aside.

    • Do not pull hard on the wire as this may cause it to break

  6. Toast Master Blender Button Replacement: 6 단계, 이미지 3개 중 1개 Toast Master Blender Button Replacement: 6 단계, 이미지 3개 중 2개 Toast Master Blender Button Replacement: 6 단계, 이미지 3개 중 3개
    • Looking into the internal part of the blender, identify the two silver screws near the button and unscrew them with the screwdriver.

    • Carefully remove two silver screws.

  7. Toast Master Blender Button Replacement: 7 단계, 이미지 3개 중 1개 Toast Master Blender Button Replacement: 7 단계, 이미지 3개 중 2개 Toast Master Blender Button Replacement: 7 단계, 이미지 3개 중 3개
    • Take out the black piece that was attached with the screws and safely place it aside.

  8. Toast Master Blender Button Replacement: 8 단계, 이미지 3개 중 1개 Toast Master Blender Button Replacement: 8 단계, 이미지 3개 중 2개 Toast Master Blender Button Replacement: 8 단계, 이미지 3개 중 3개
    • Take out the button from the blender.

    • This is the plastic button for Toast Master Blender. If you have a spare button, you can replace it.

    • Make sure that side is facing up and place it back into the original position.

    • The button should have a pointier side that resembles a bunny’s head.

  9. Toast Master Blender Button Replacement: 9 단계, 이미지 1개 중 1개
    • Press the button and make sure it has a “click” sound.

    • If the button is still loose, go back to the previous step and recheck that the button is in the correct position.

  10. Toast Master Blender Button Replacement: 10 단계, 이미지 3개 중 1개 Toast Master Blender Button Replacement: 10 단계, 이미지 3개 중 2개 Toast Master Blender Button Replacement: 10 단계, 이미지 3개 중 3개
    • Reassemble all the parts back, and screw all the screws back to its original place.

    • All the silver screws are the same size.

    • Make sure the black cap separates rotating paddles and wires.

    • There should be no wires wrapped around the rotating blades.

결론

To reassemble your device, follow these instructions in reverse order.

다른 한 분이 해당 안내서를 완성하였습니다.

작성자

3다른 기여자 명과 함께

Jessica Li

회원 가입일: 02/02/24

181 평판

안내서 1개를 작성함

UC Davis, Team 4-8, Andersen Winter 2024 UC Davis, Team 4-8, Andersen Winter 2024 회원

UCD-ANDERSEN-W24S4G8

2 회원들

안내서 1개 작성

0가이드 댓글

댓글 쓰기

조회 통계:

지난 24시간: 0

지난 7일: 11

지난 30일: 65

전체 시간: 636