주요 콘텐츠로 건너뛰기
수리 커뮤니티 가입 - 계정 만들기

TomTom GO 500 Display or Digitizer Replacement

필요한 것

  1. TomTom GO 500 Display or Digitizer Replacement, TomTom GO 500 Opening the Device: 1 단계, 이미지 1개 중 1개
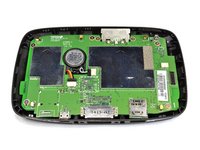
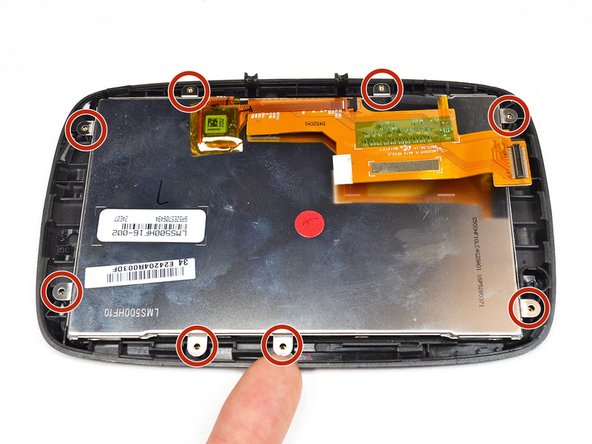
    • Unscrew the two 3mm screws at the base of the device using the Torx T5 screwdriver.
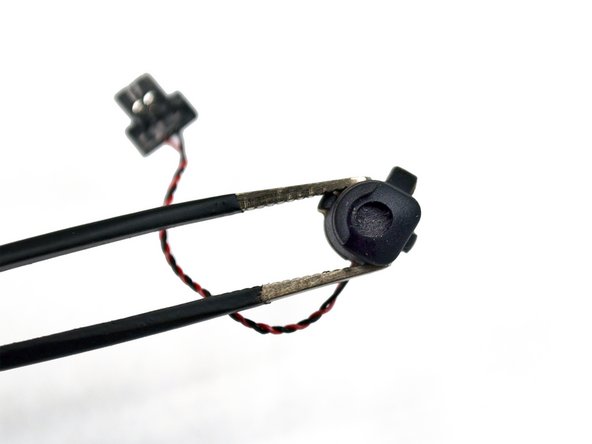
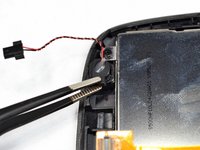
  2. TomTom GO 500 Display or Digitizer Replacement: 2 단계, 이미지 2개 중 1개 TomTom GO 500 Display or Digitizer Replacement: 2 단계, 이미지 2개 중 2개
    • Using the plastic opening tools, insert one opening tool into the gap between the screen casing and the motherboard casing. Then insert the other tool into one of the adjacent sides and slide it around the top.

    • There are 14 latches that need to be undone.

    • The latches break easily during the opening process so we recommend purchasing a new screen casing if they break.

  3. TomTom GO 500 Display or Digitizer Replacement: 3 단계, 이미지 1개 중 1개
    • With the screen casing unlatched, locate the right side where the two connectors are.

  4. TomTom GO 500 Display or Digitizer Replacement: 4 단계, 이미지 3개 중 1개 TomTom GO 500 Display or Digitizer Replacement: 4 단계, 이미지 3개 중 2개 TomTom GO 500 Display or Digitizer Replacement: 4 단계, 이미지 3개 중 3개
    • Unlatch the connectors using the plastic opening tool.

    • The orange rectangular connector may have come off in the process of removing the screen casing.

  5. TomTom GO 500 Display or Digitizer Replacement: 5 단계, 이미지 2개 중 1개 TomTom GO 500 Display or Digitizer Replacement: 5 단계, 이미지 2개 중 2개
    • Separate the screen casing from the motherboard casing.

  6. TomTom GO 500 Display or Digitizer Replacement, Display or Digitizer: 6 단계, 이미지 2개 중 1개 TomTom GO 500 Display or Digitizer Replacement, Display or Digitizer: 6 단계, 이미지 2개 중 2개
    이 단계에 사용된 도구:
    Tweezers
    $4.99
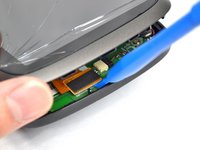
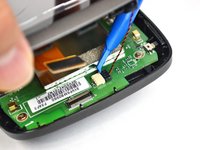
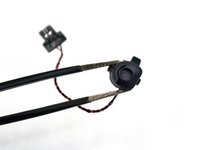
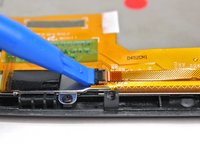
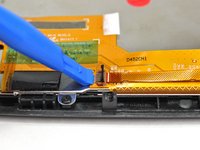
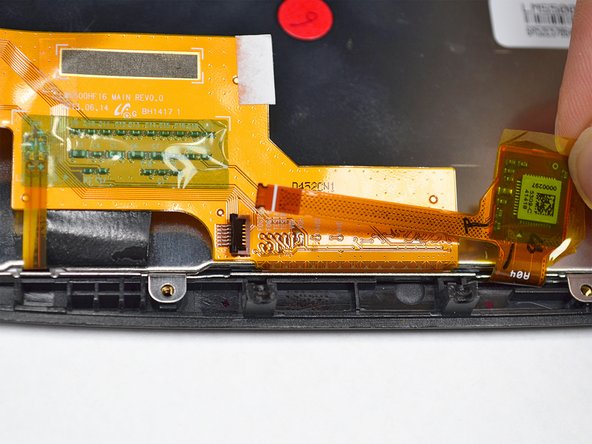
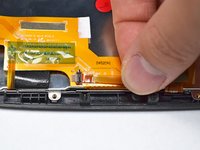
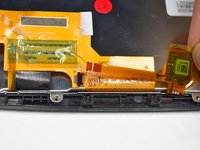
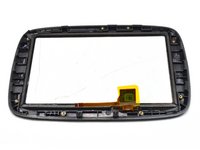
    • Remove the microphone on the left side of the screen casing using tweezers.

    • Use tweezers with rounded tips to avoid damaging the microphone.

  7. TomTom GO 500 Display or Digitizer Replacement: 7 단계, 이미지 2개 중 1개 TomTom GO 500 Display or Digitizer Replacement: 7 단계, 이미지 2개 중 2개
    • Lift up the small black tab on the orange connector using a plastic opening tool. This releases the strip connecting the display to the digitizer.

  8. TomTom GO 500 Display or Digitizer Replacement: 8 단계, 이미지 2개 중 1개 TomTom GO 500 Display or Digitizer Replacement: 8 단계, 이미지 2개 중 2개
    • Slide the connector strip out from the tab.

  9. TomTom GO 500 Display or Digitizer Replacement: 9 단계, 이미지 2개 중 1개 TomTom GO 500 Display or Digitizer Replacement: 9 단계, 이미지 2개 중 2개
    • Unscrew the eight 2.5mm screws along the perimeter of the display using the Phillips #000 screwdriver.

  10. TomTom GO 500 Display or Digitizer Replacement: 10 단계, 이미지 3개 중 1개 TomTom GO 500 Display or Digitizer Replacement: 10 단계, 이미지 3개 중 2개 TomTom GO 500 Display or Digitizer Replacement: 10 단계, 이미지 3개 중 3개
    • Separate the display from the digitizer. The display is now fully removed from the device.

결론

To reassemble your device, follow these instructions in reverse order.

다른 6명이 해당 안내서를 완성하였습니다.

작성자

4다른 기여자 명과 함께

Jennie Chang

회원 가입일: 09/22/16

173 평판

안내서 1개를 작성함

UC Davis, Team 2-5, Oliver Fall 2016 UC Davis, Team 2-5, Oliver Fall 2016 회원

UCD-OLIVER-F16S2G5

5 회원들

안내서 9개를 작성함

3가이드 댓글

If you keep the bezel and replace the glass, ensure the glass has adhesive before you buy.

Aaron - 답글 공유

Do you have branch in Istanbul?

if yes please provide me the address. thaxs

Bsssam Kabeir - 답글 공유

pertituire schermo e display cosa devo fare e comprare grazie

Cesare - 답글 공유

댓글 쓰기

조회 통계:

지난 24시간: 3

지난 7일: 20

지난 30일: 63

전체 시간: 7,232